BrainVoyager (BV) version: 3.2 – hardware license
Stimuli for Retinotopic Map: expanding ring or/and shrinking ring with blank, rotating wedge with blank and drifting bar
Useful resources:
BV support http://support.brainvoyager.com/
Terminology
Run: display of one type of stimulus such as wedge-run.
Cycle: duration of stimulus presentation from the starting point to the return to starting point such as from smallest ring to the biggest ring for an expanding ring stimulus.
Condition: each type of individual stimulus such as ring with a size 14 degree-of-visual-field.
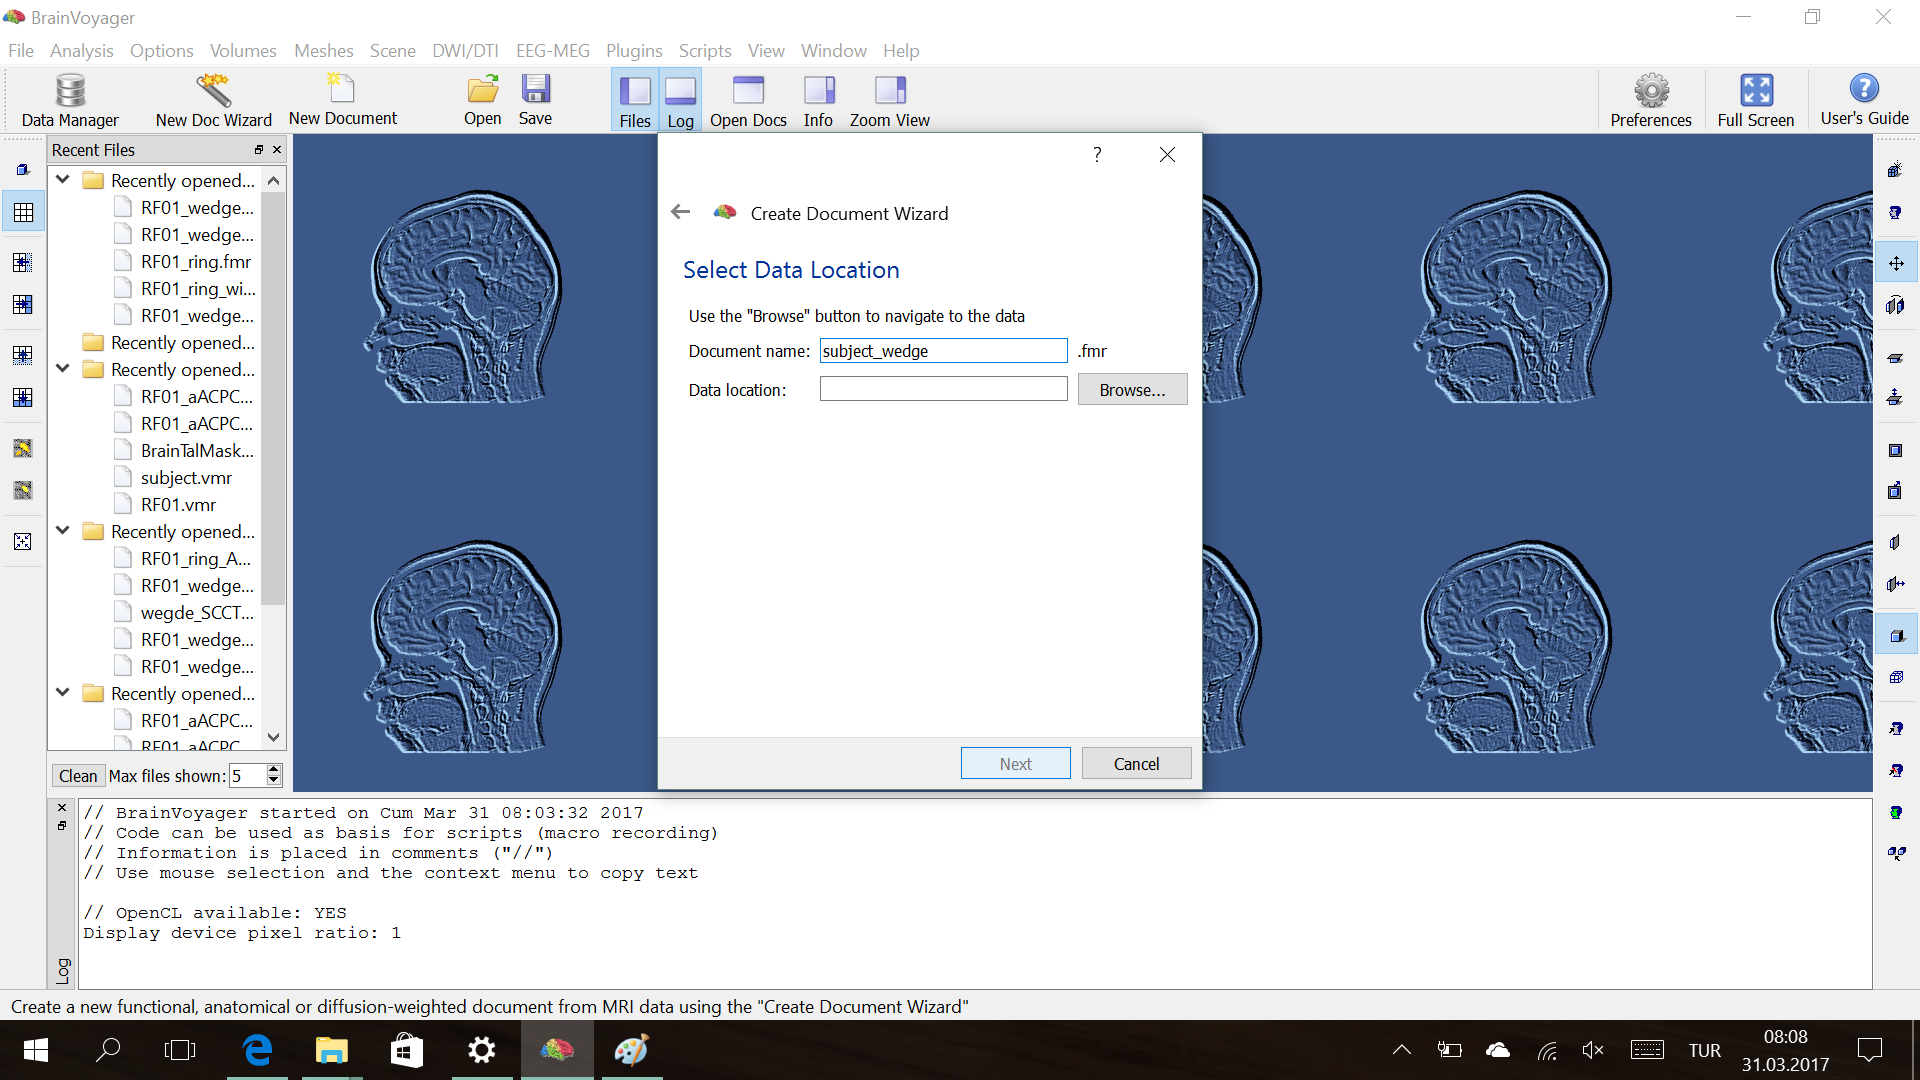
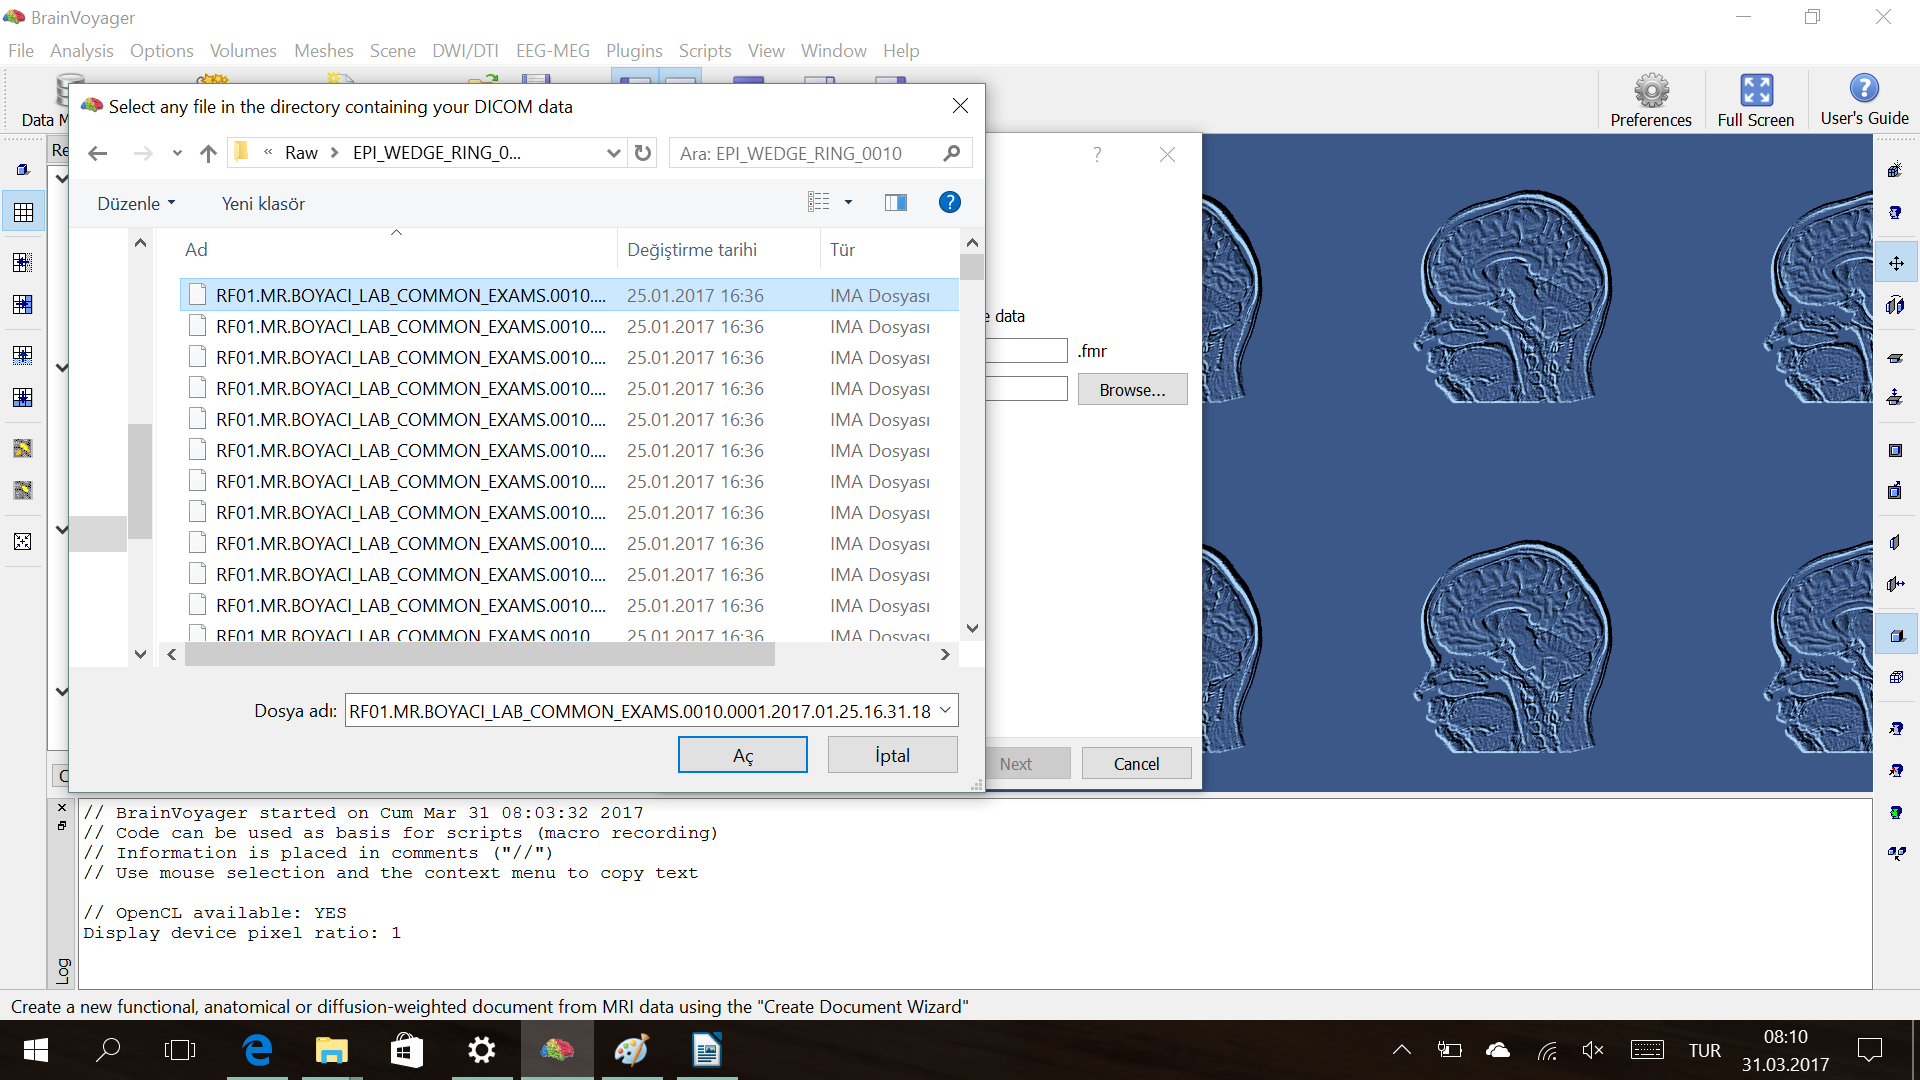
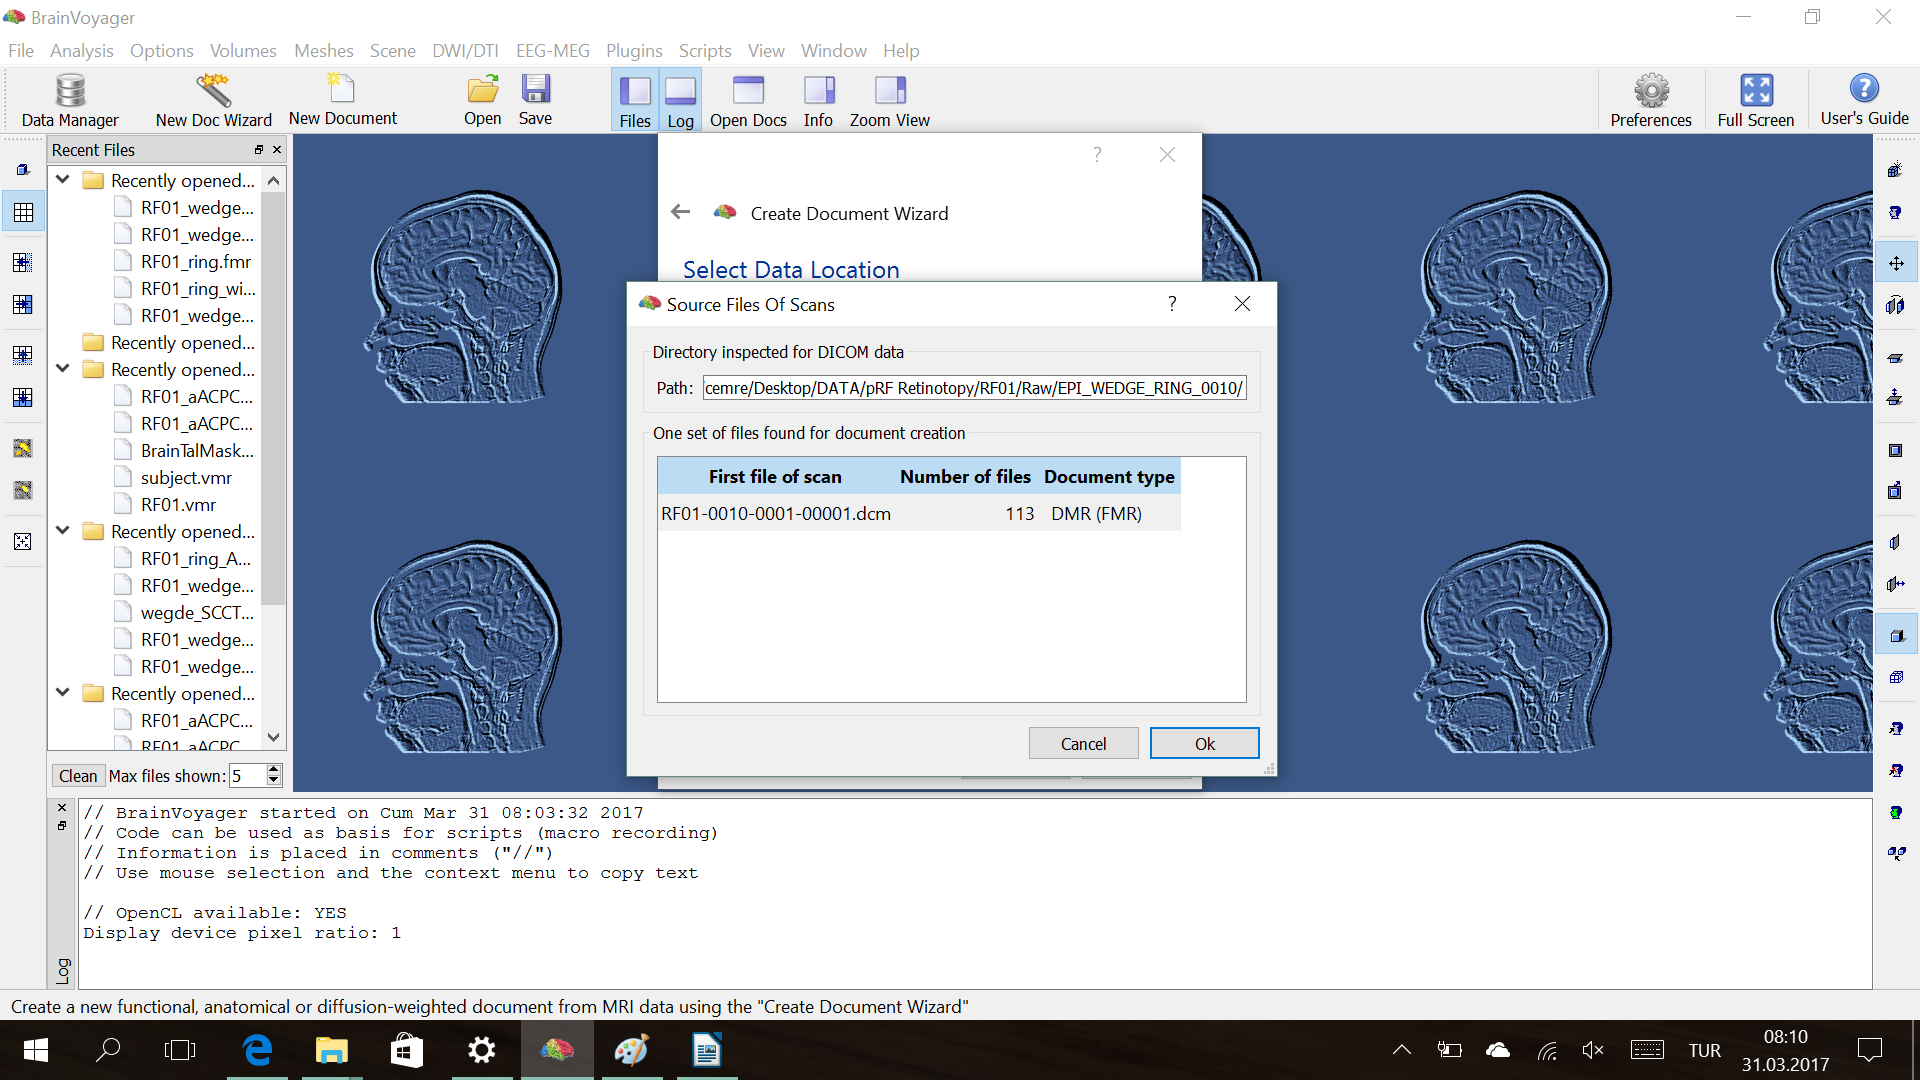
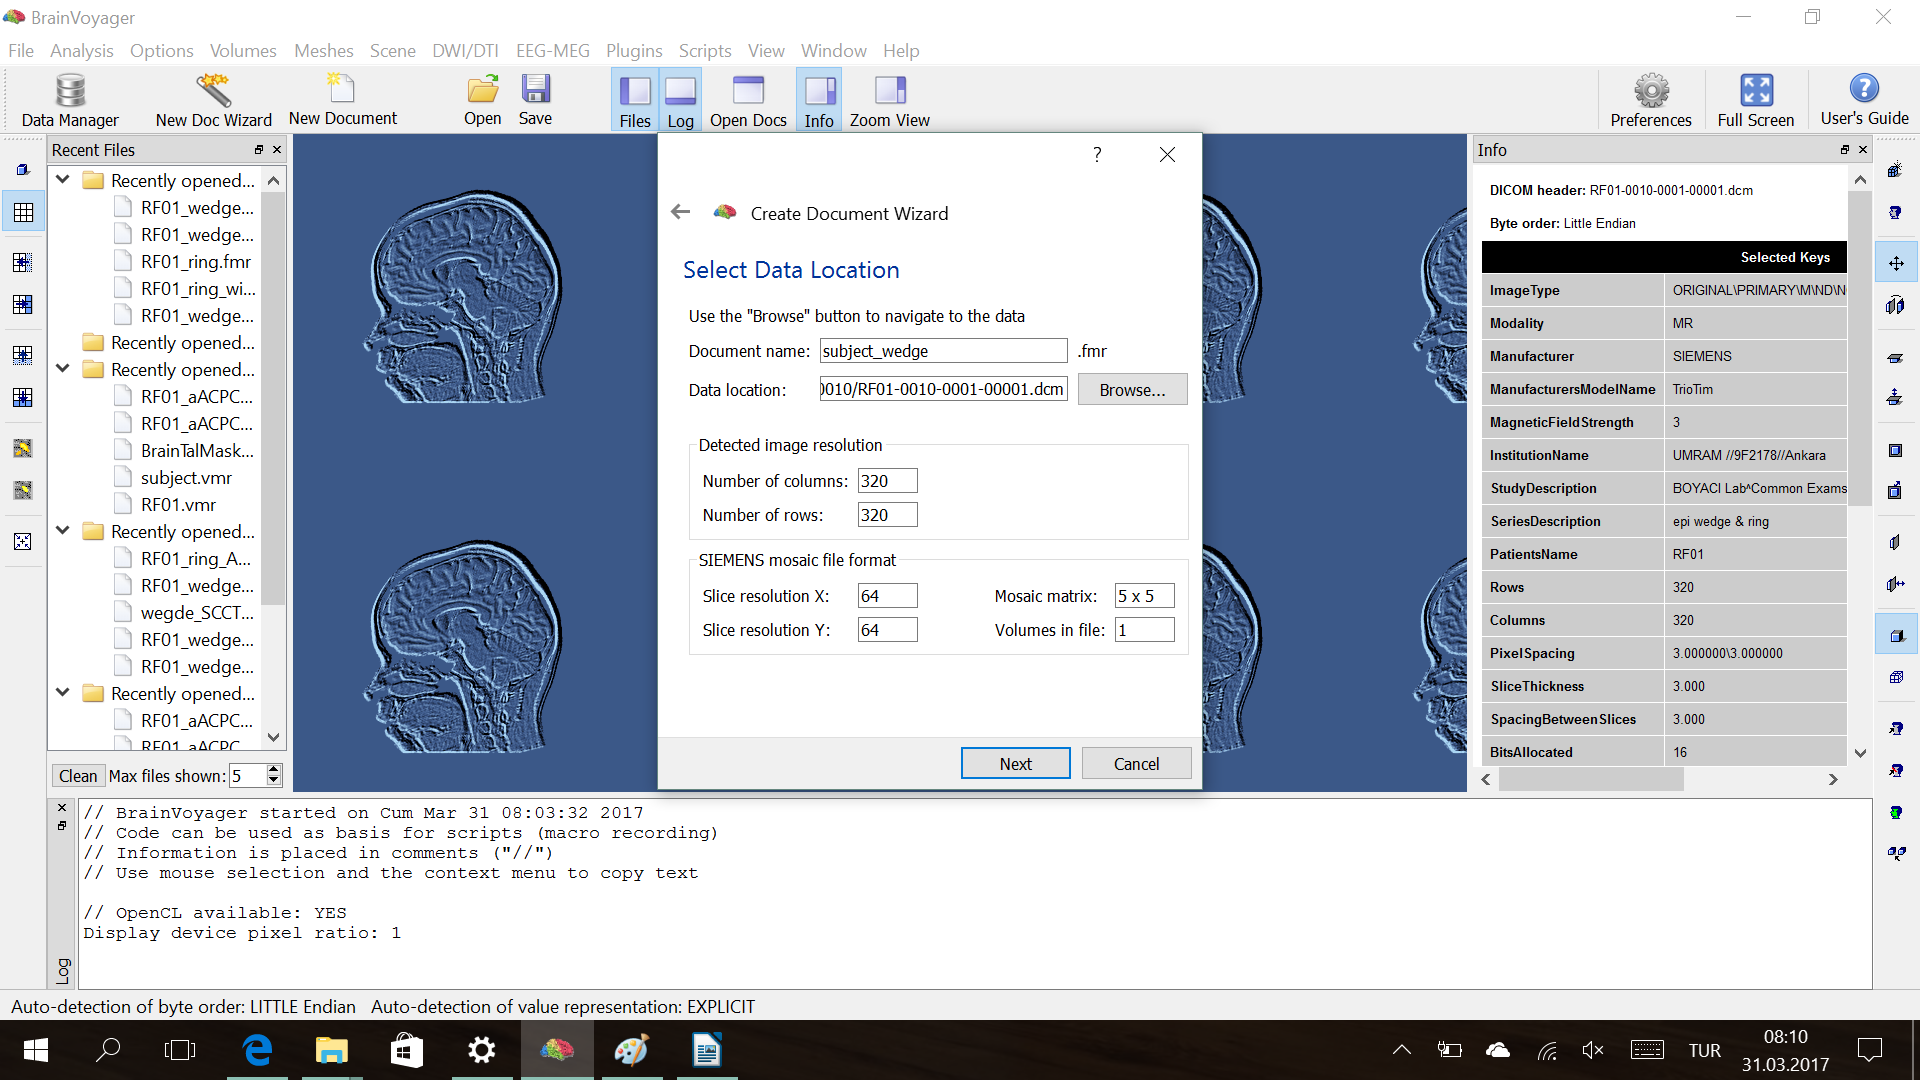
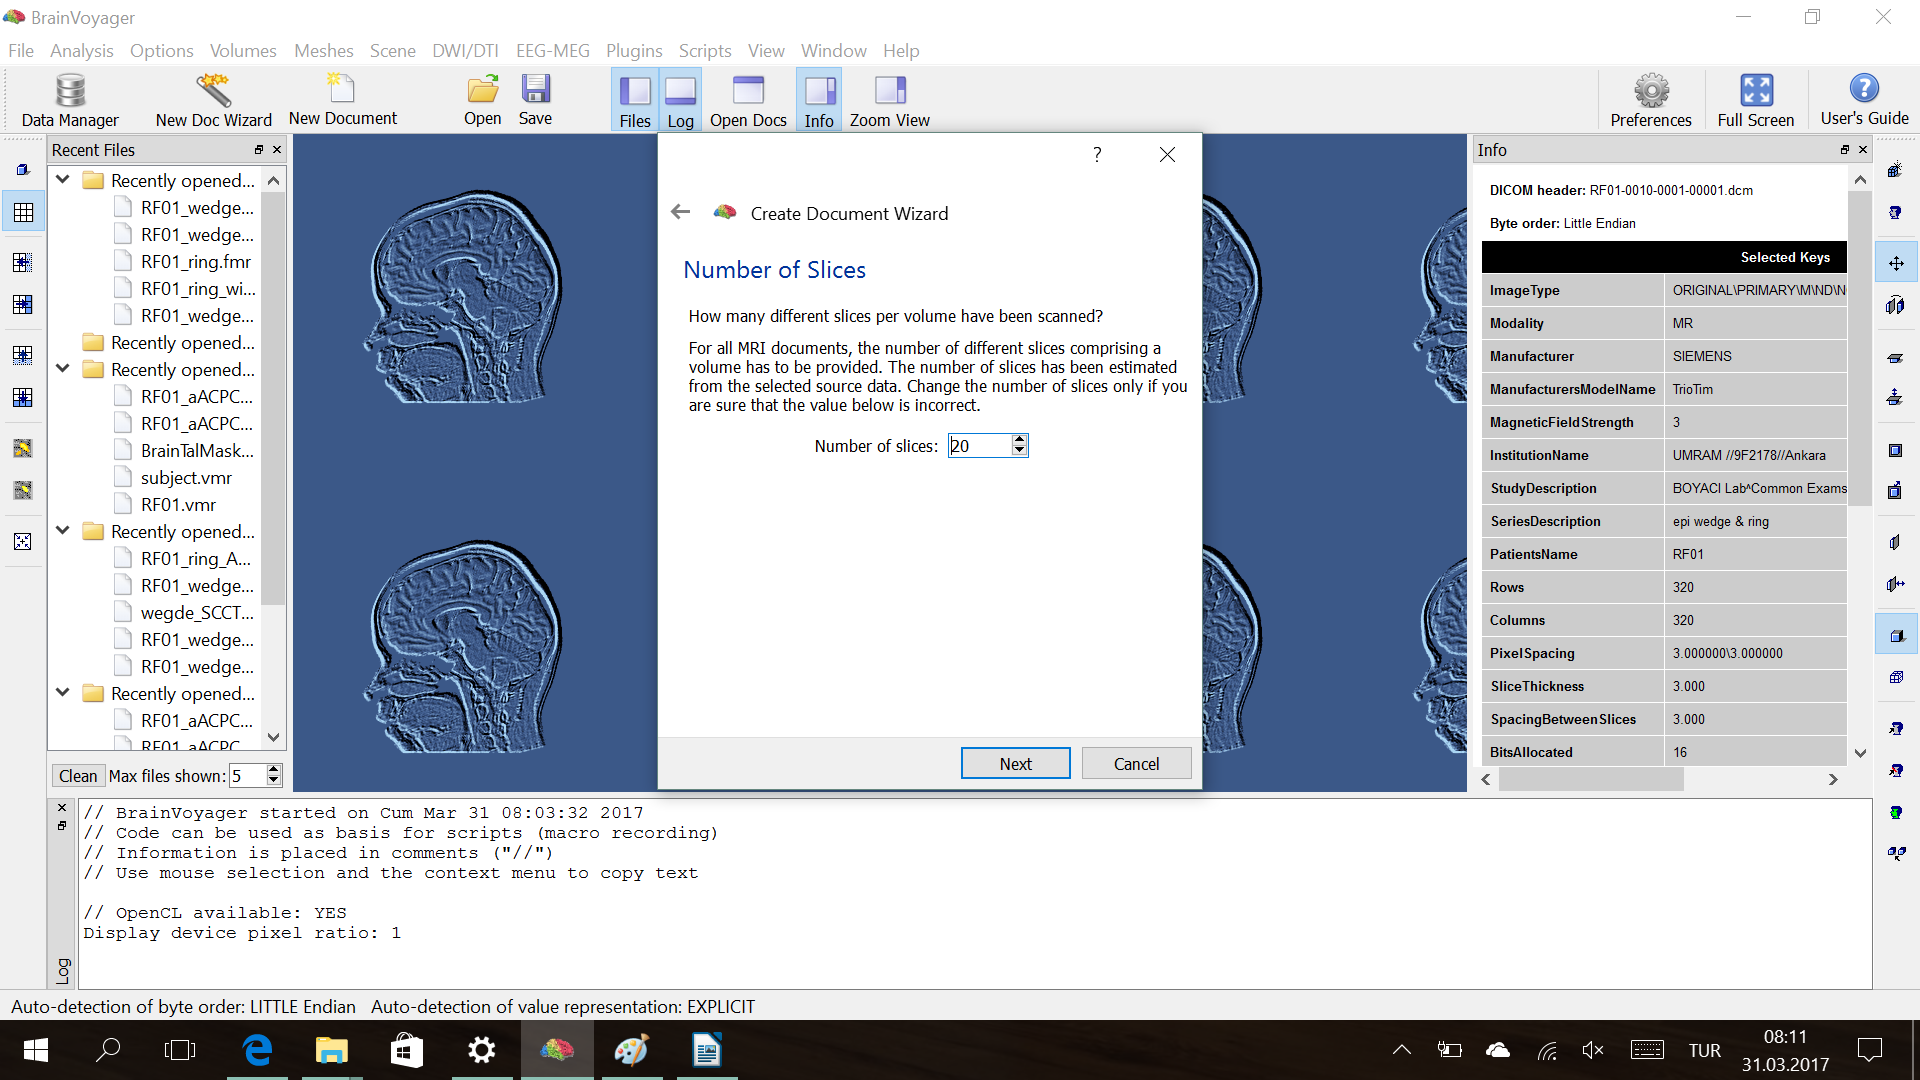
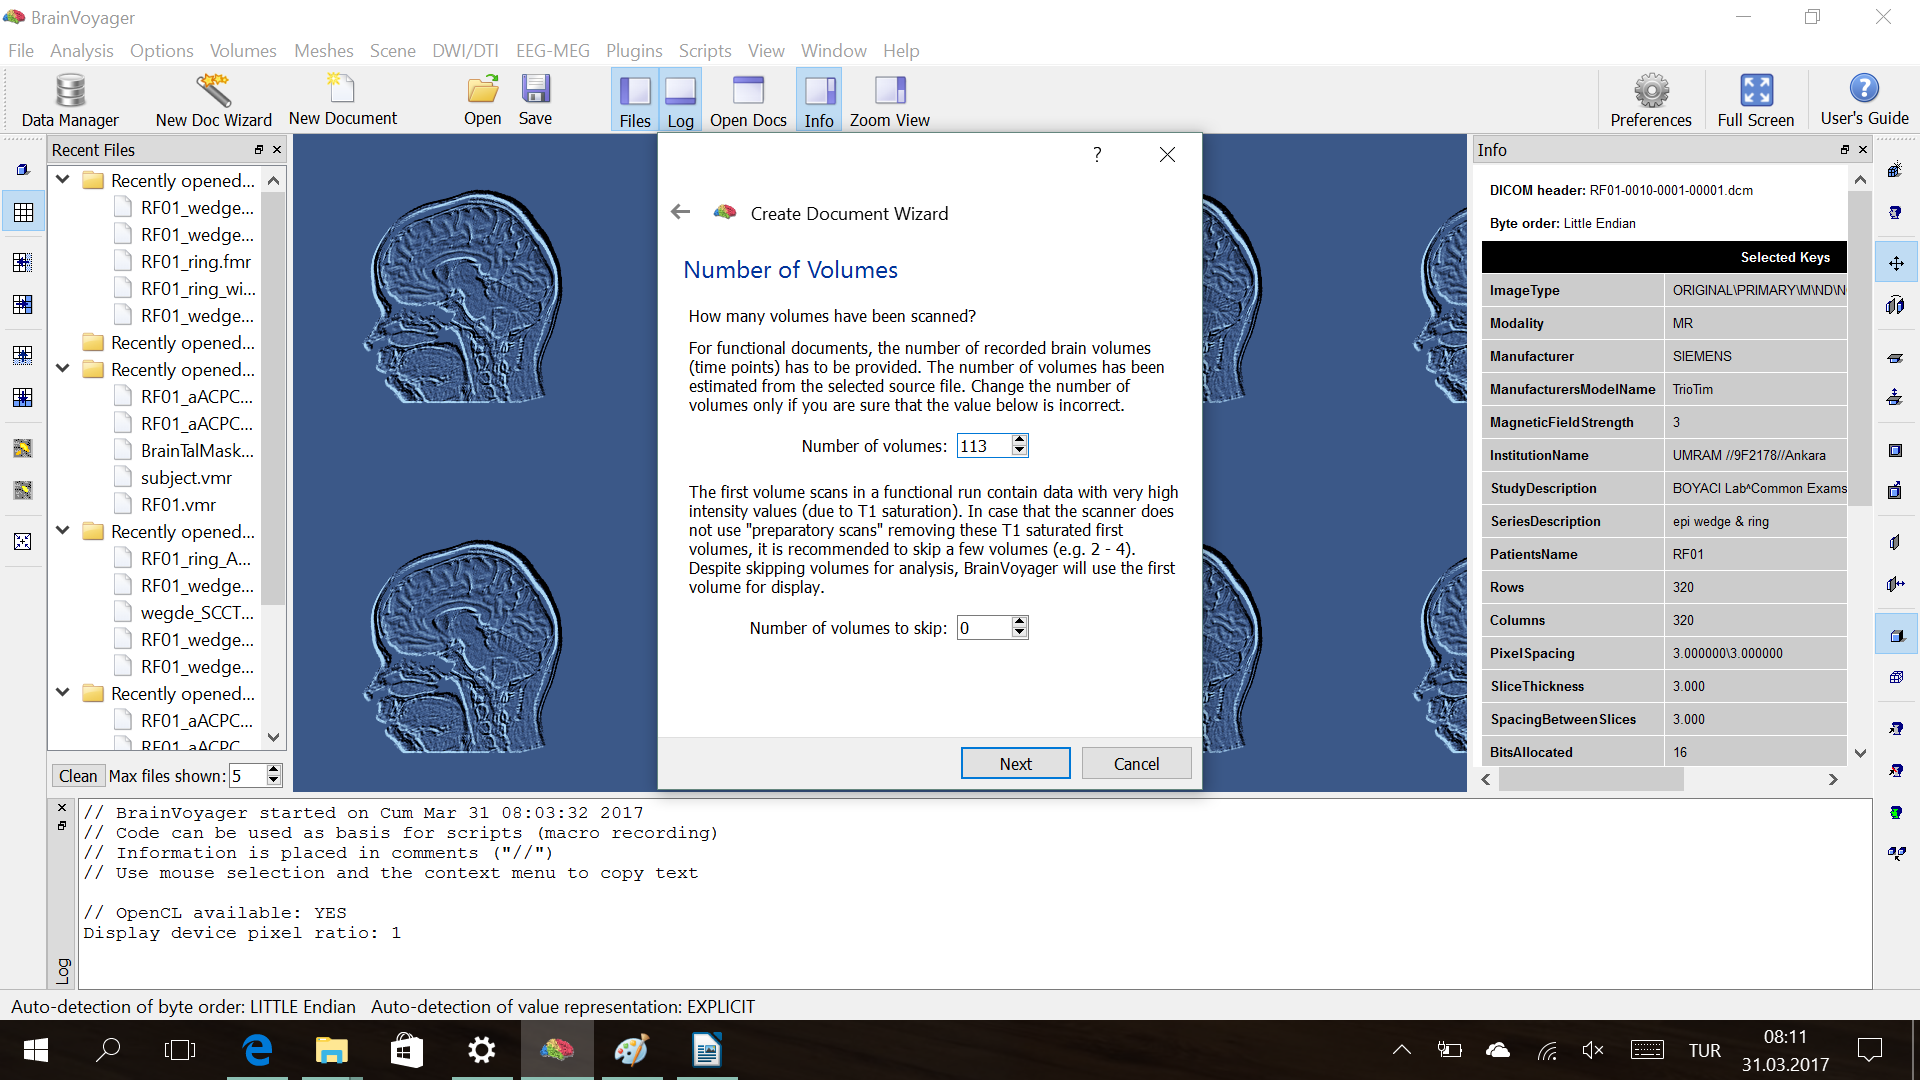
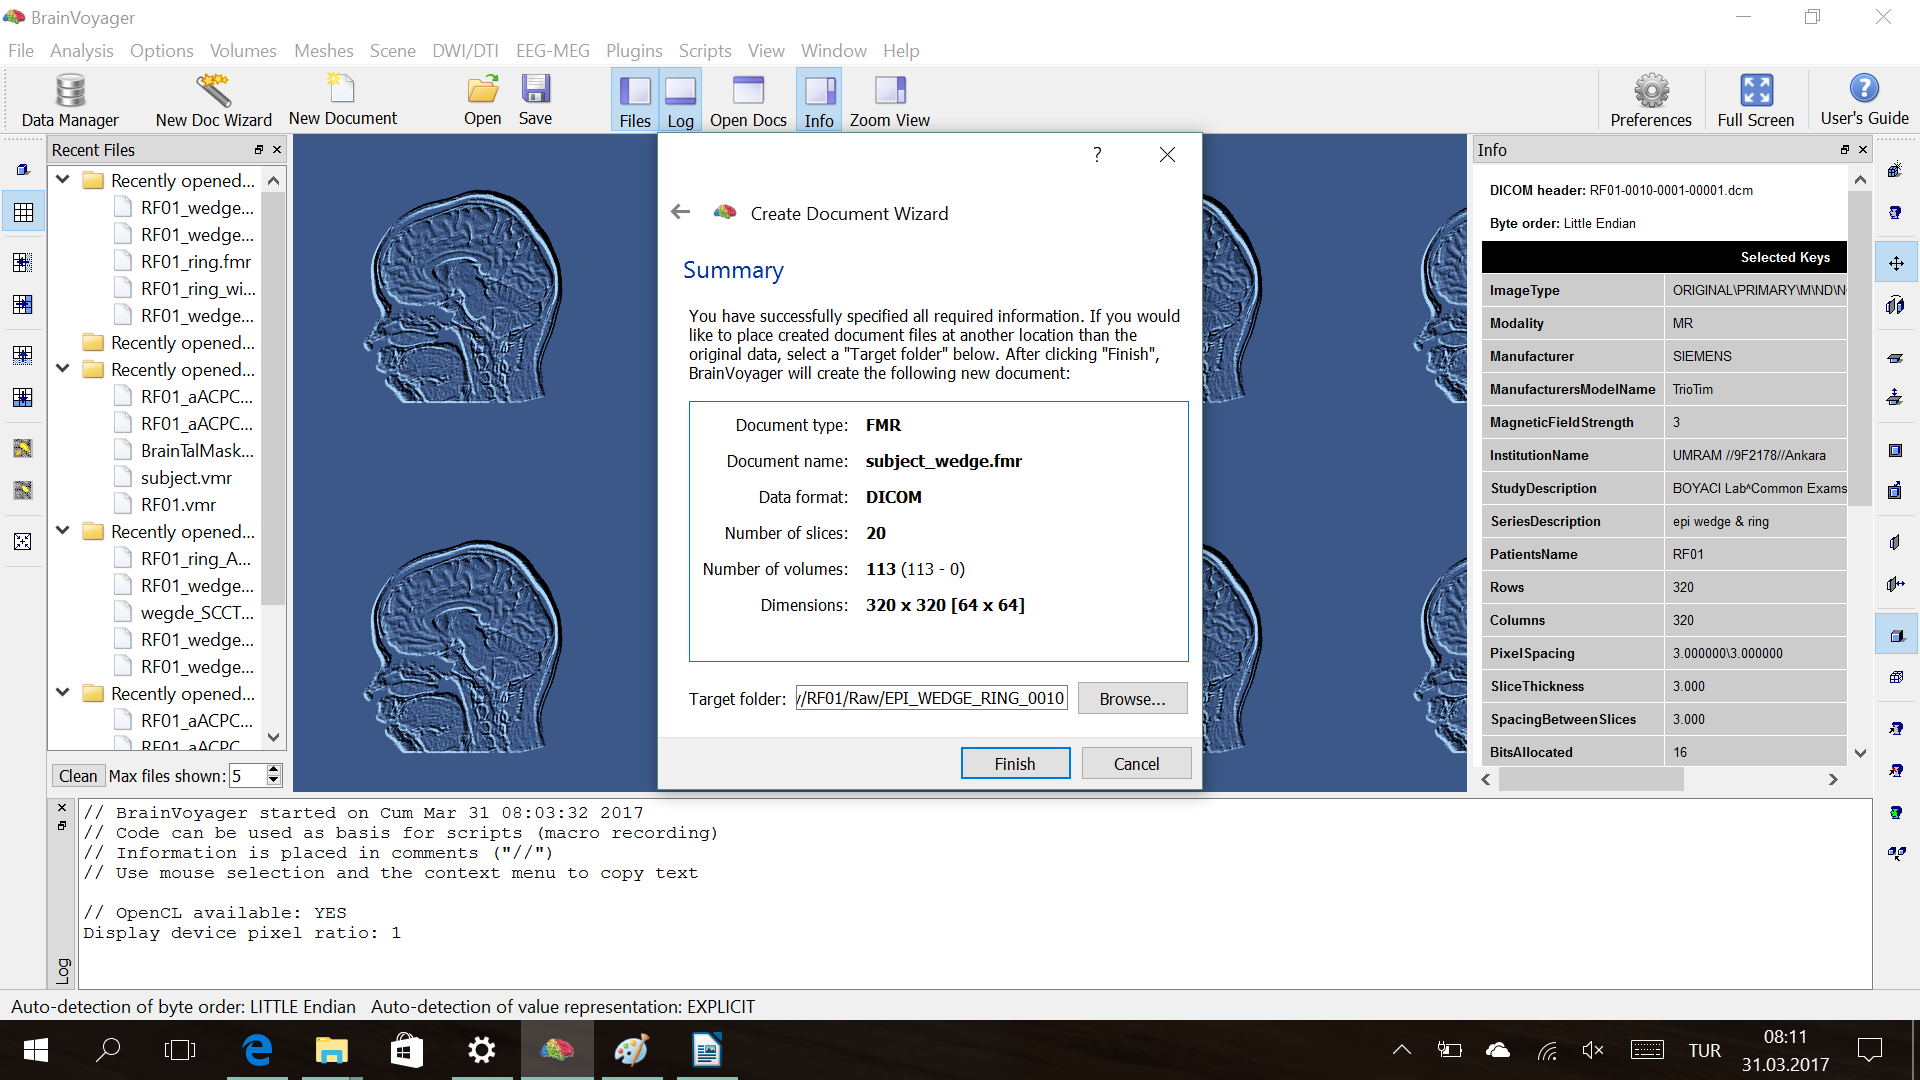
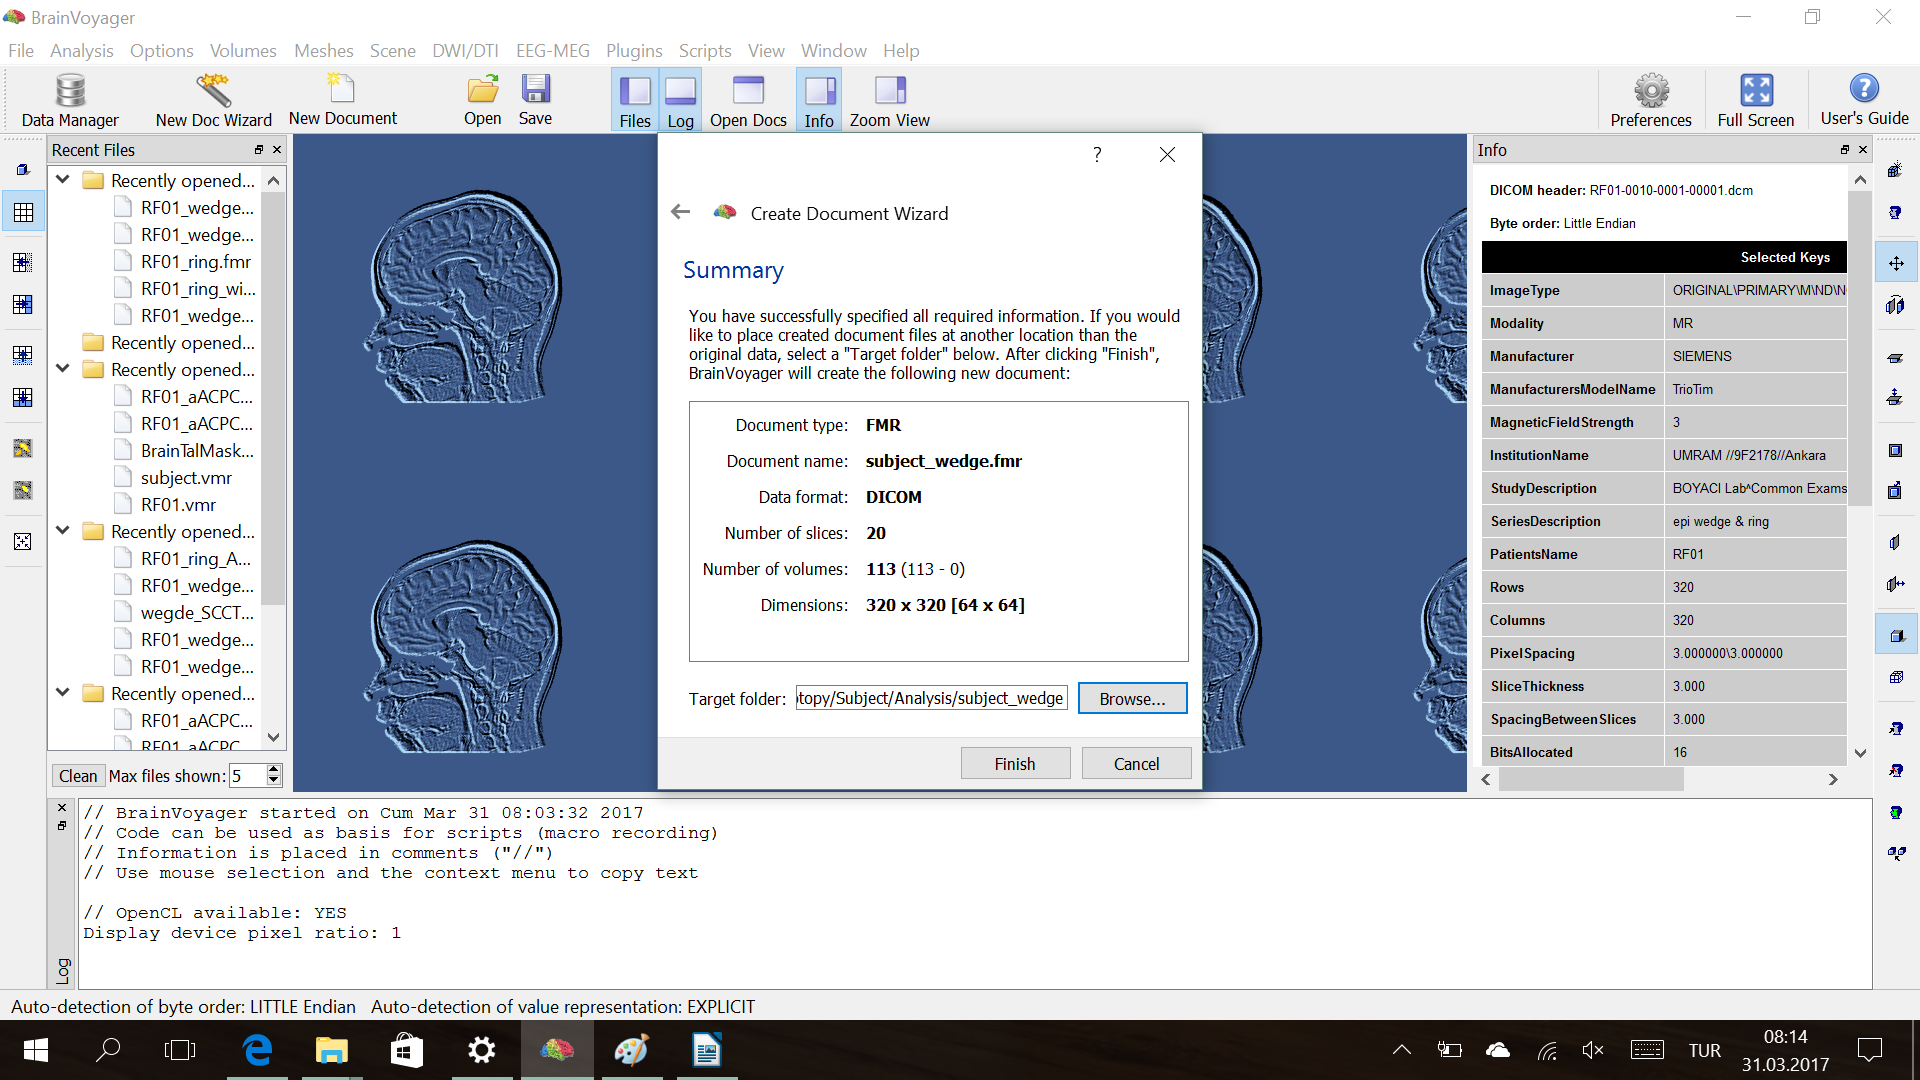
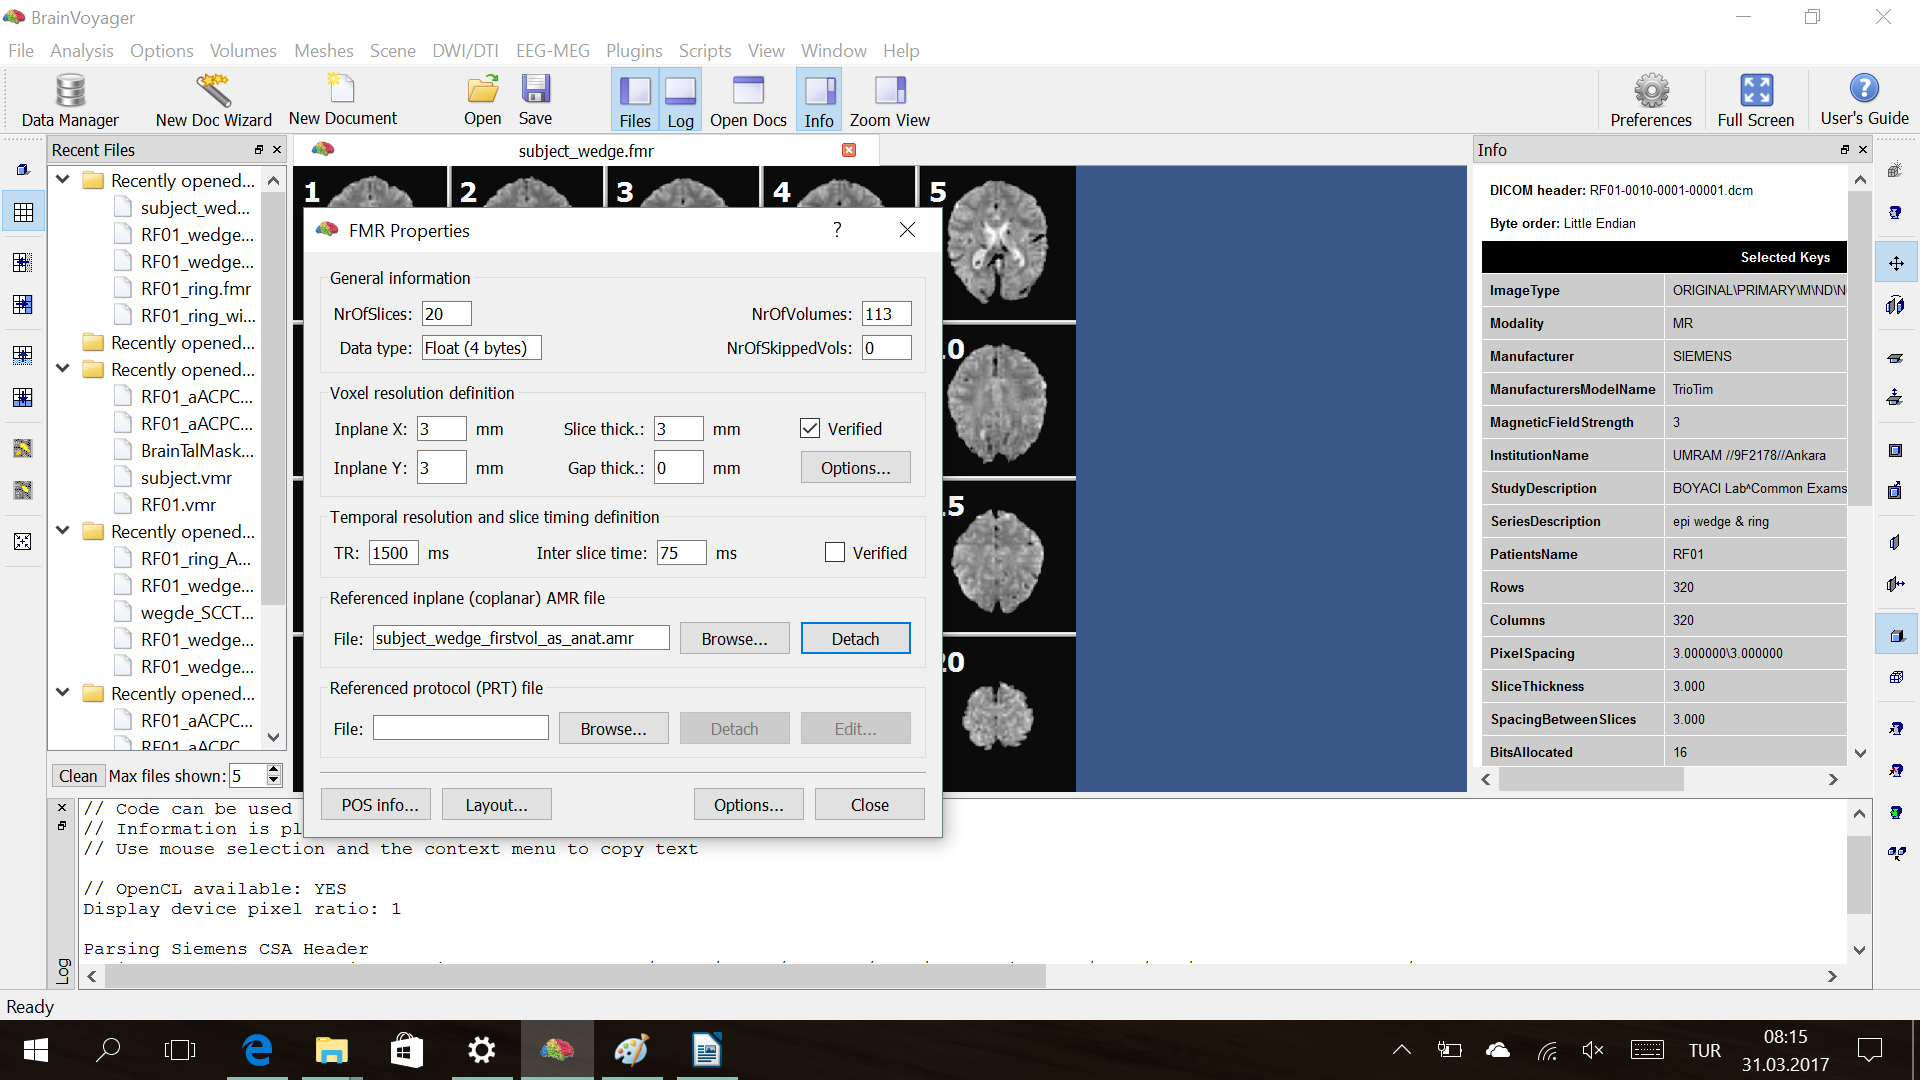
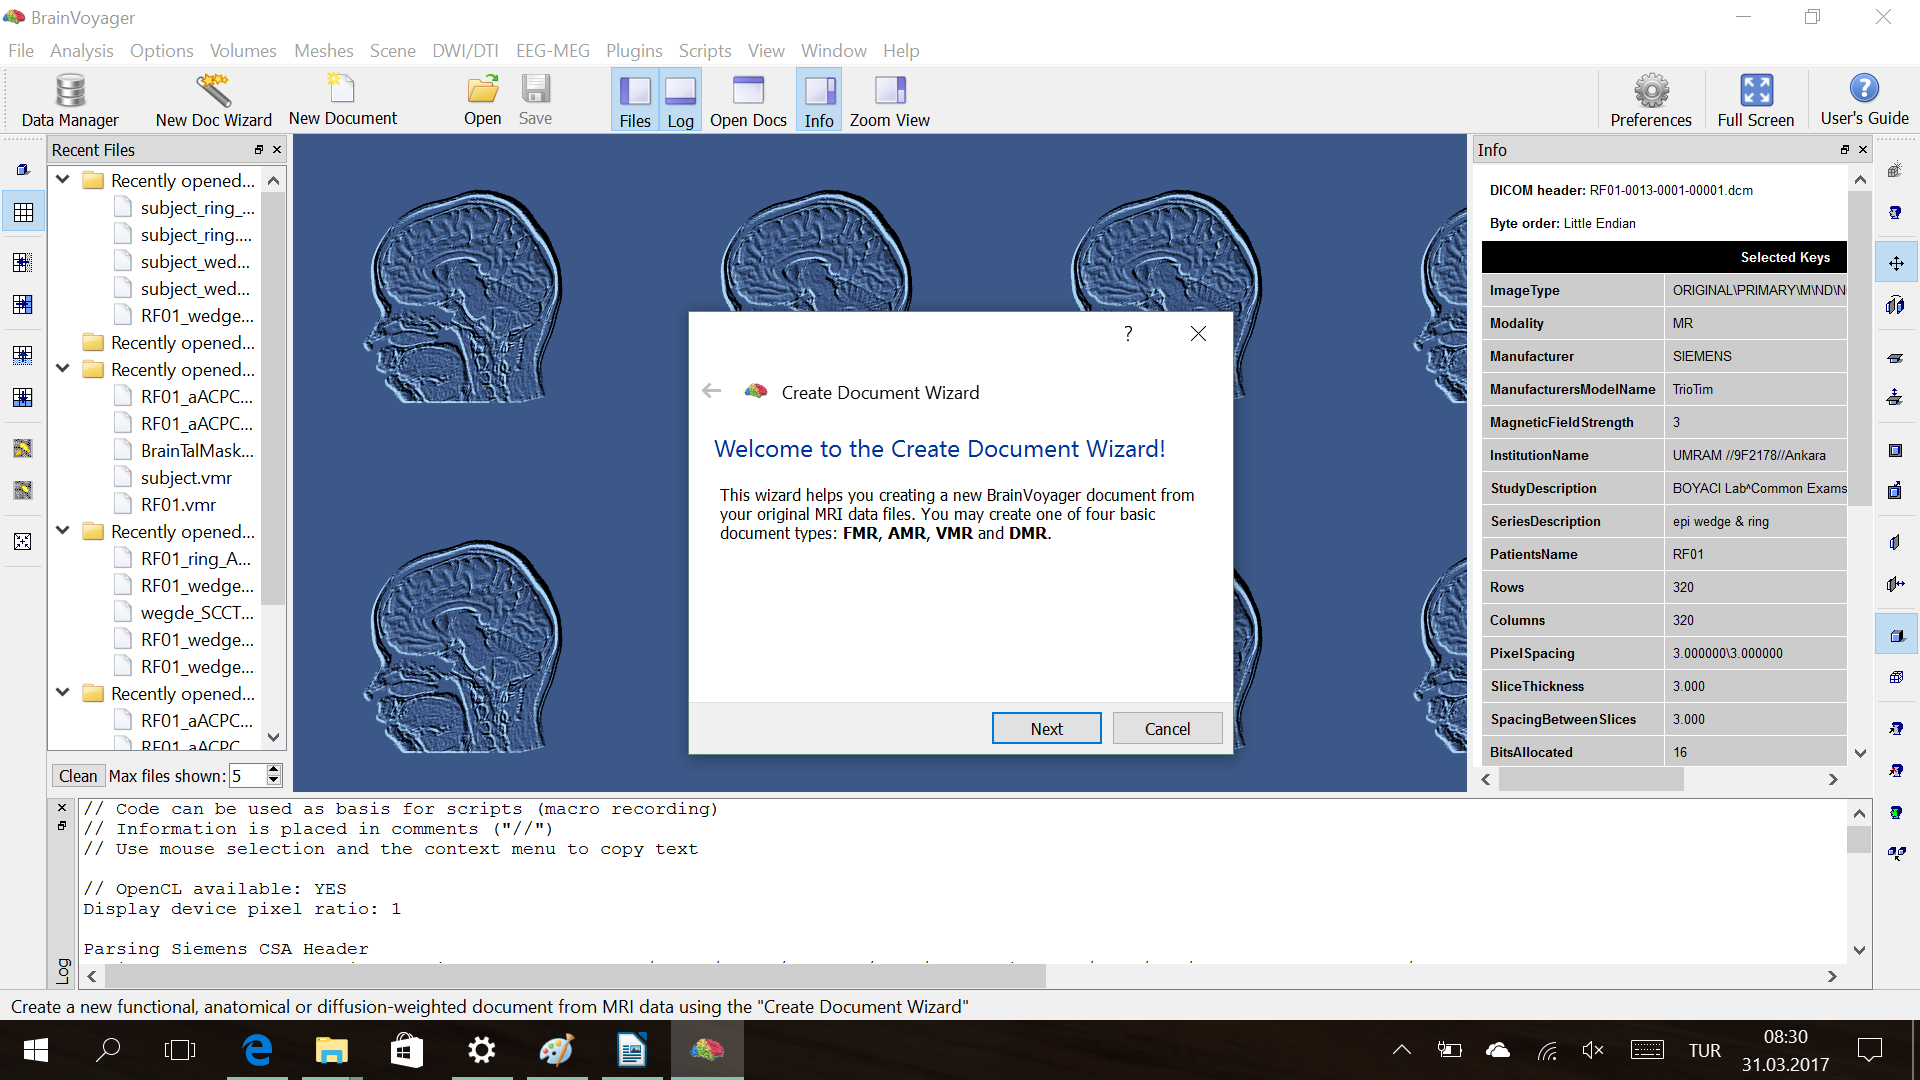
Step1. Create .fmr files for all functional run
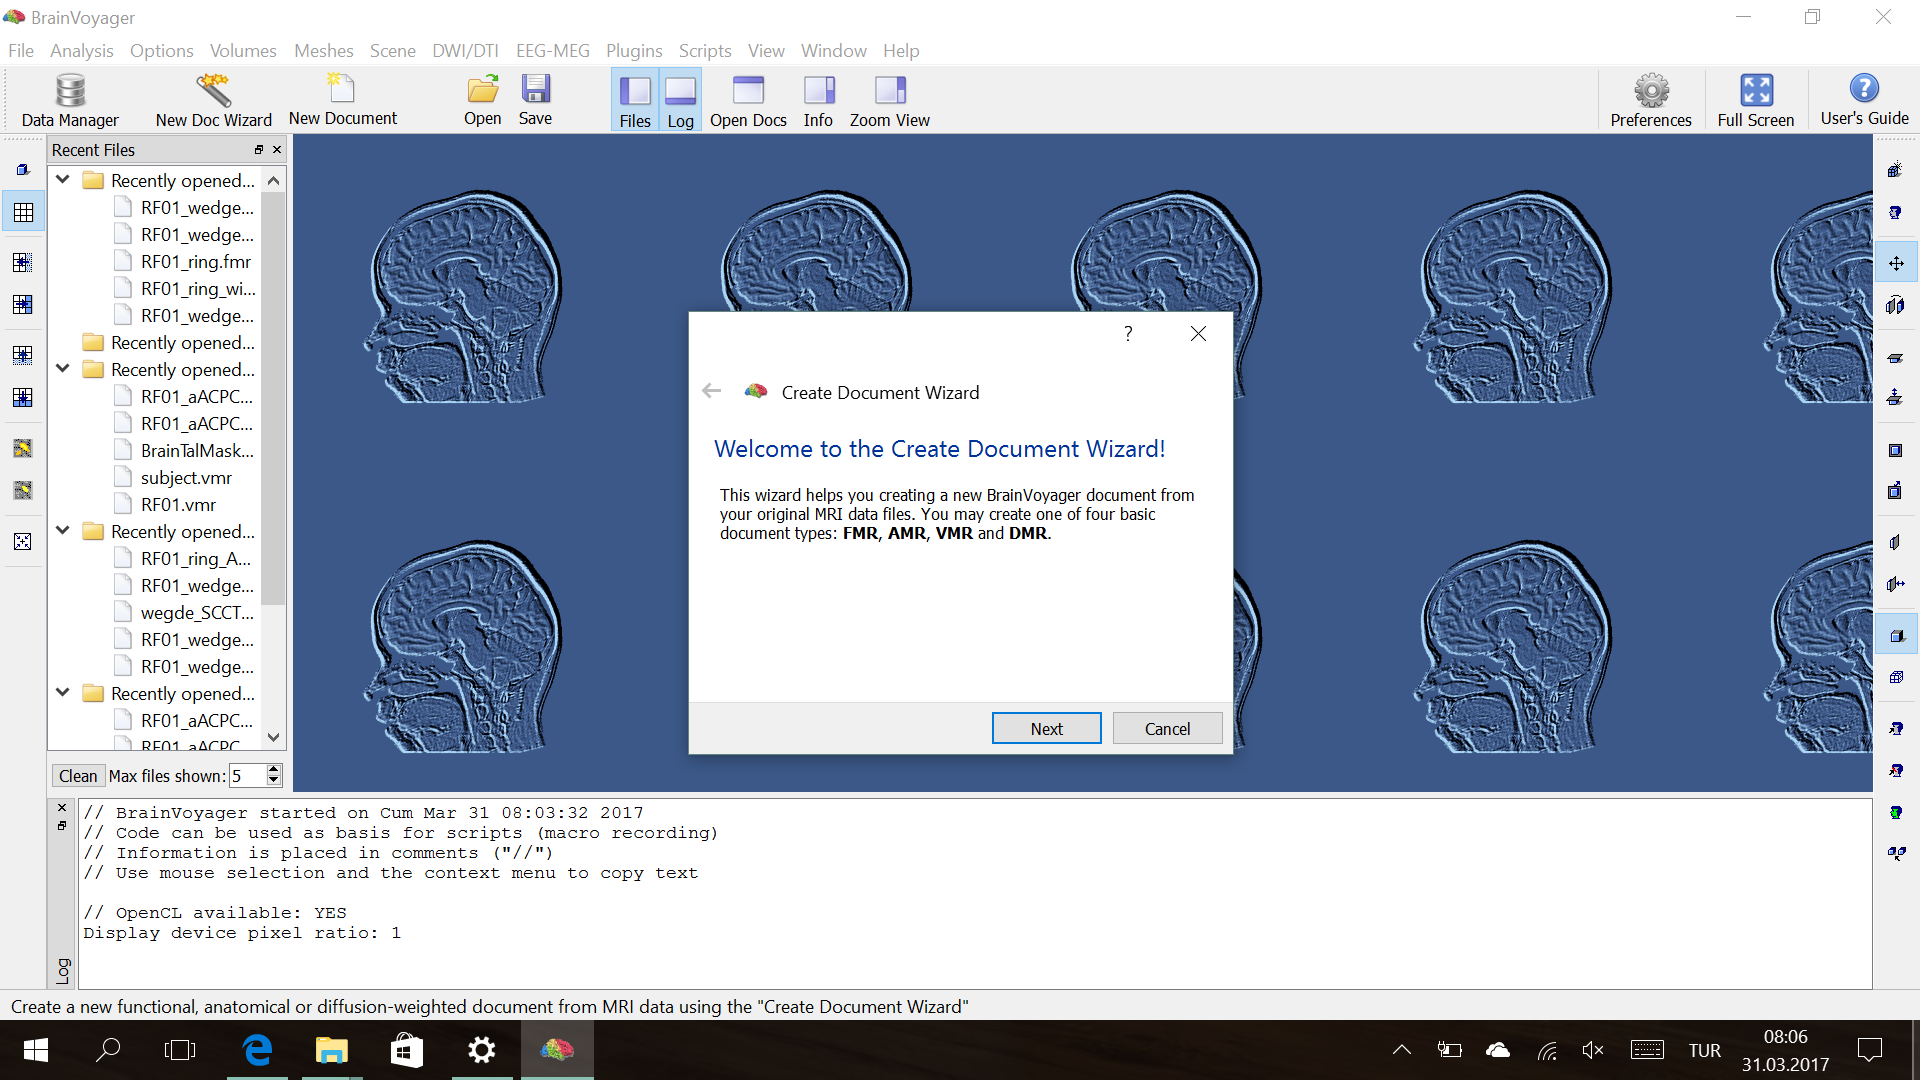
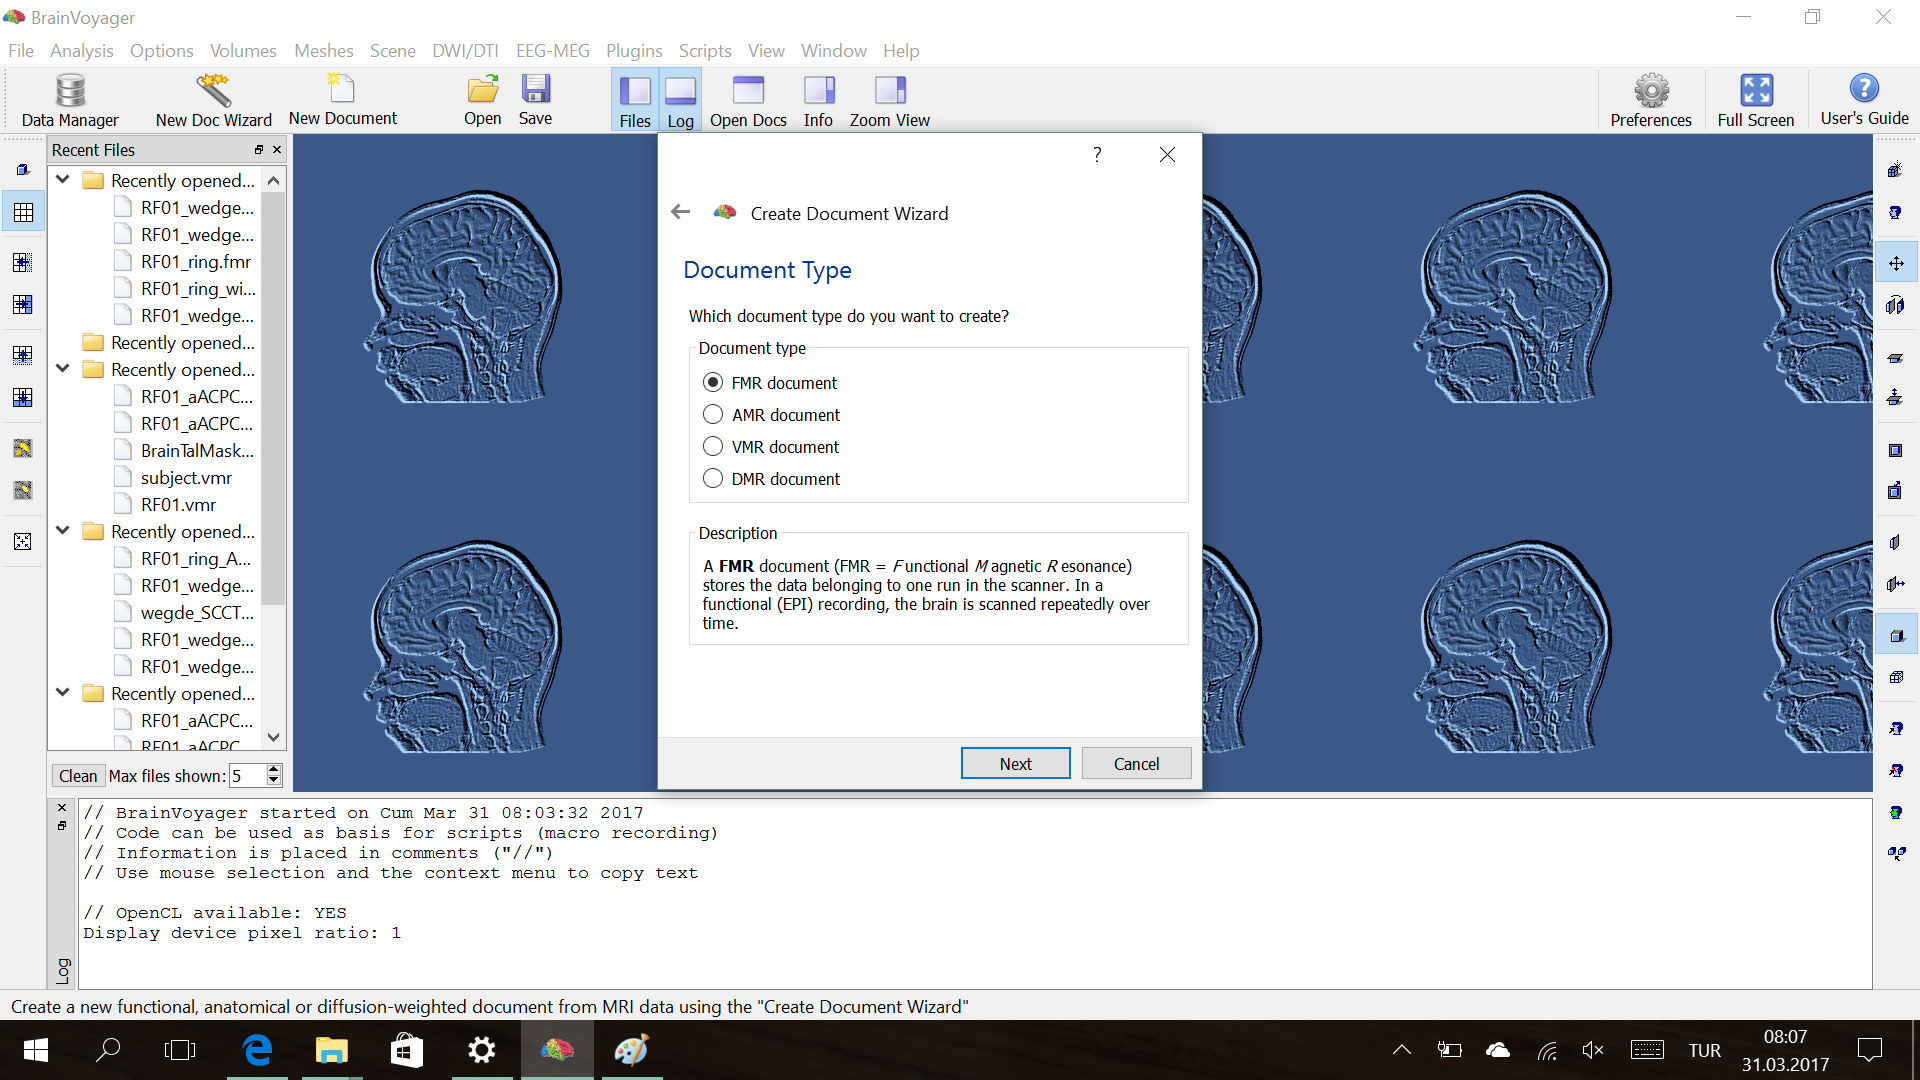
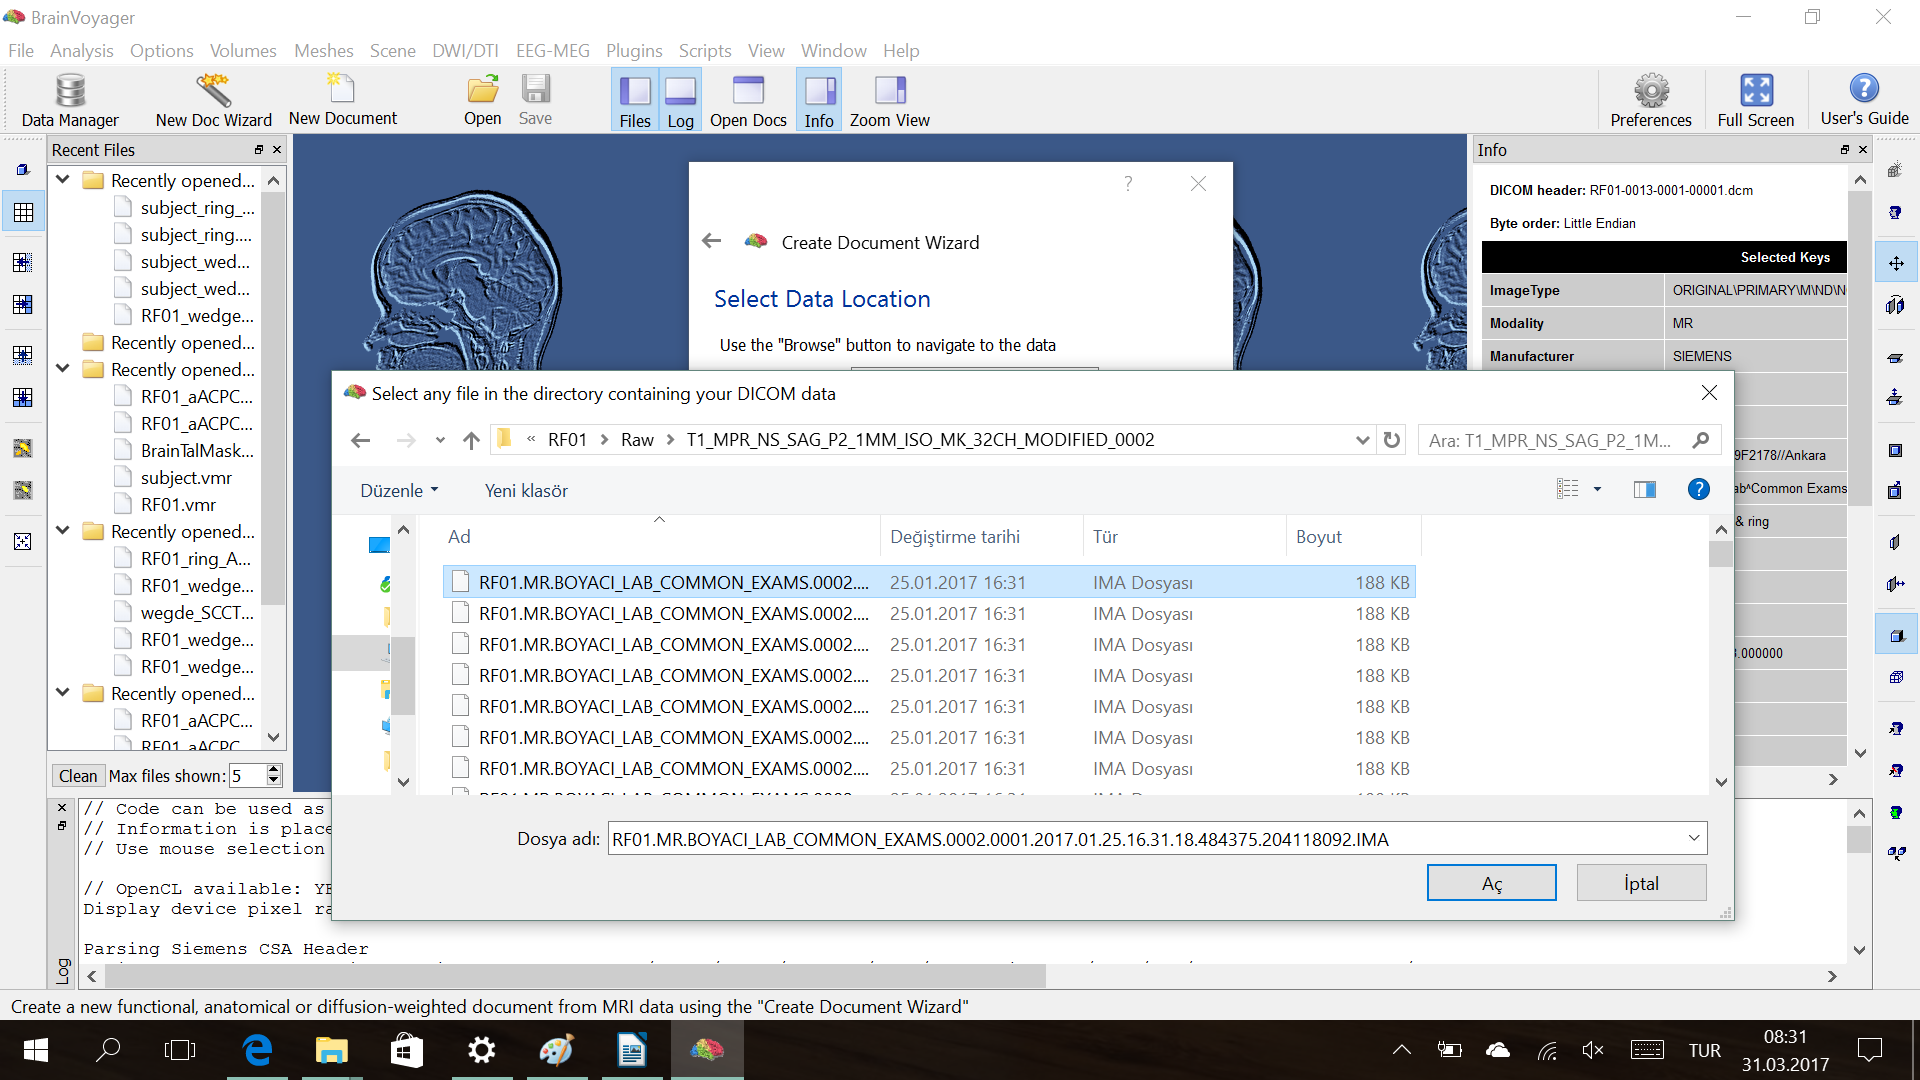
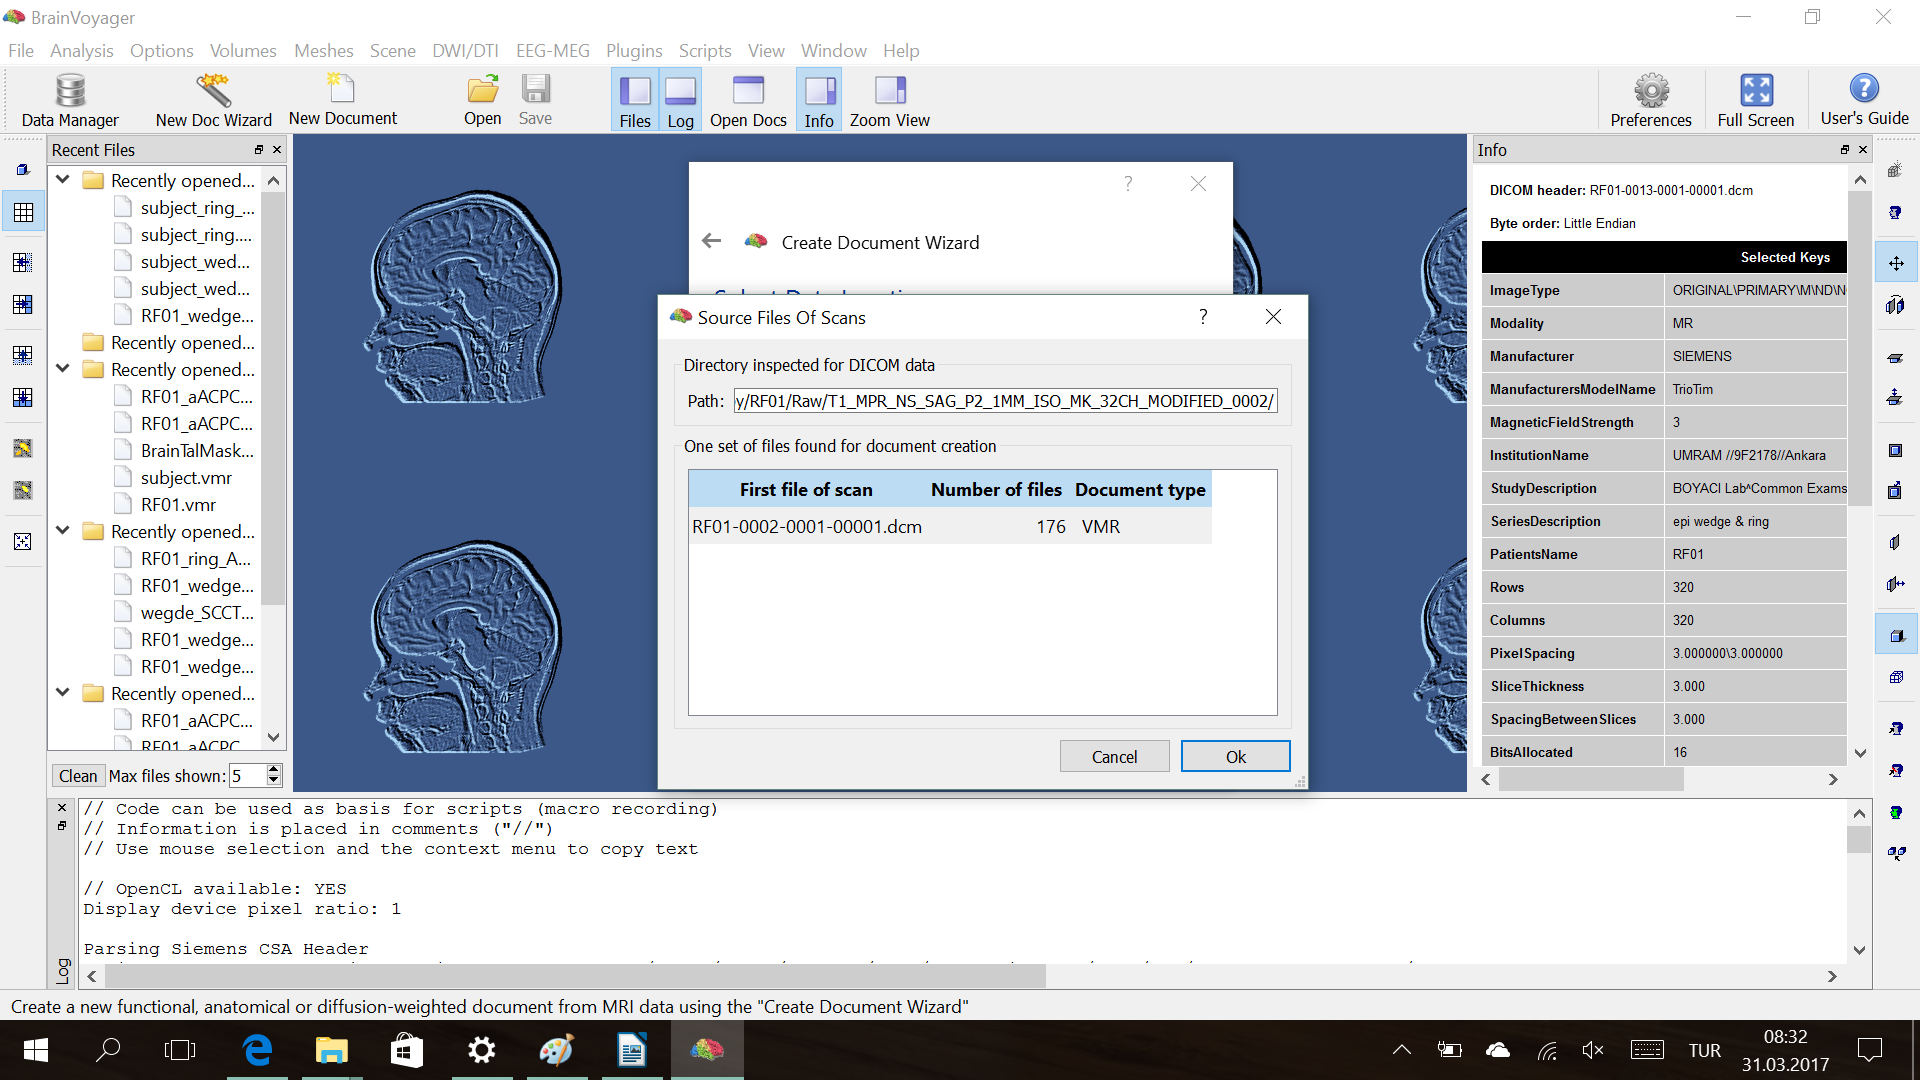
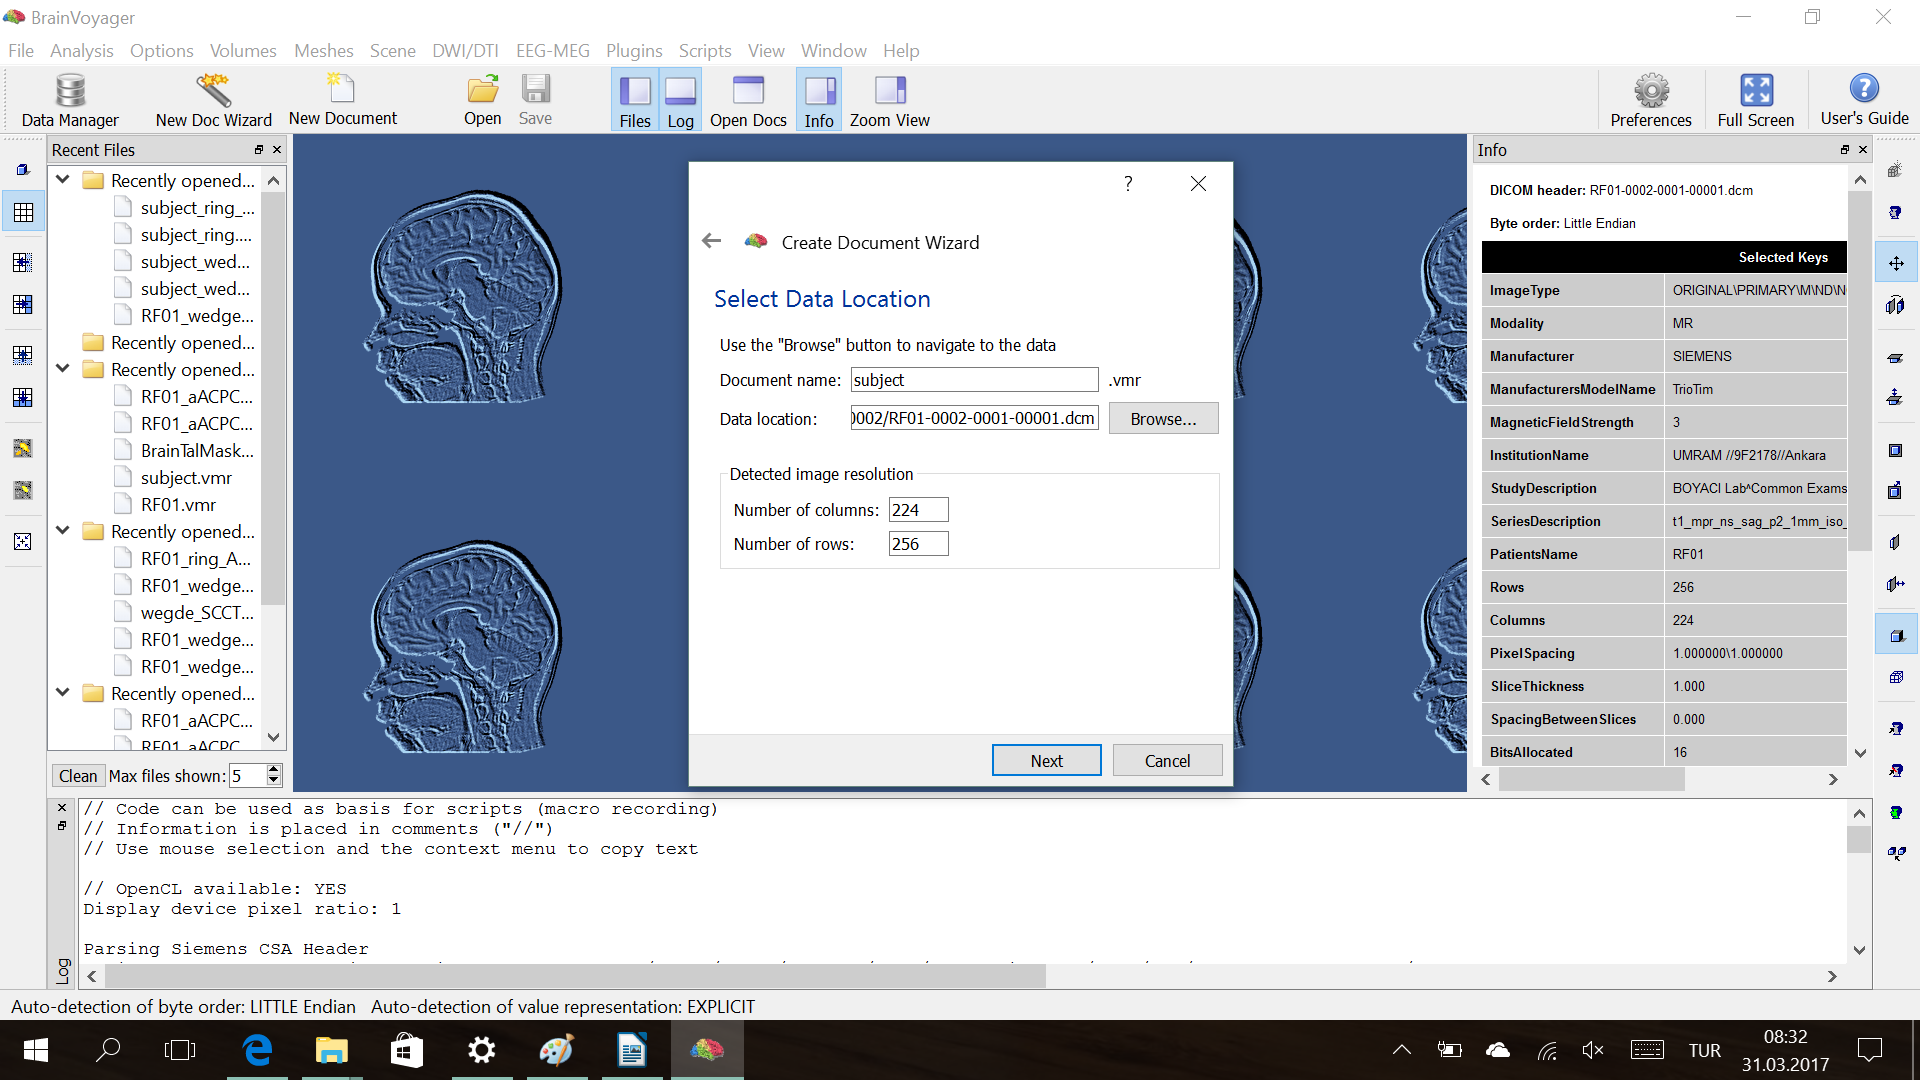
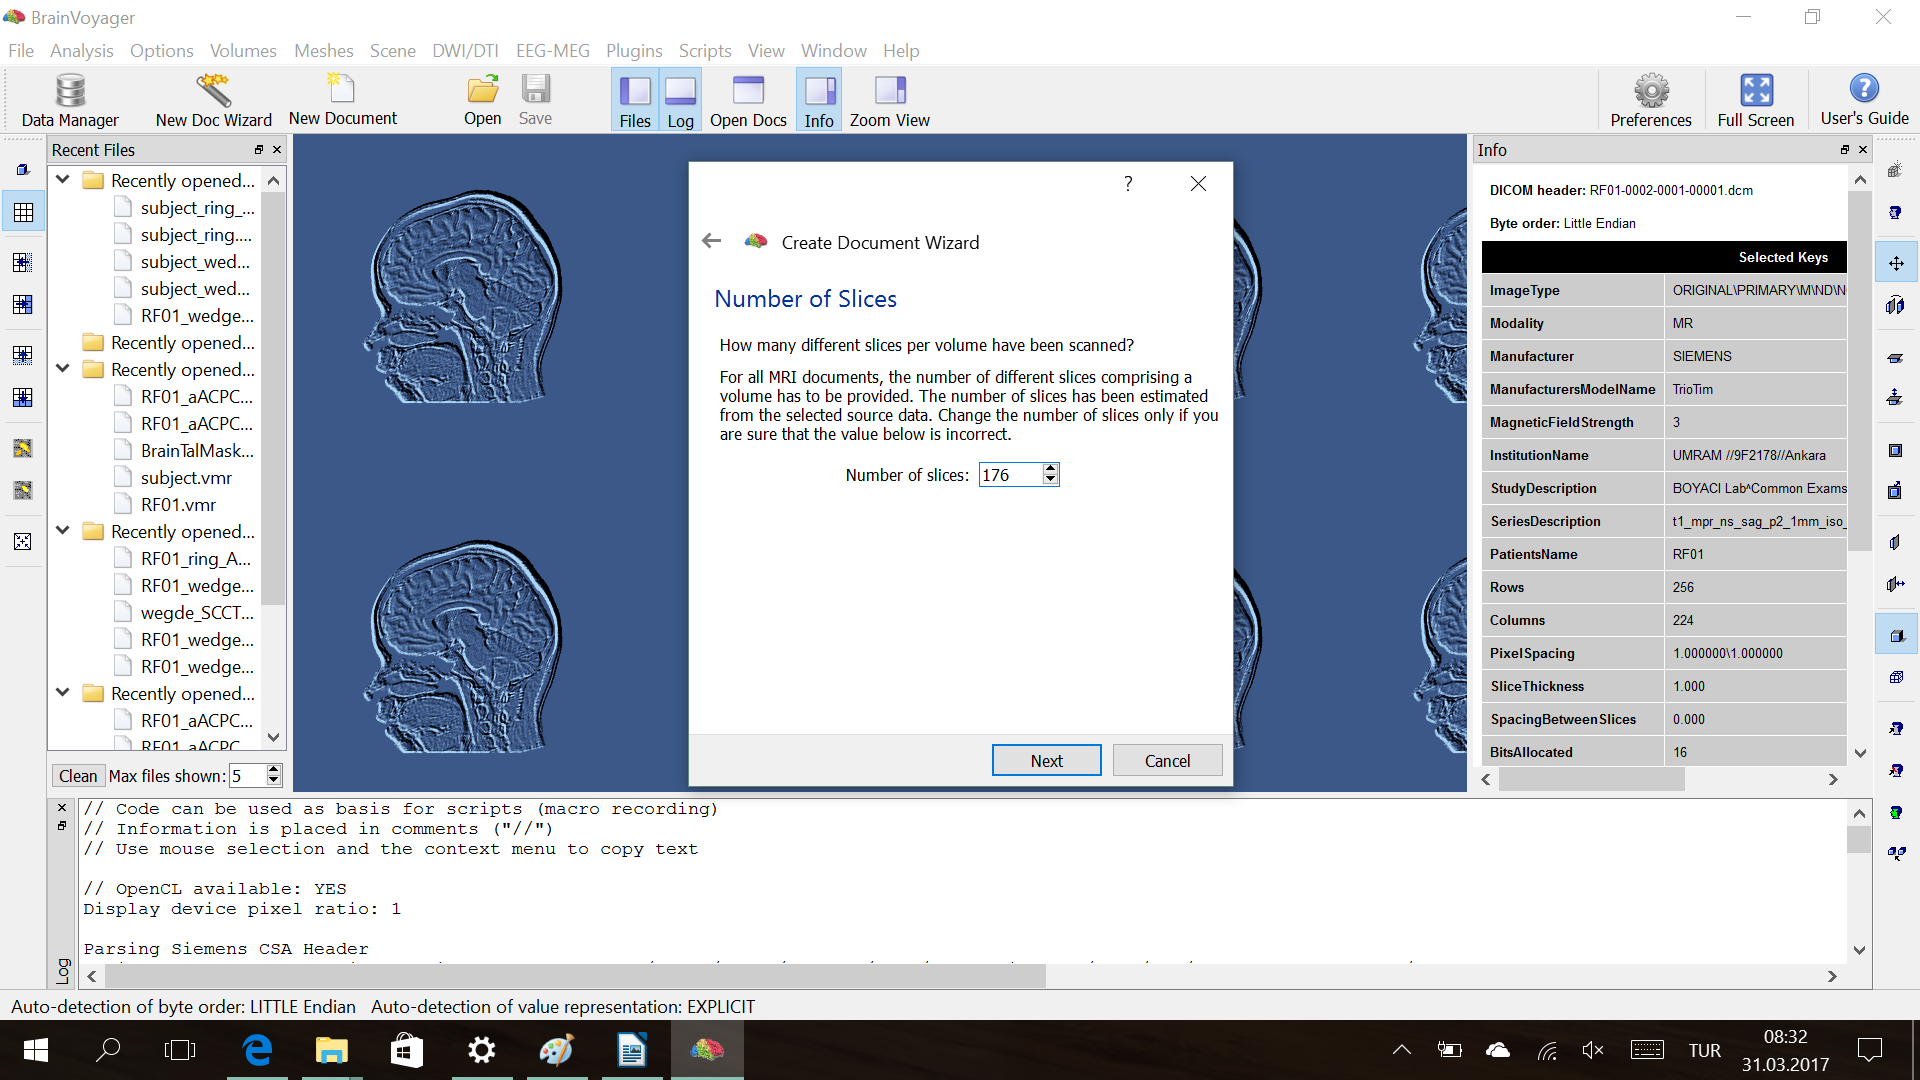
New Doc Wizard → follow the steps for FMR
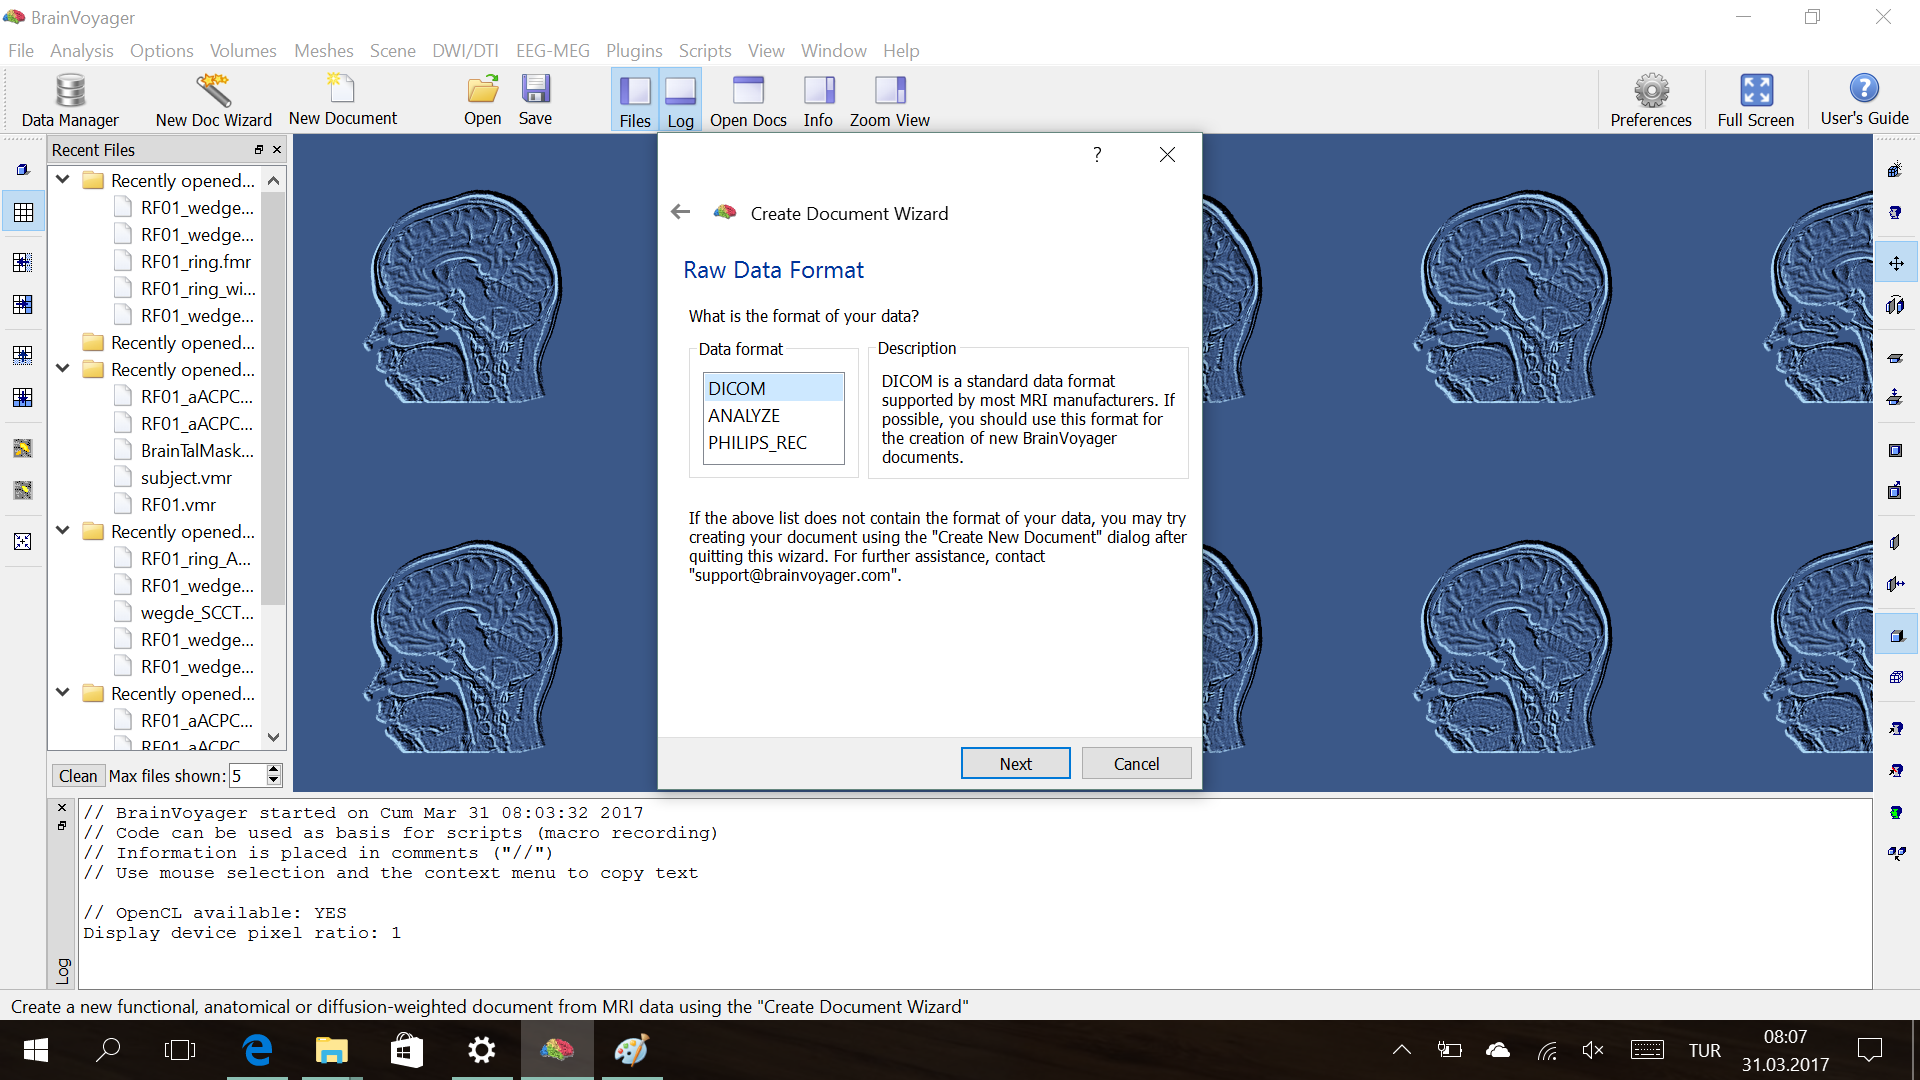
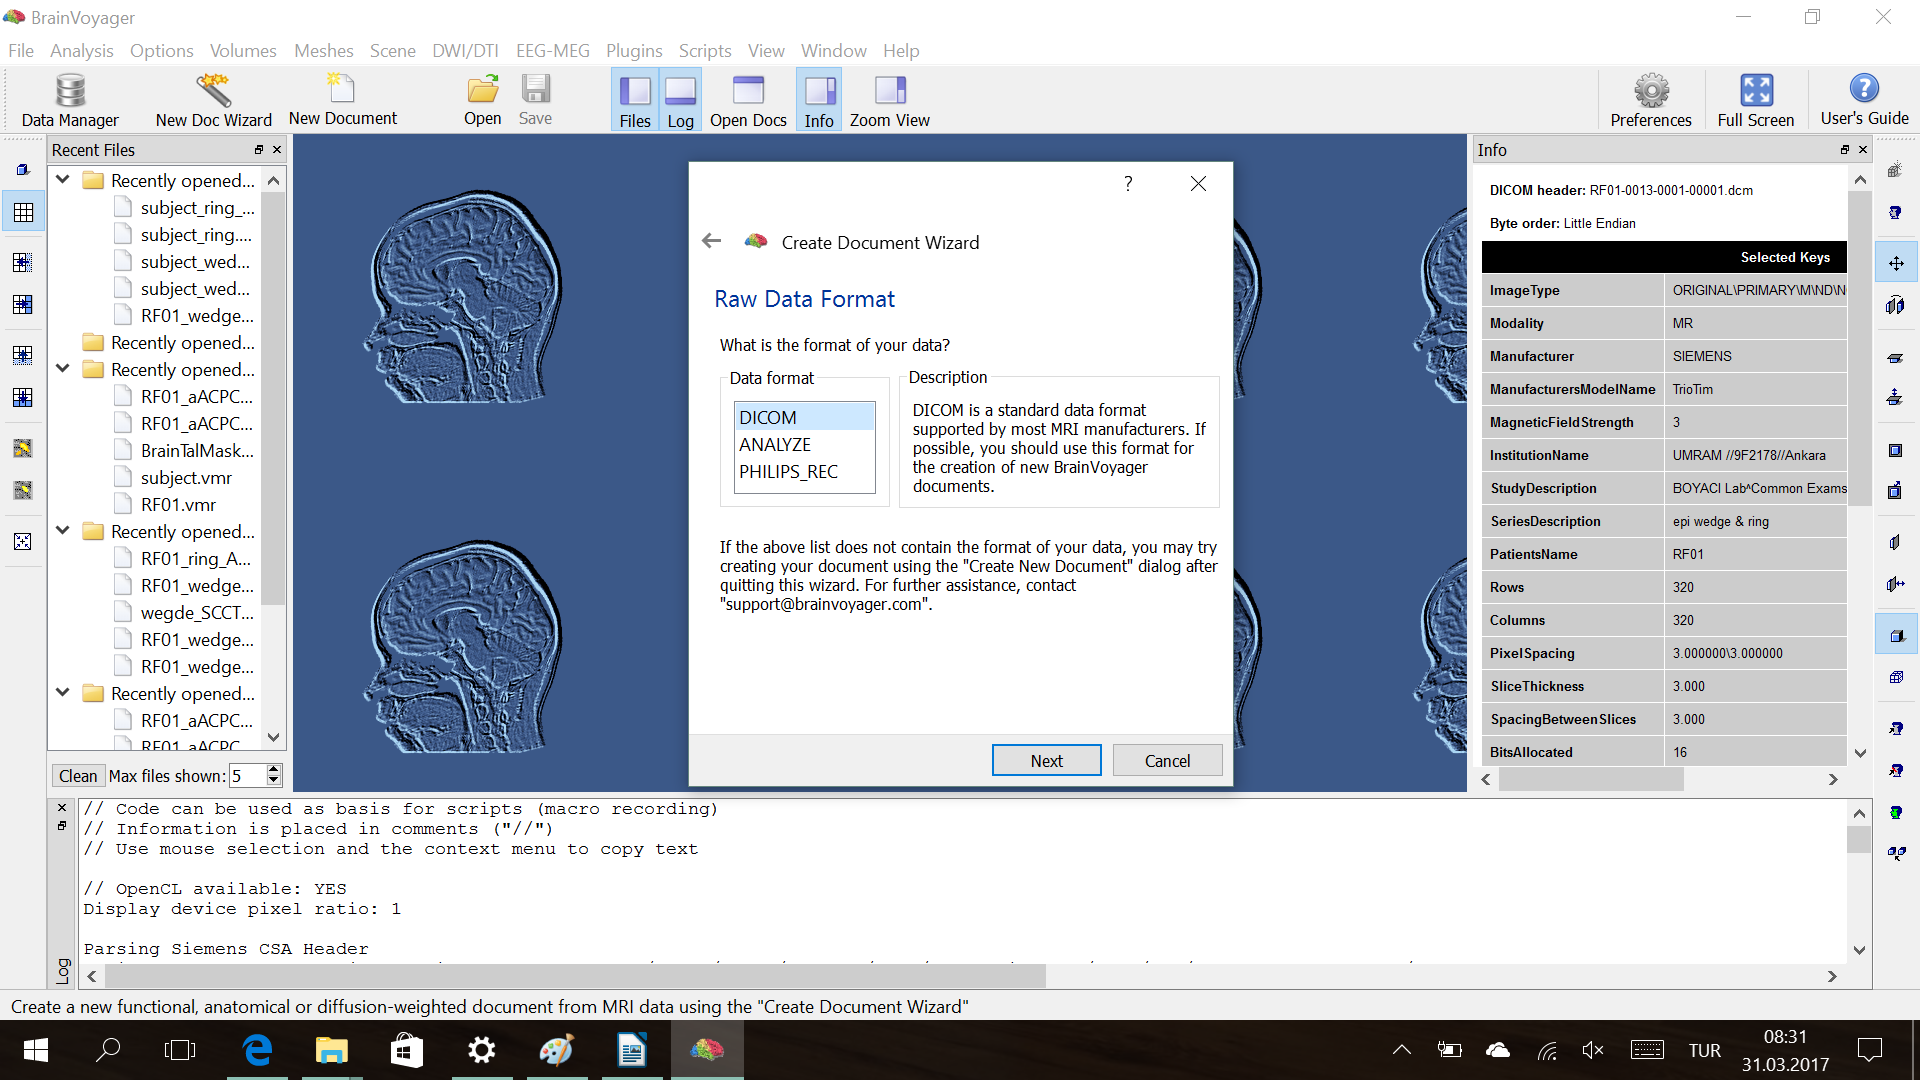
– Use DICOM as file format.
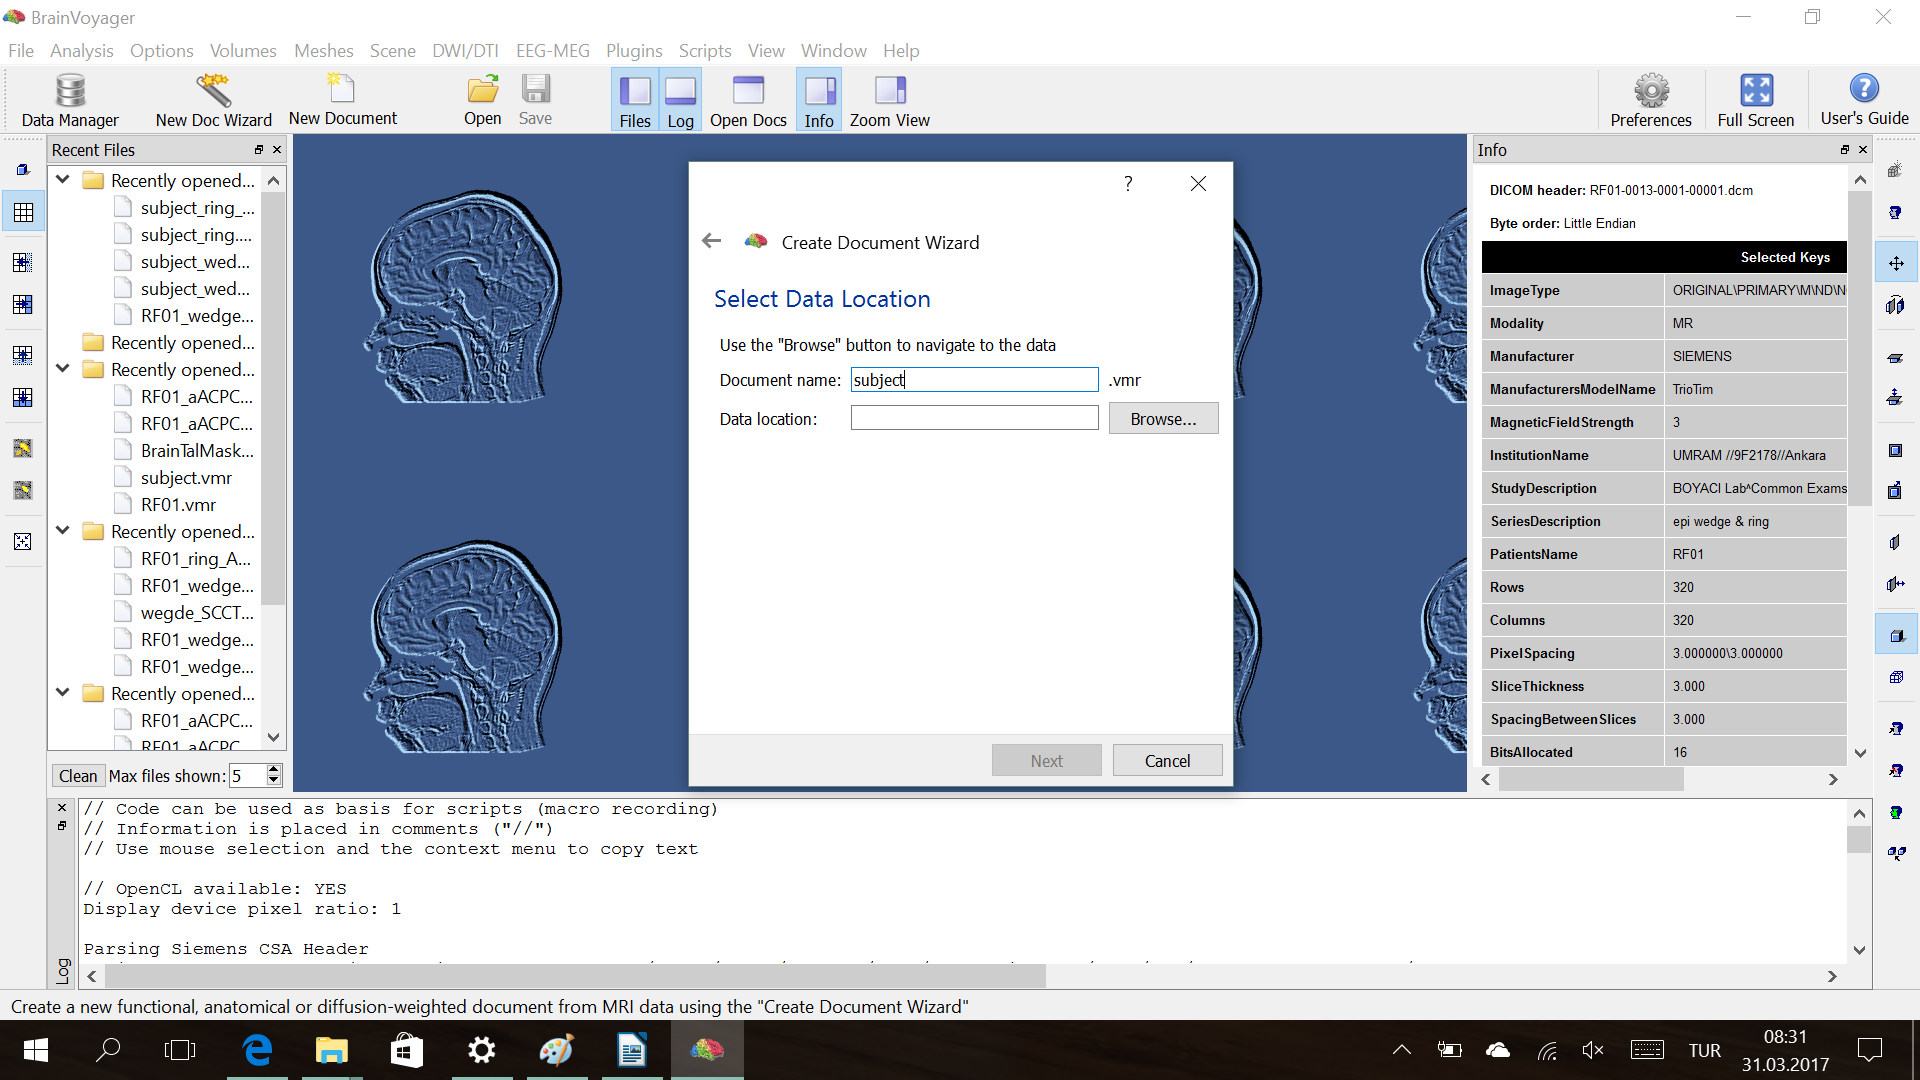
– Your data file is saved by BV automatically.
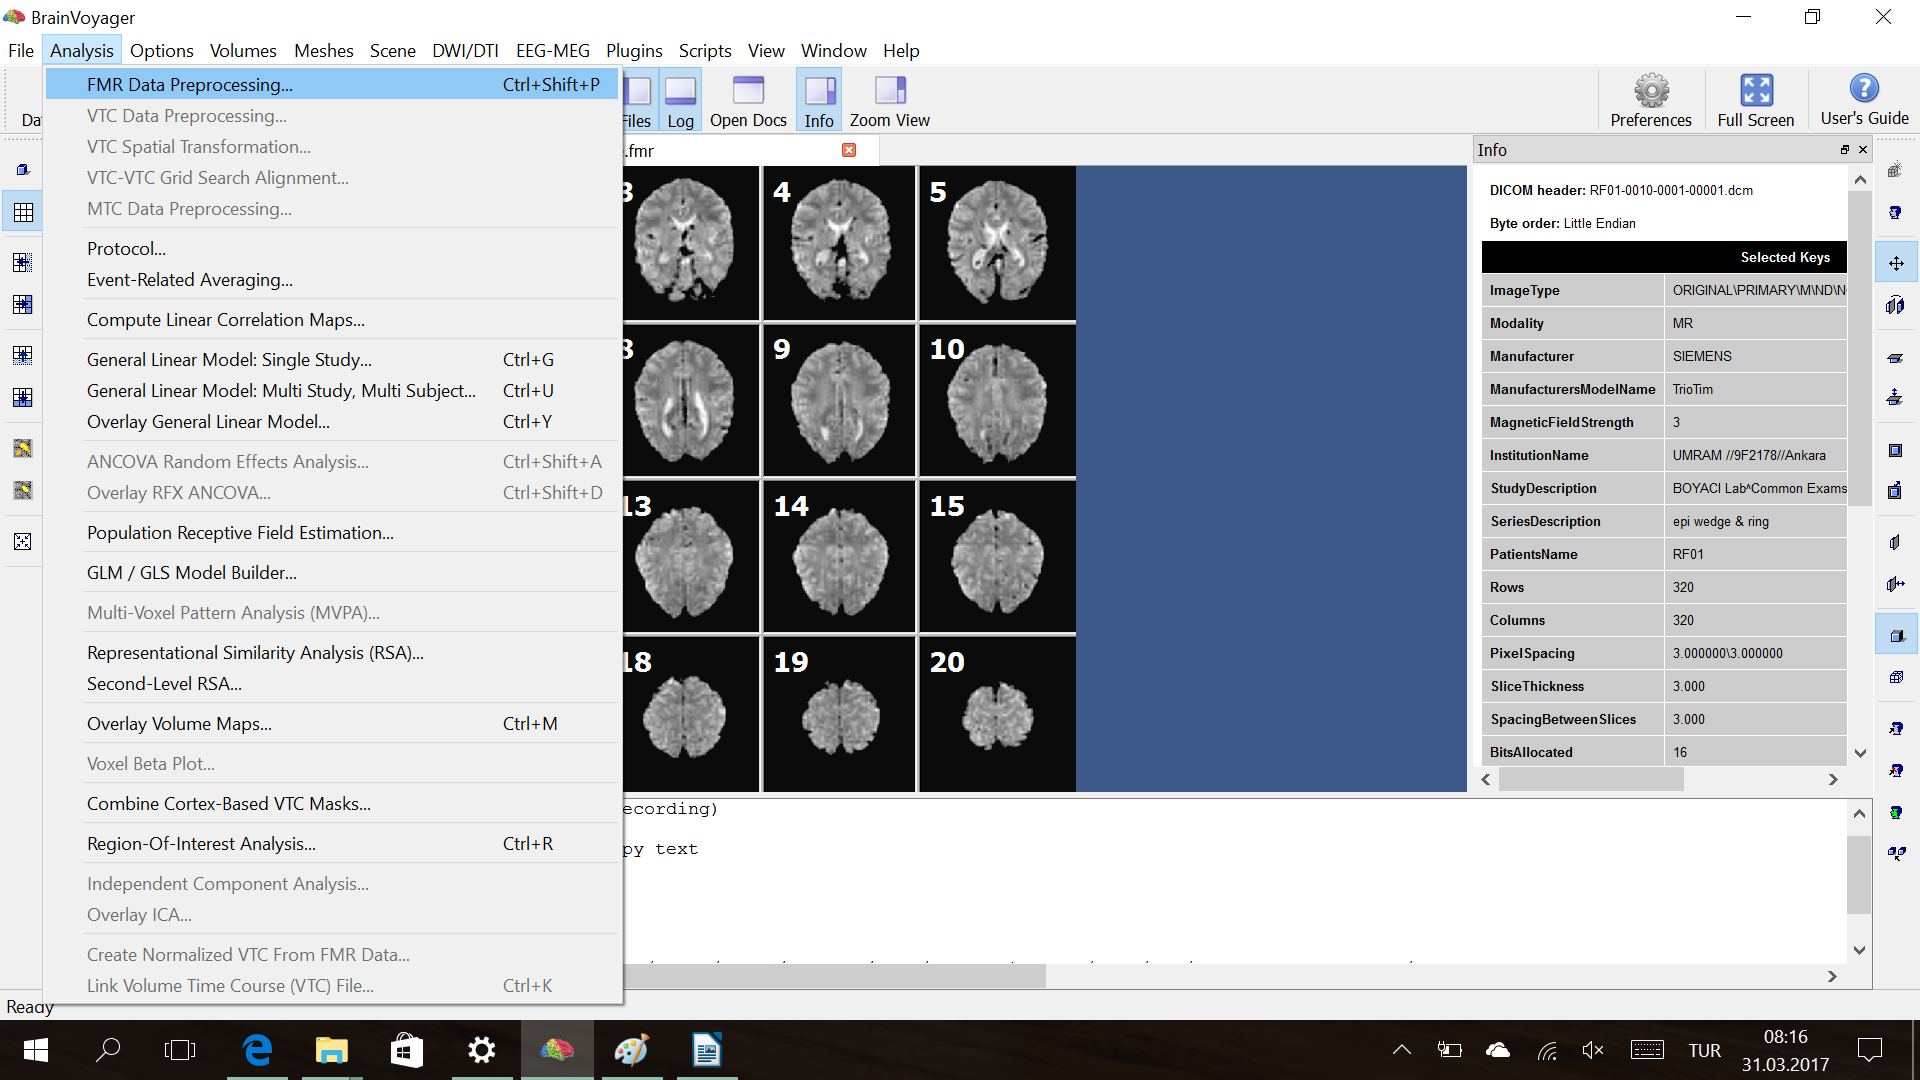
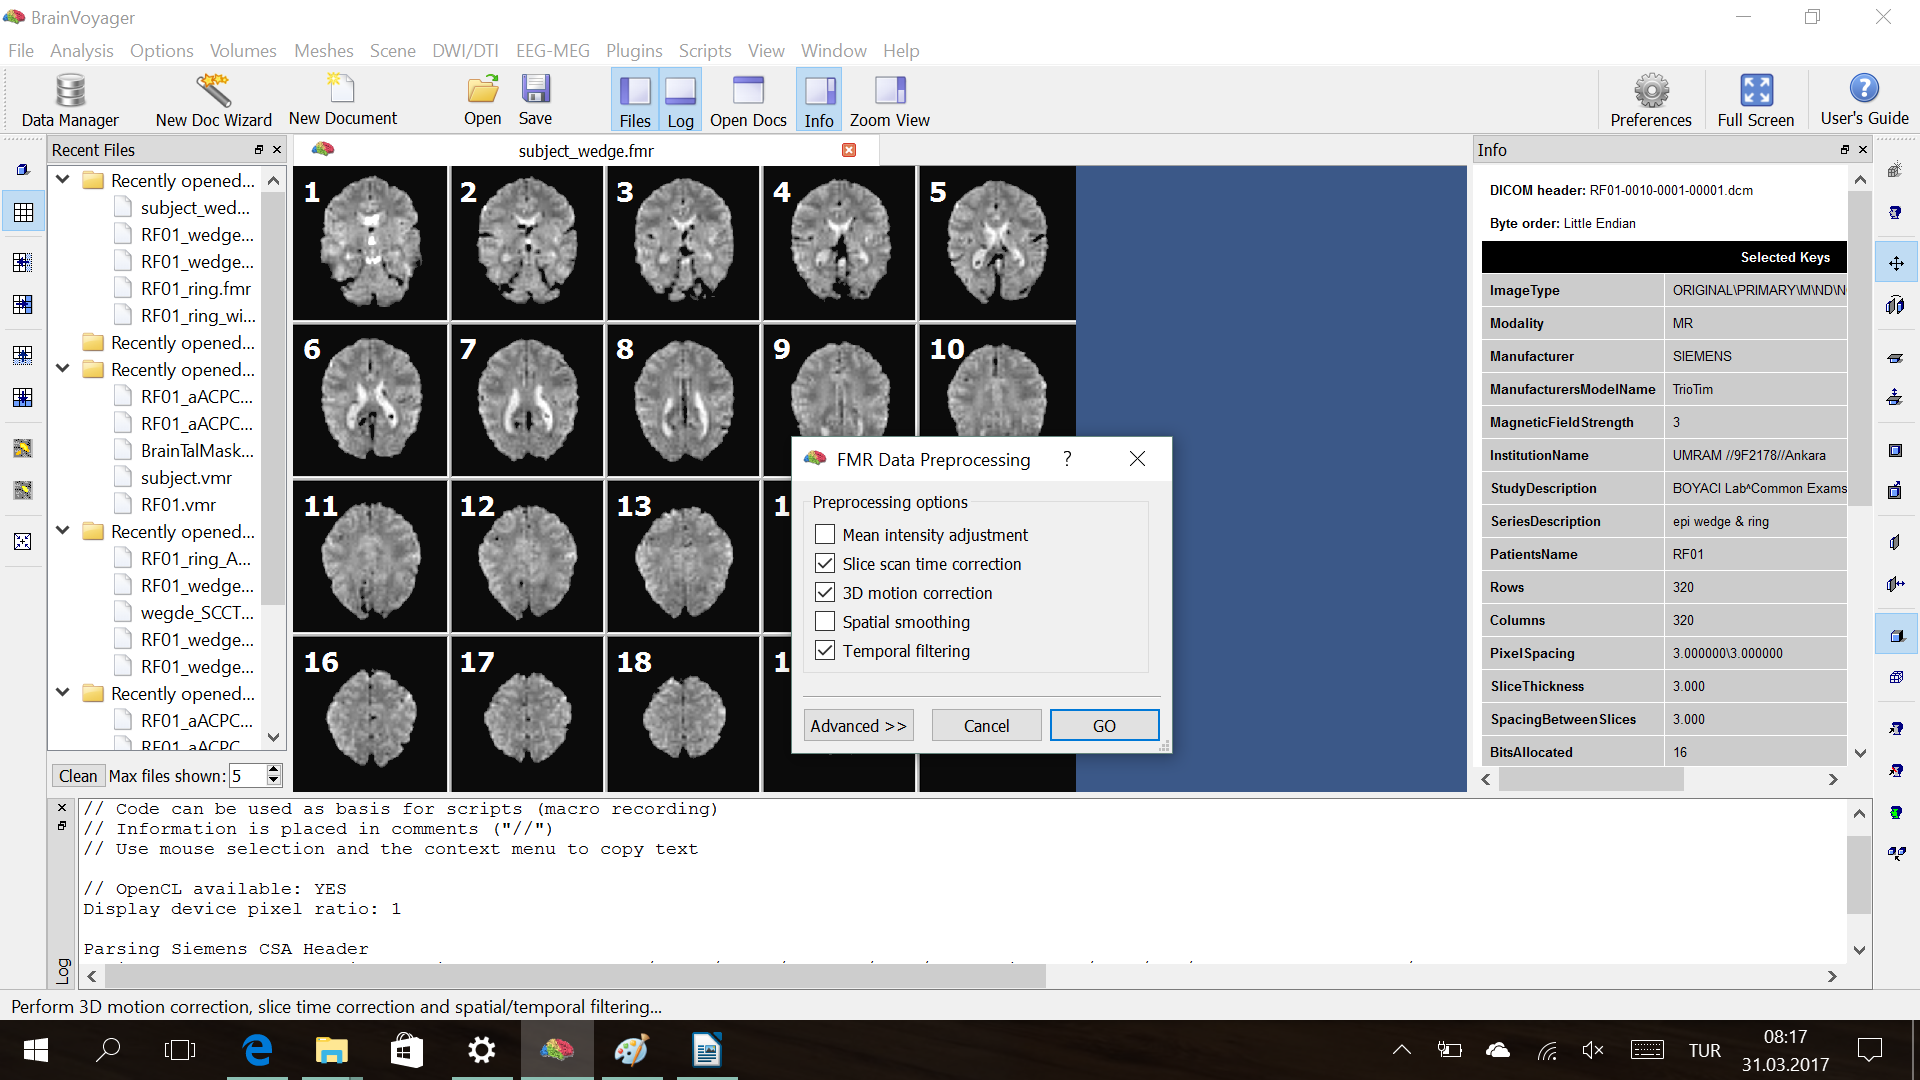
Step2. Preprocessing for all .fmr files
Anaysis → FMR Data Processing
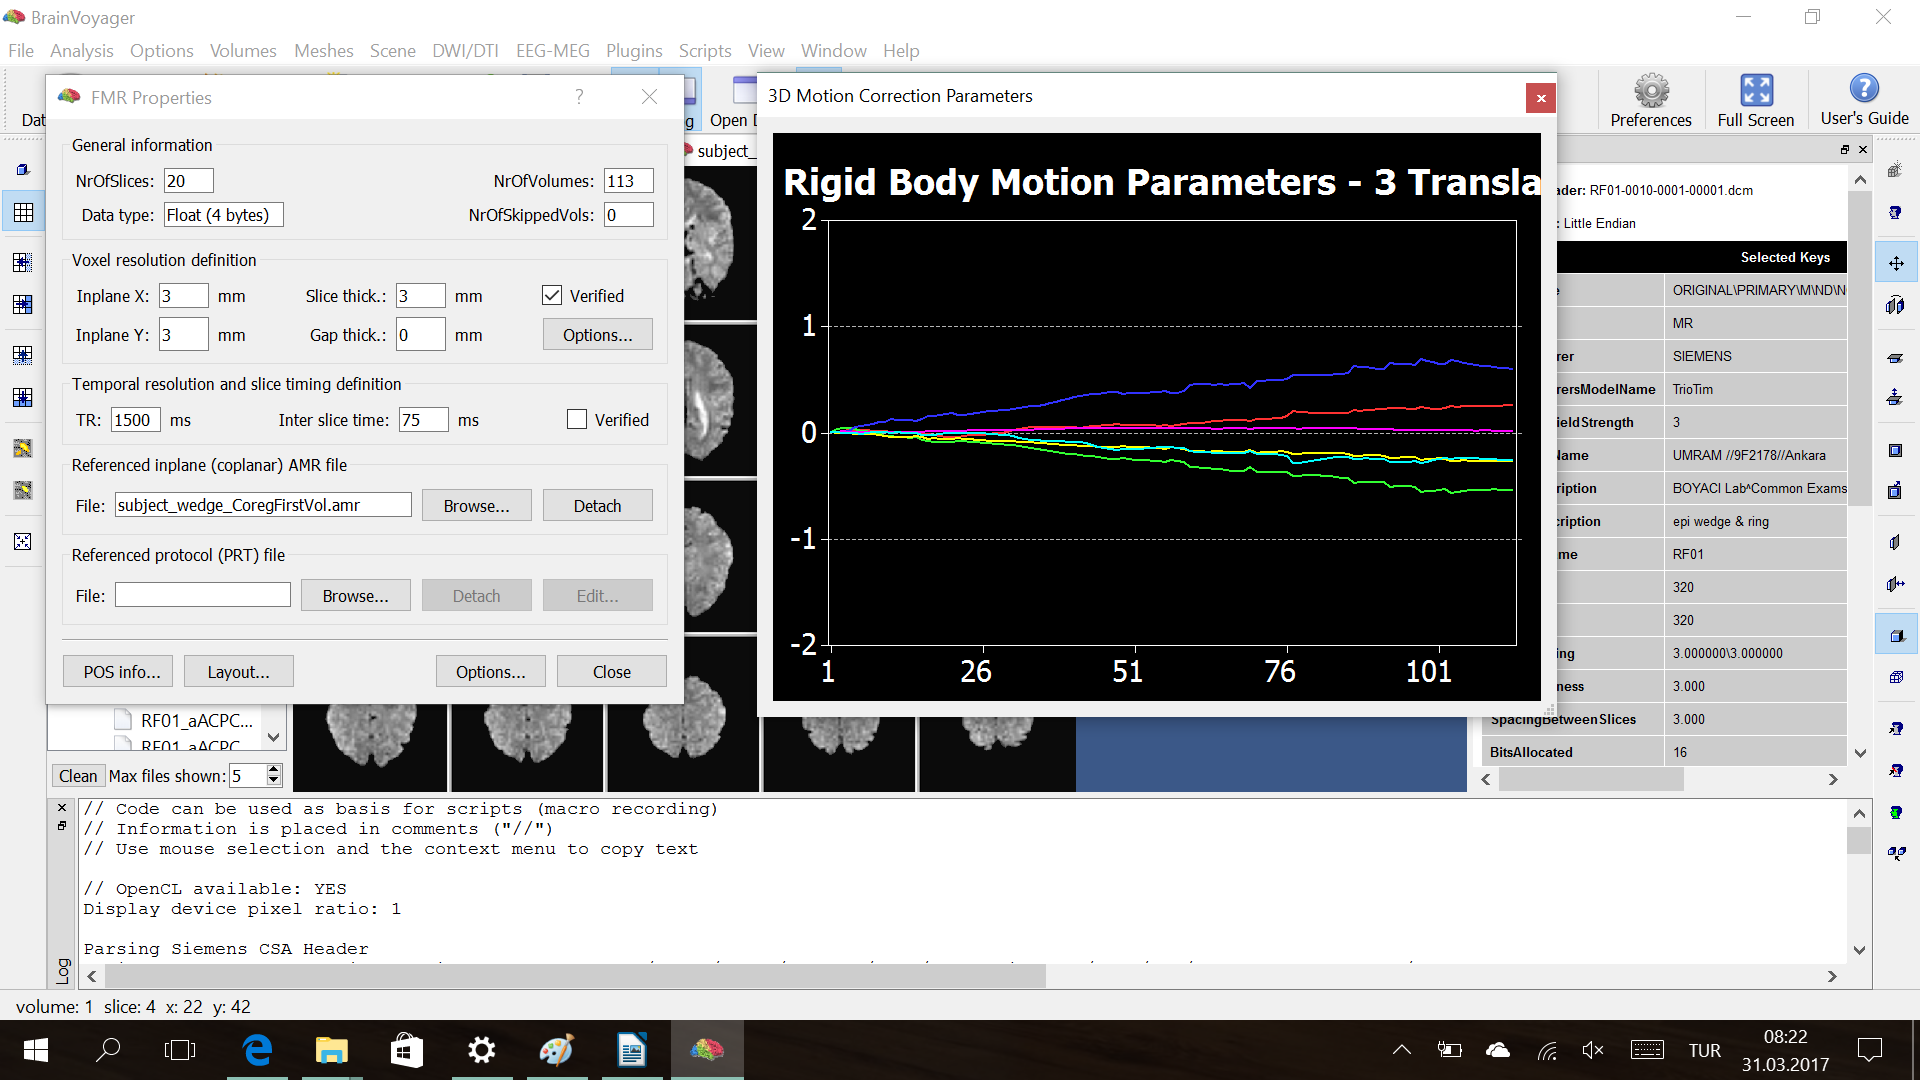
– 3D motion correction takes a few minutes and also “touches” the data. If you can, don’t perform 3D motion correction.
– Your preprocessed data file is saved by BV automatically.
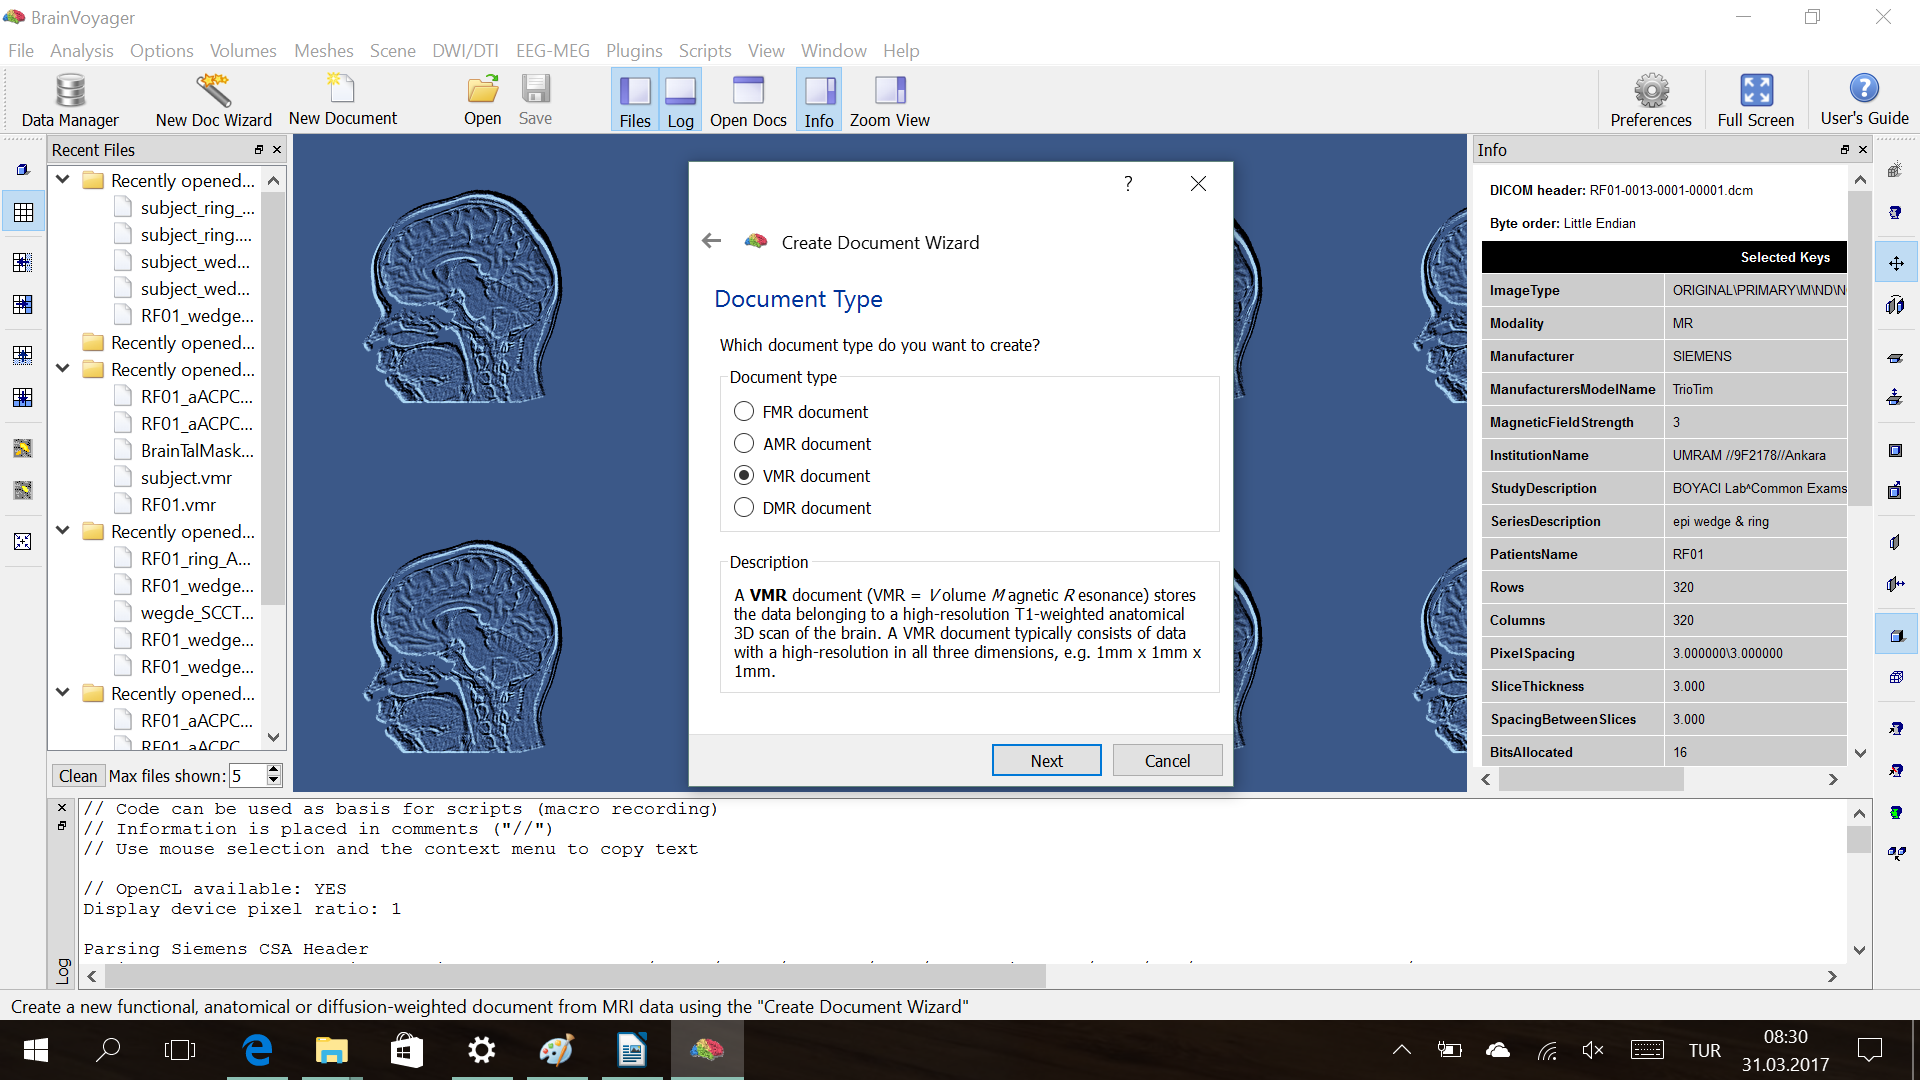
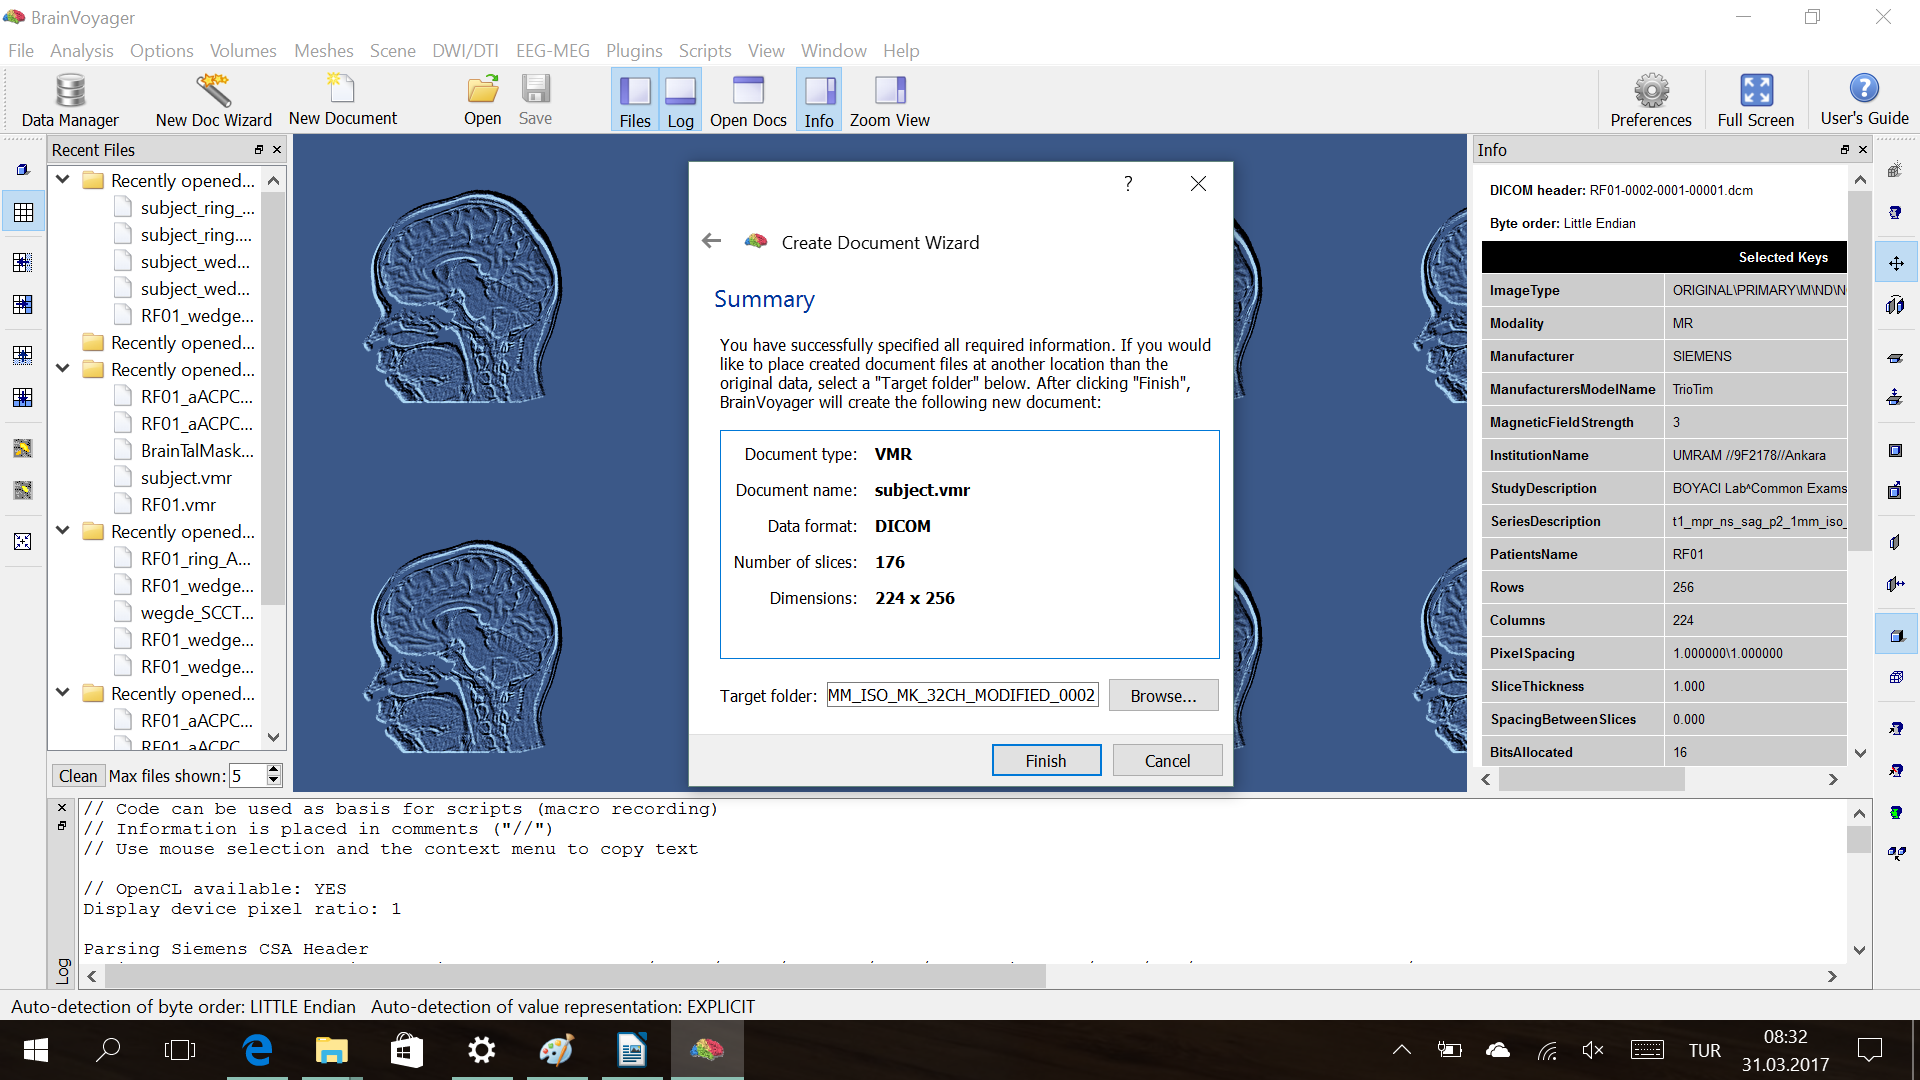
Step3. Create .vmr file for the t1-weighted or Anatomical run
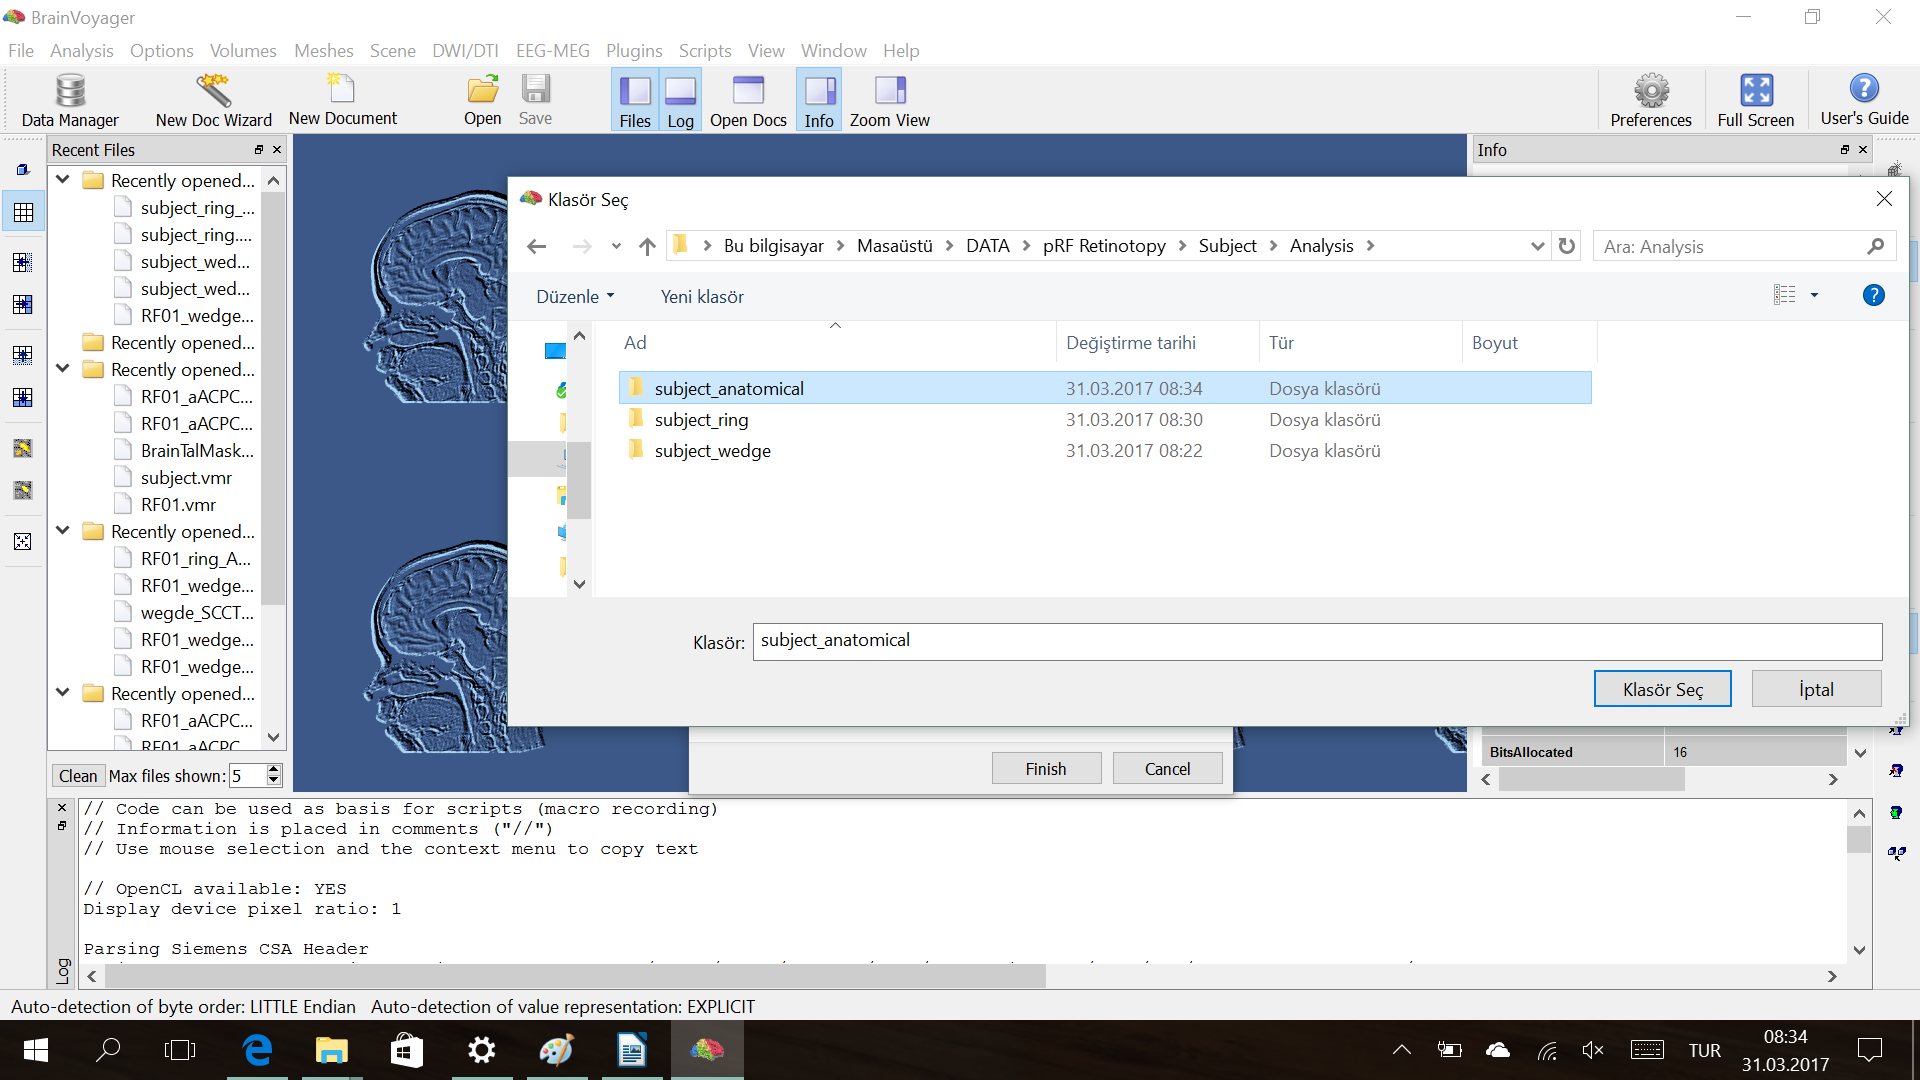
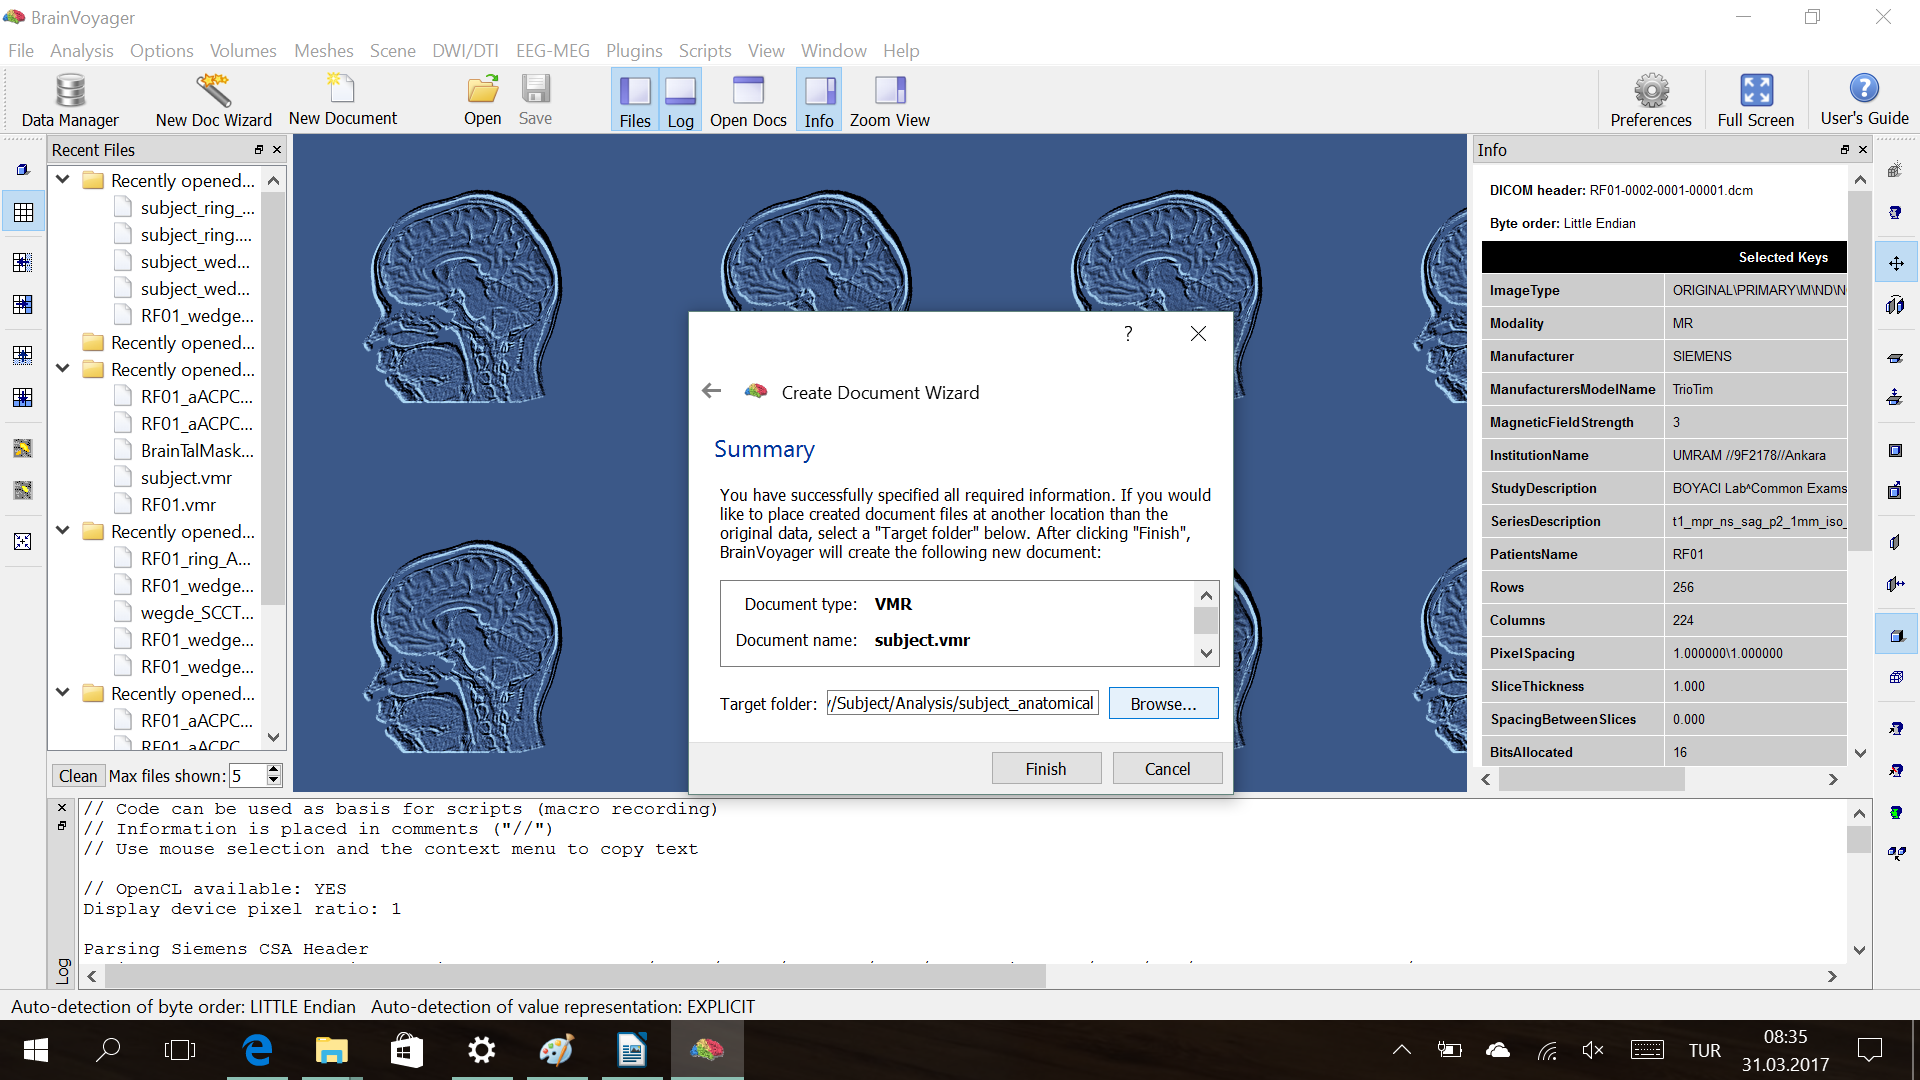
New Doc Wizard → follow the steps for VMR
– Use DICOM as file format.
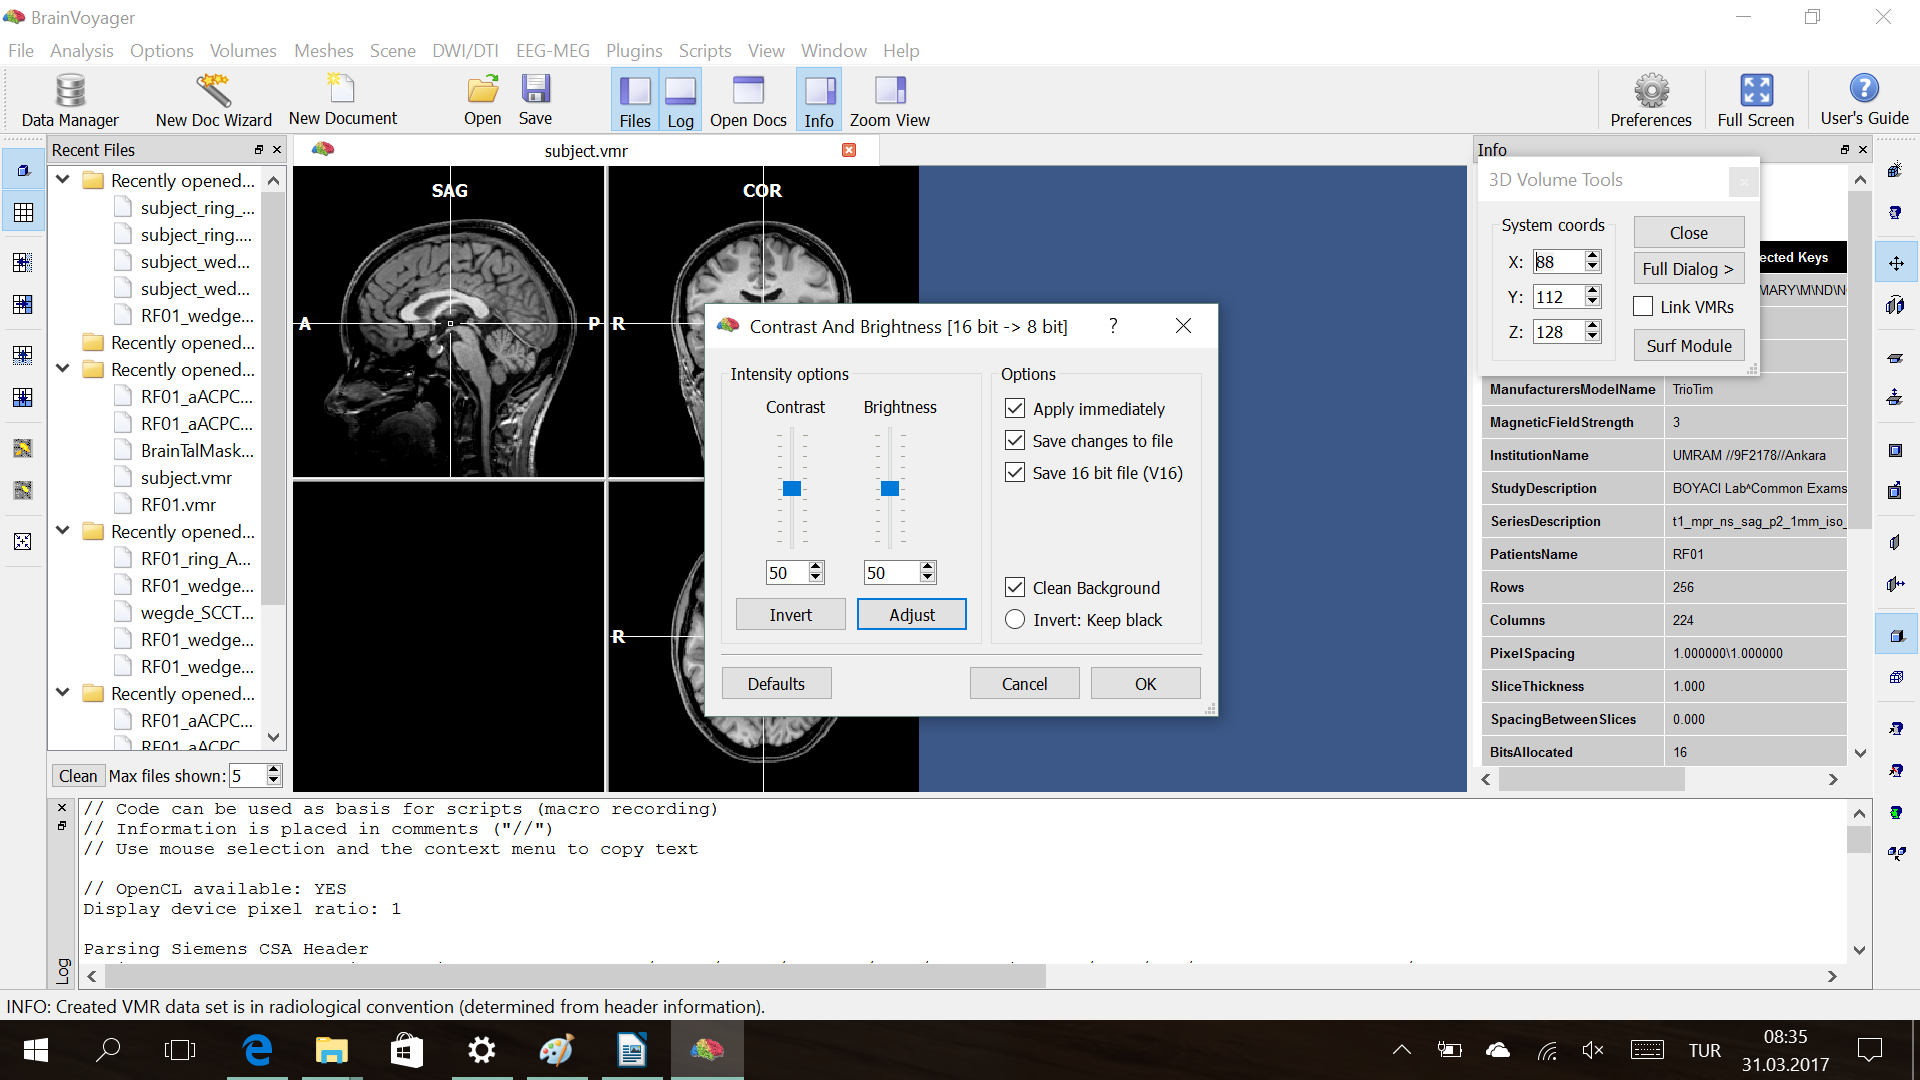
– Your data file is saved by BV automatically.
Step4. ACPC transformation
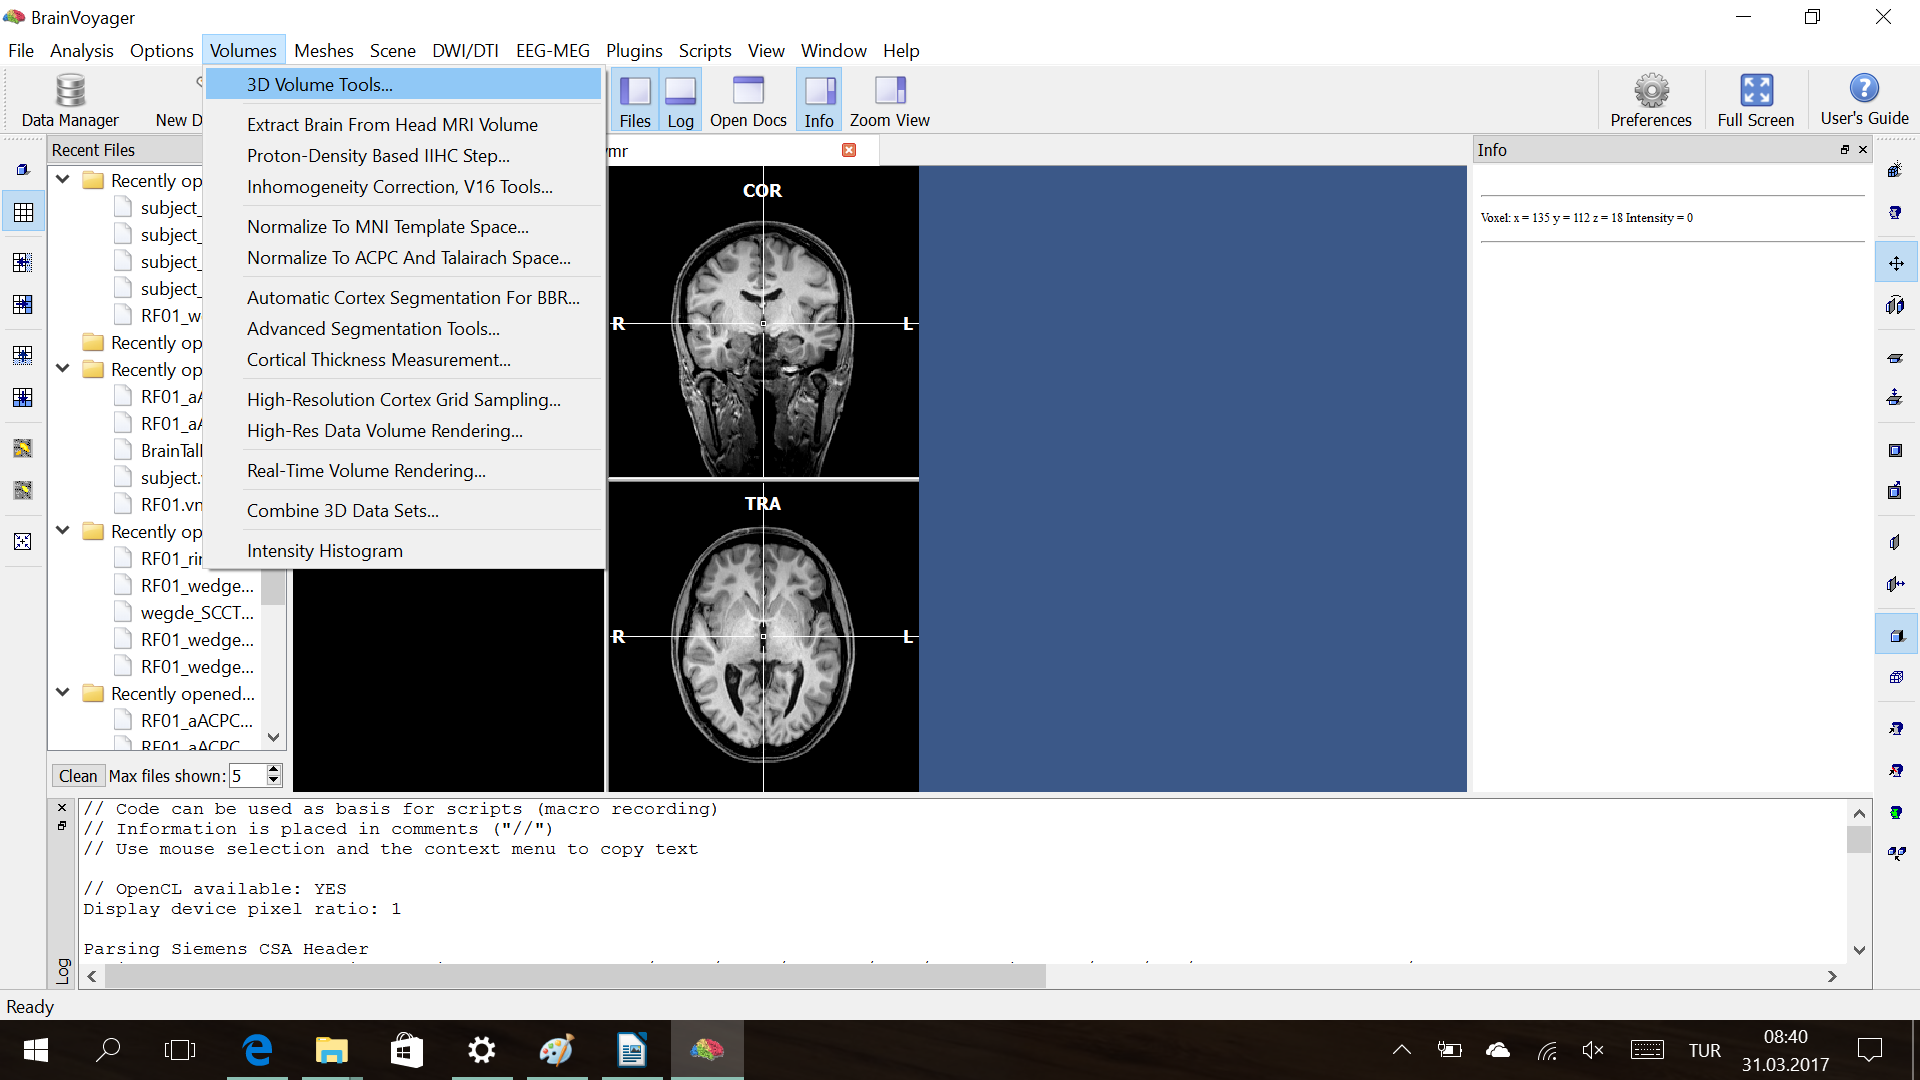
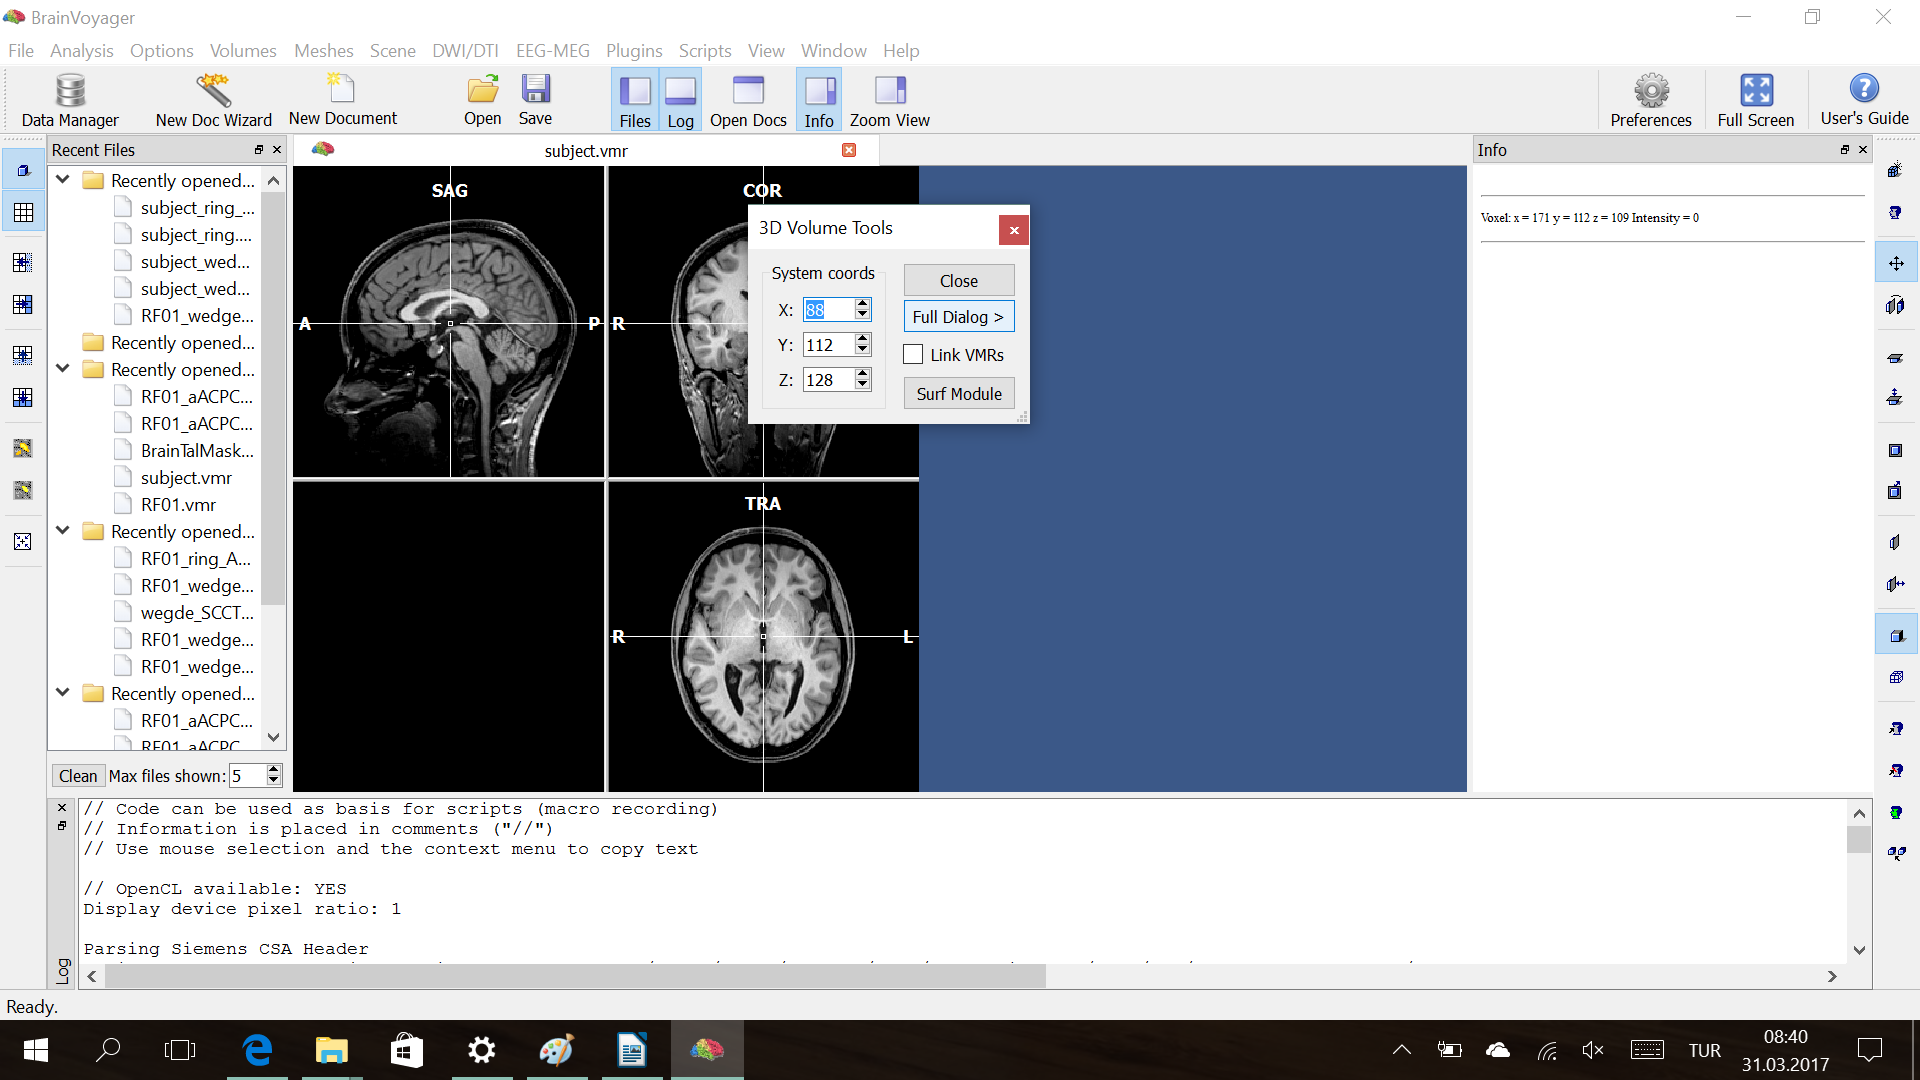
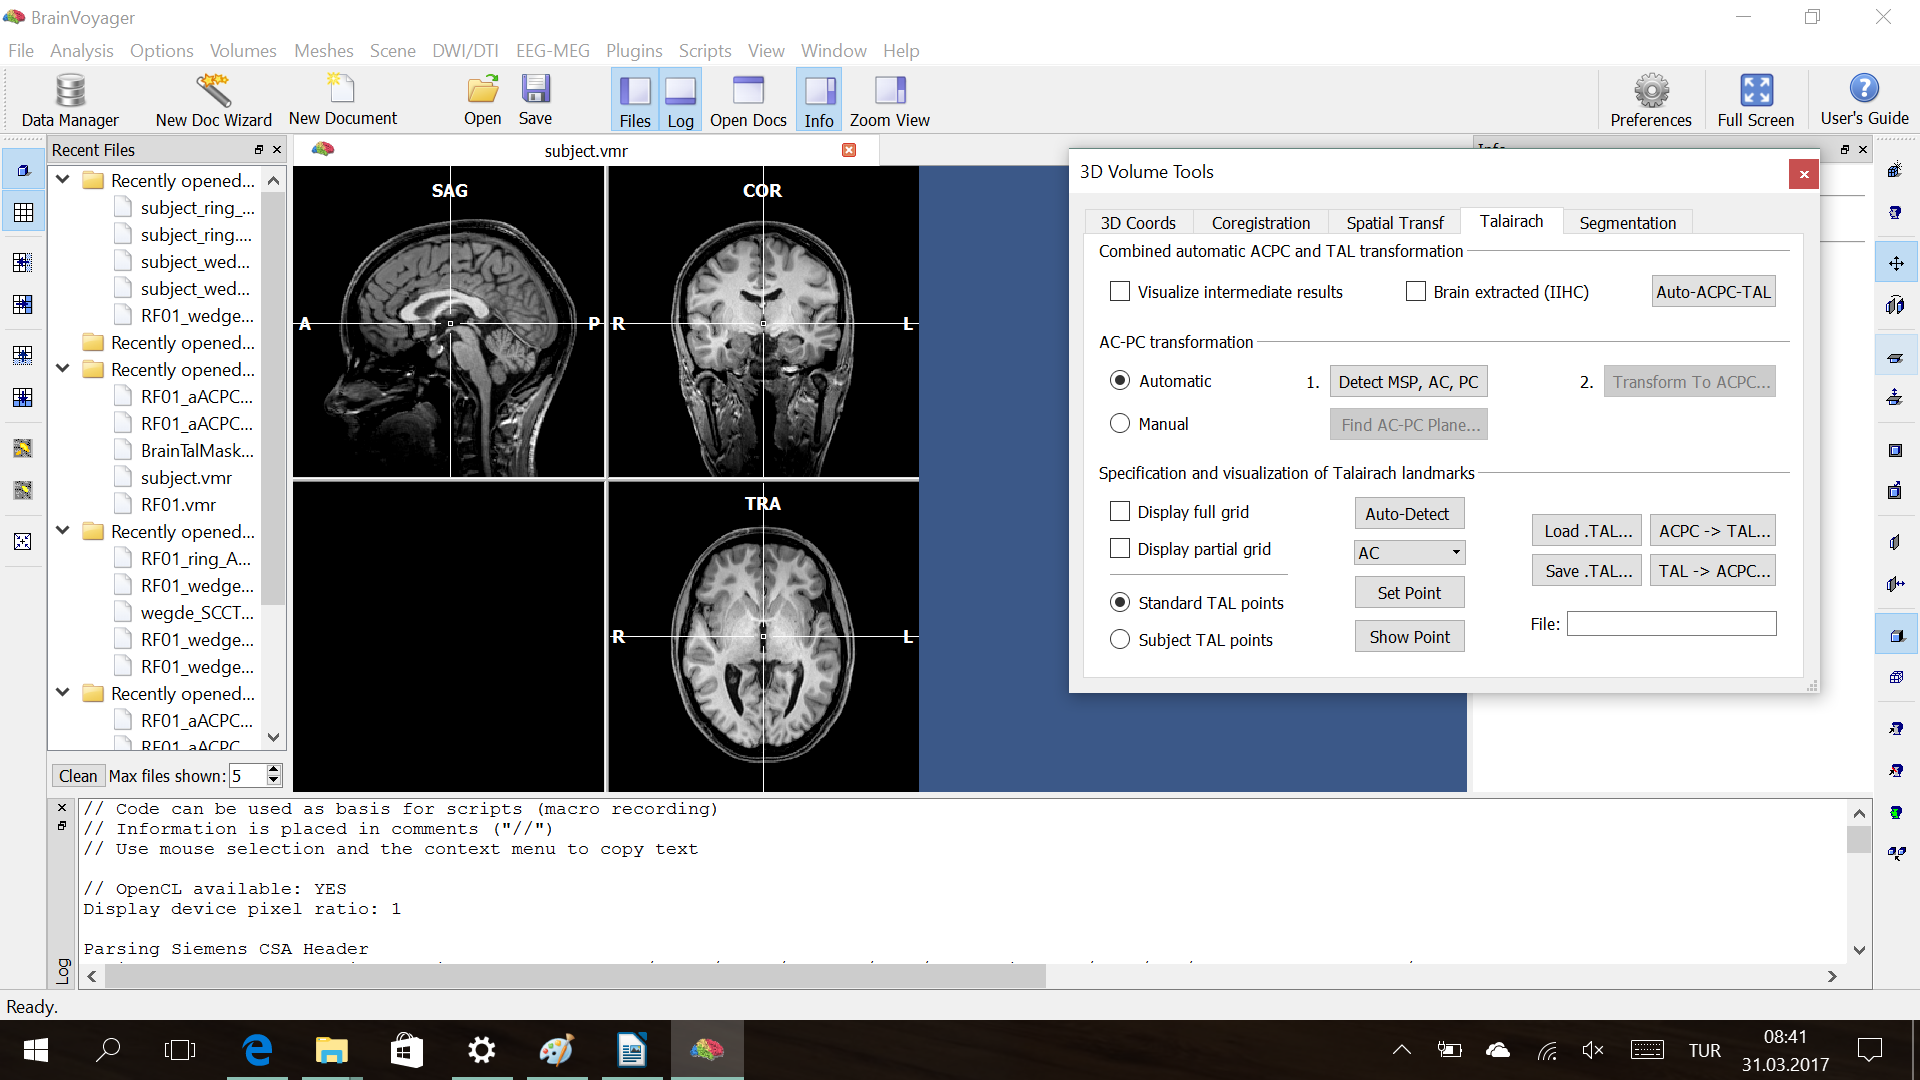
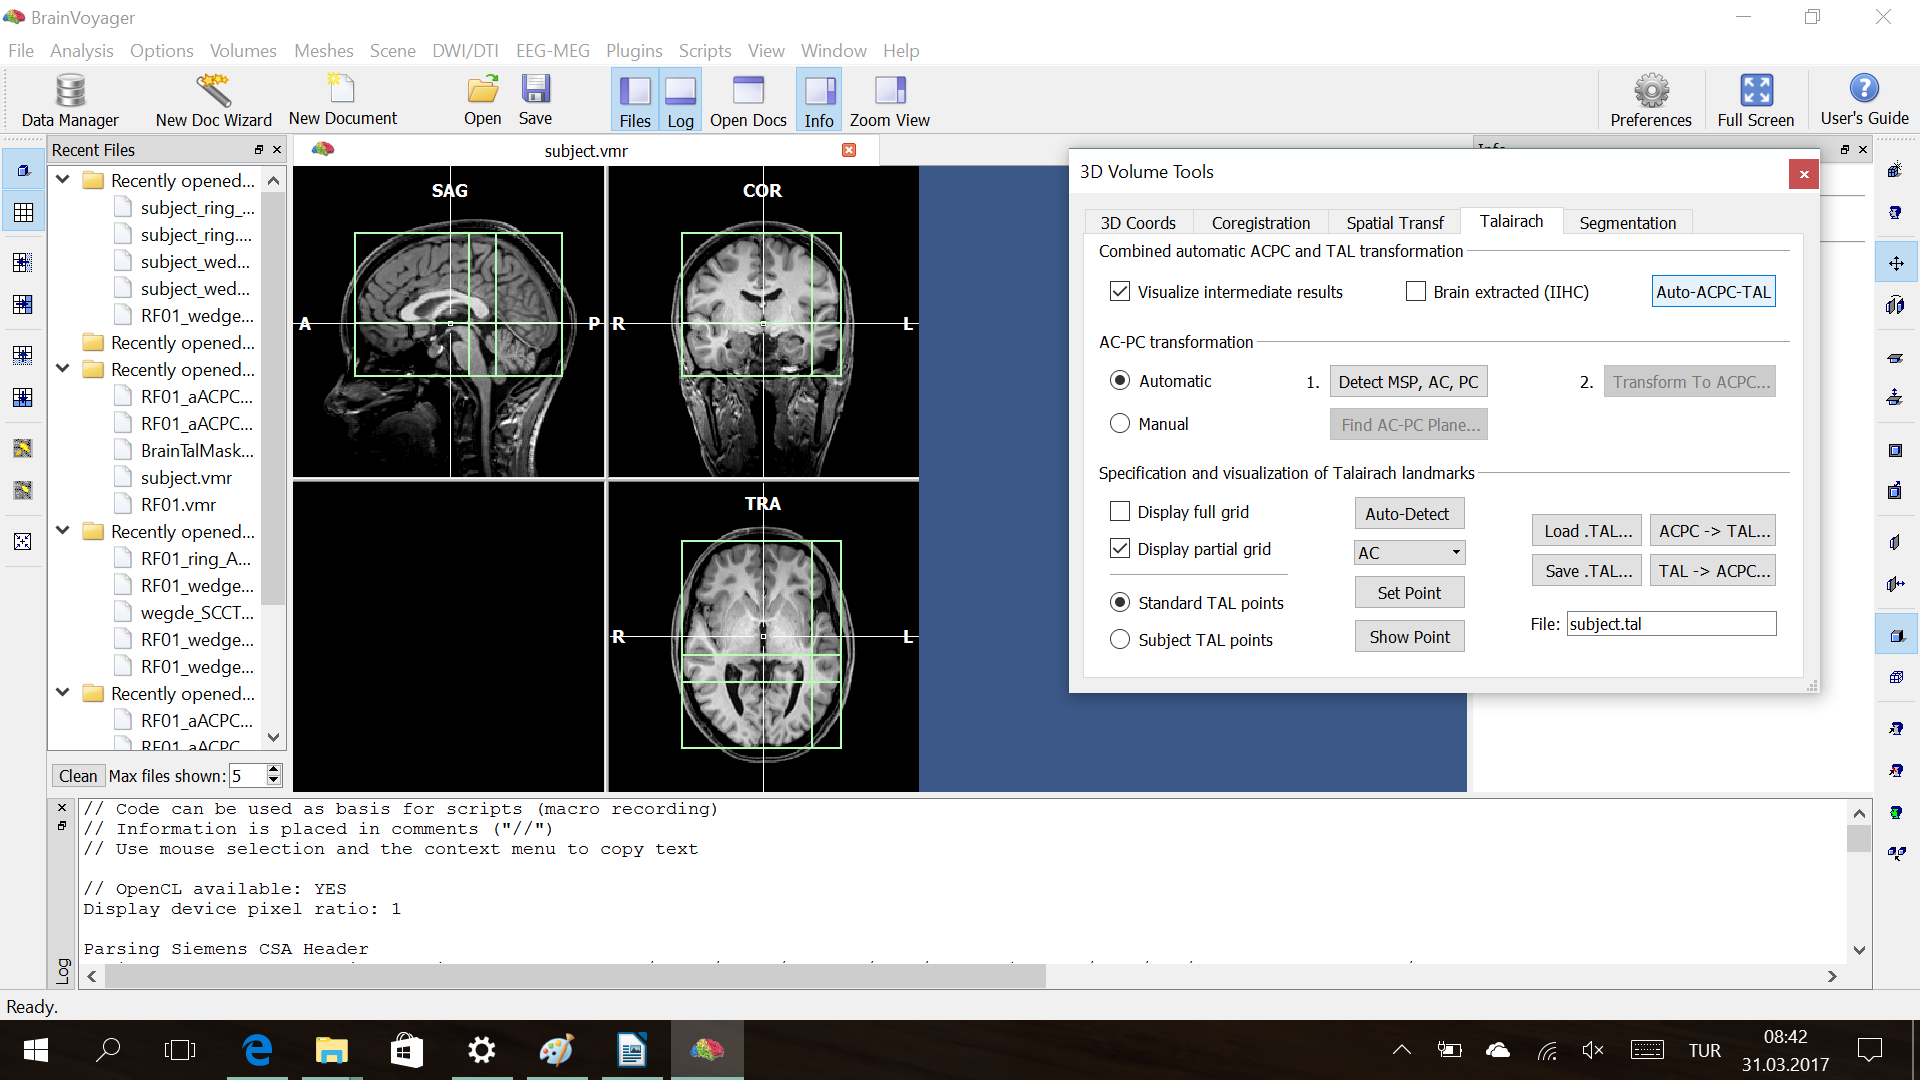
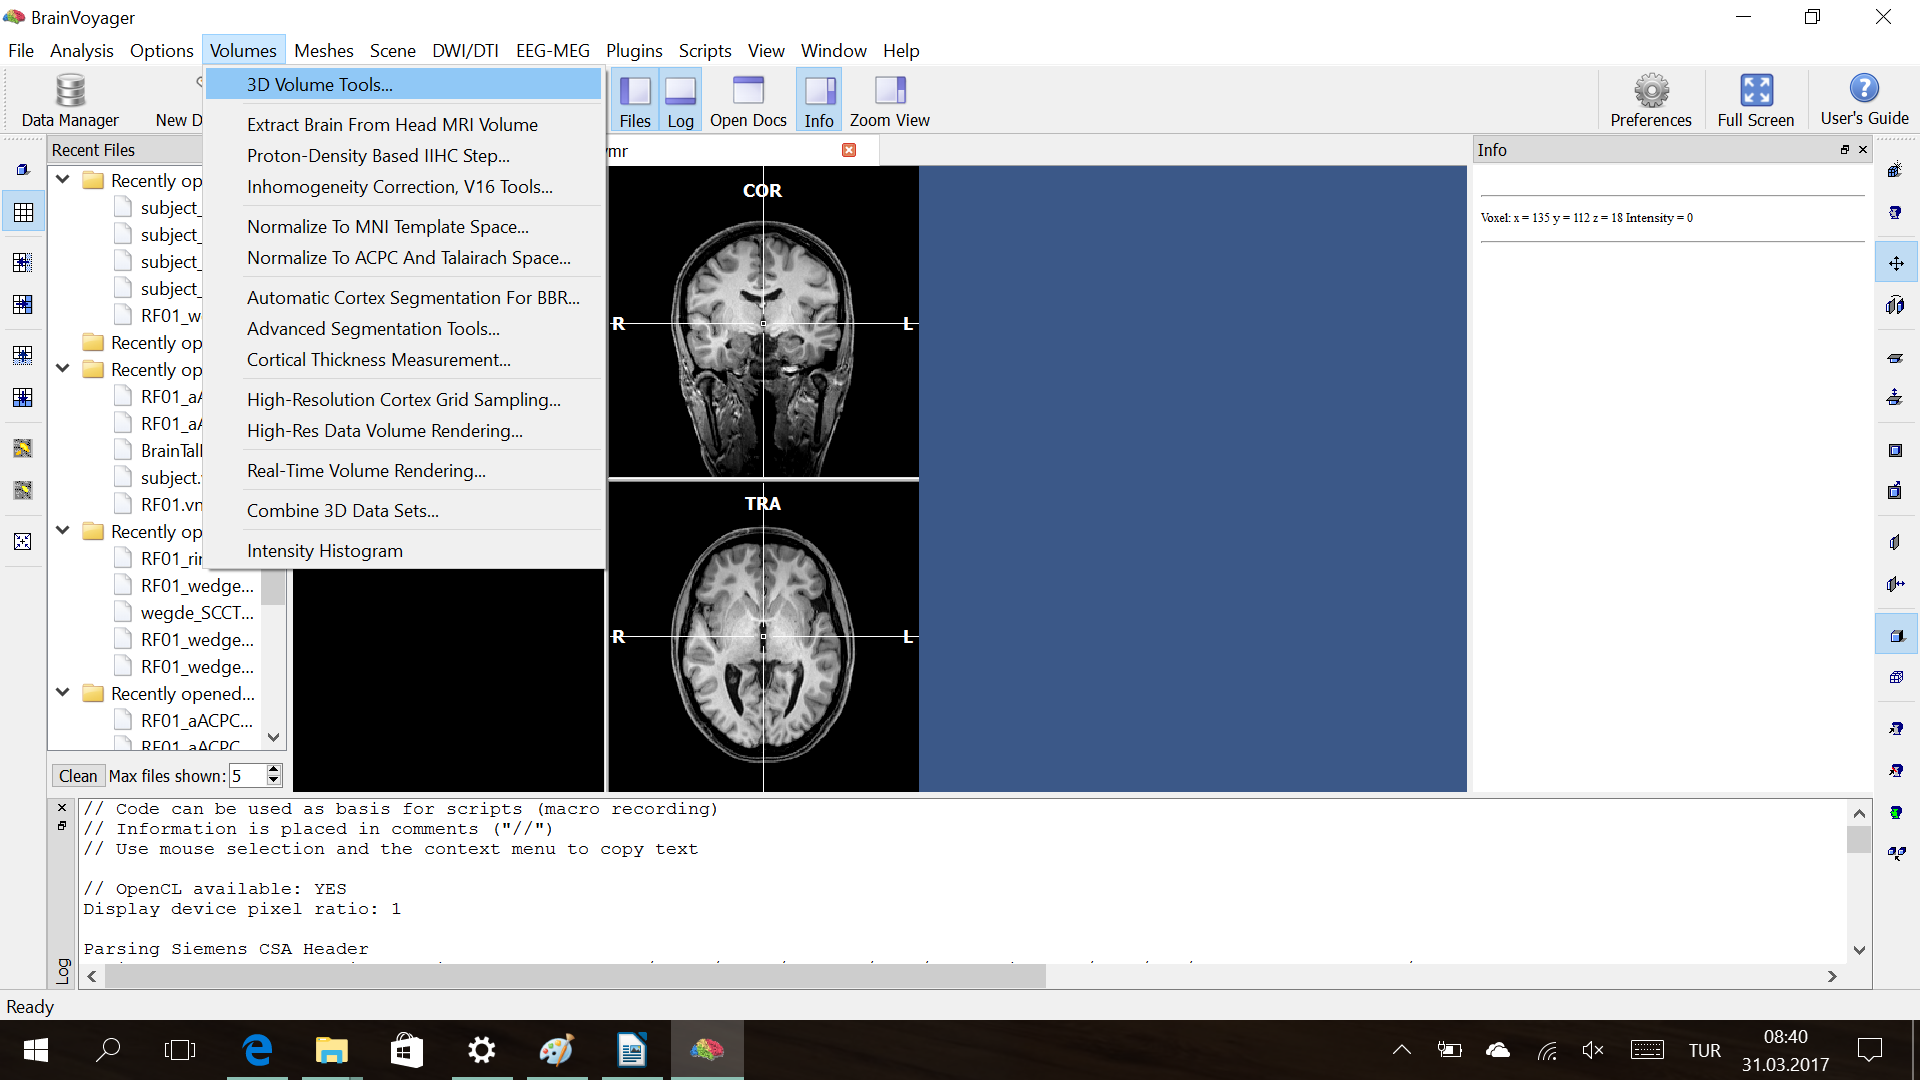
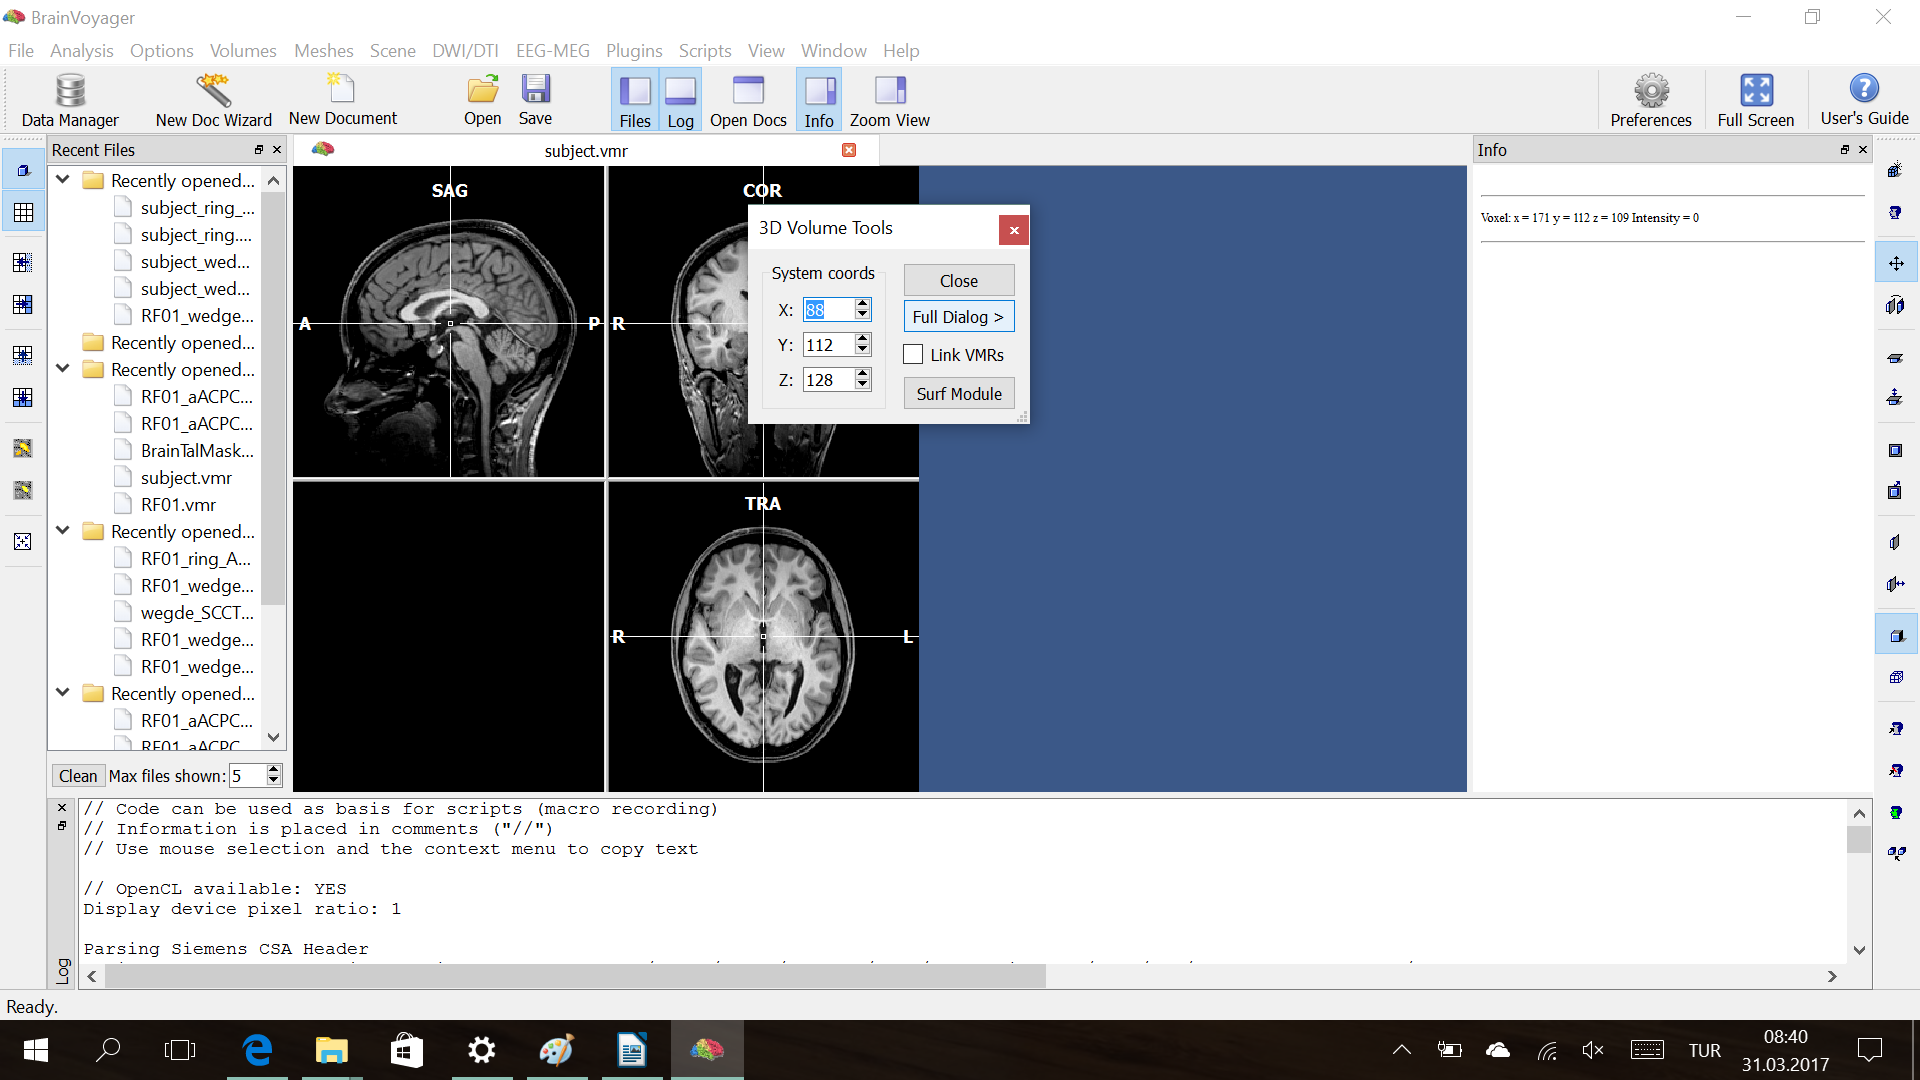
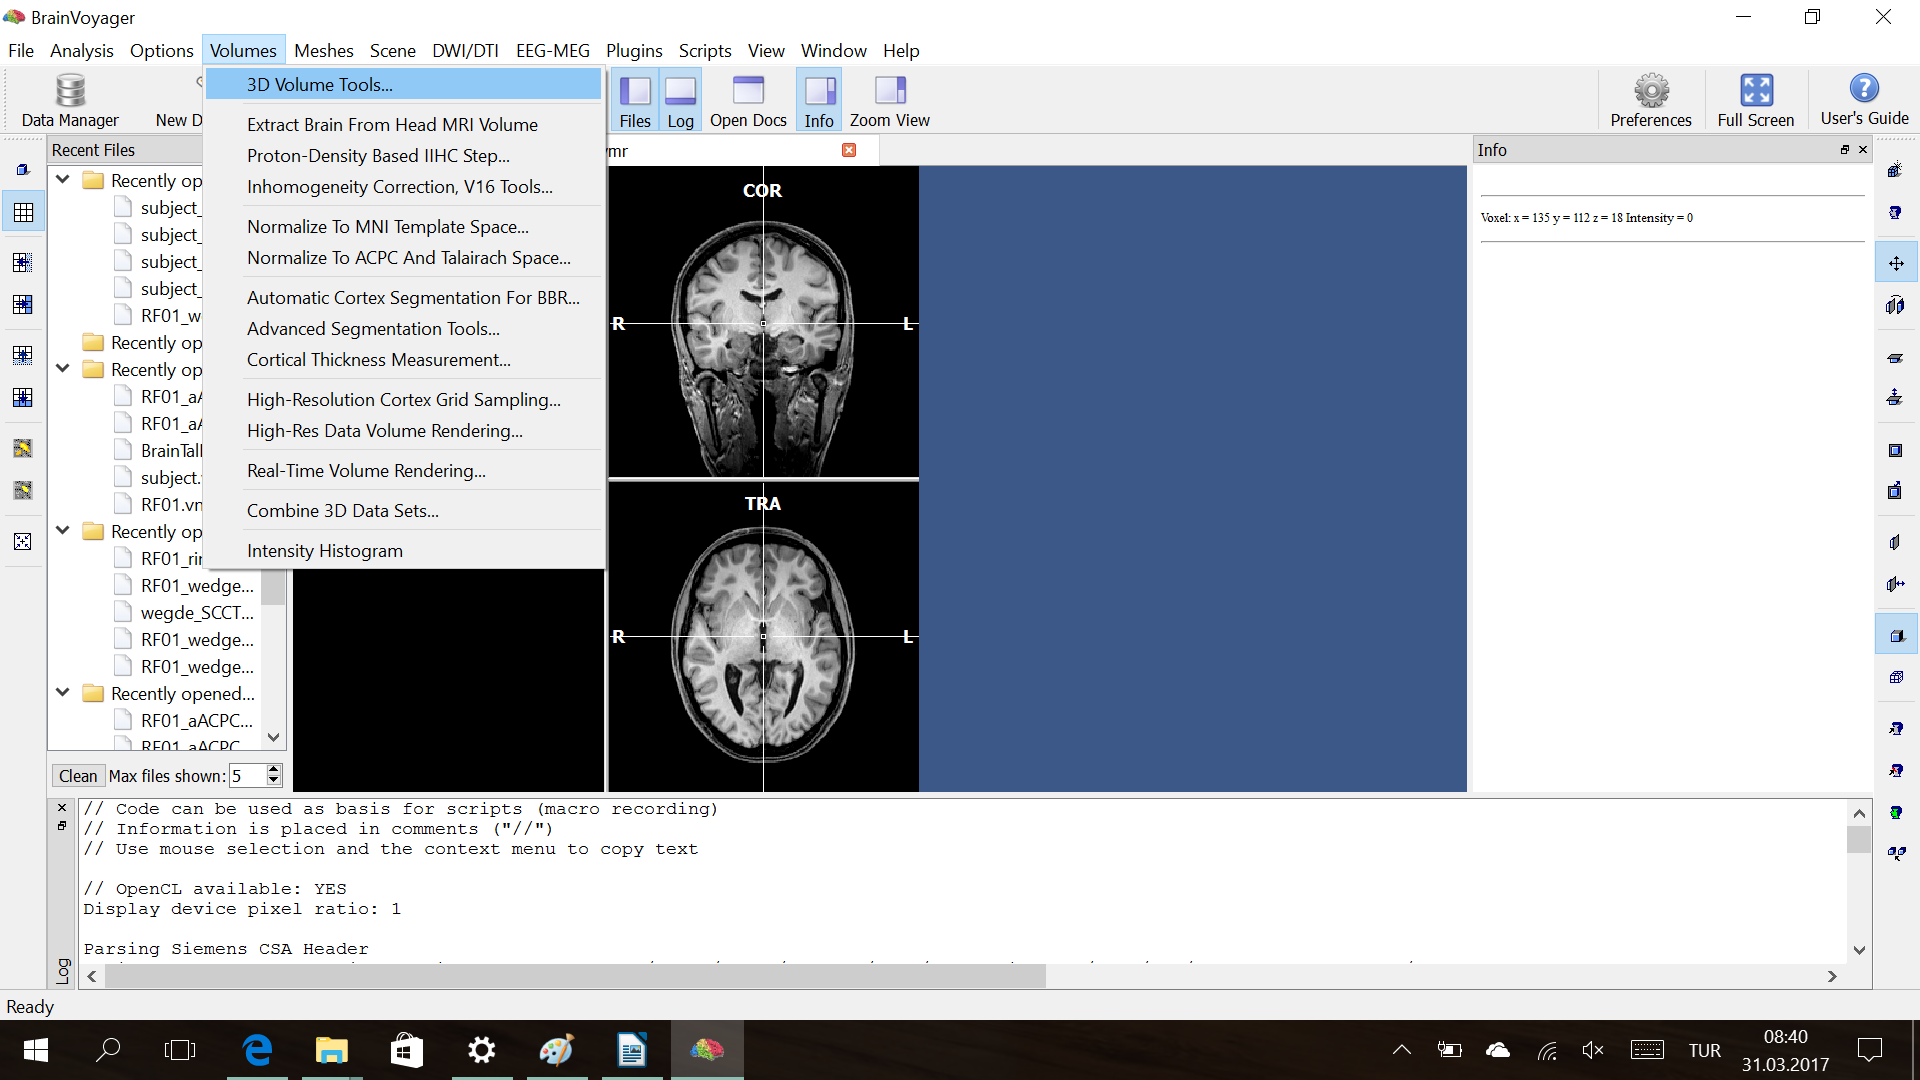
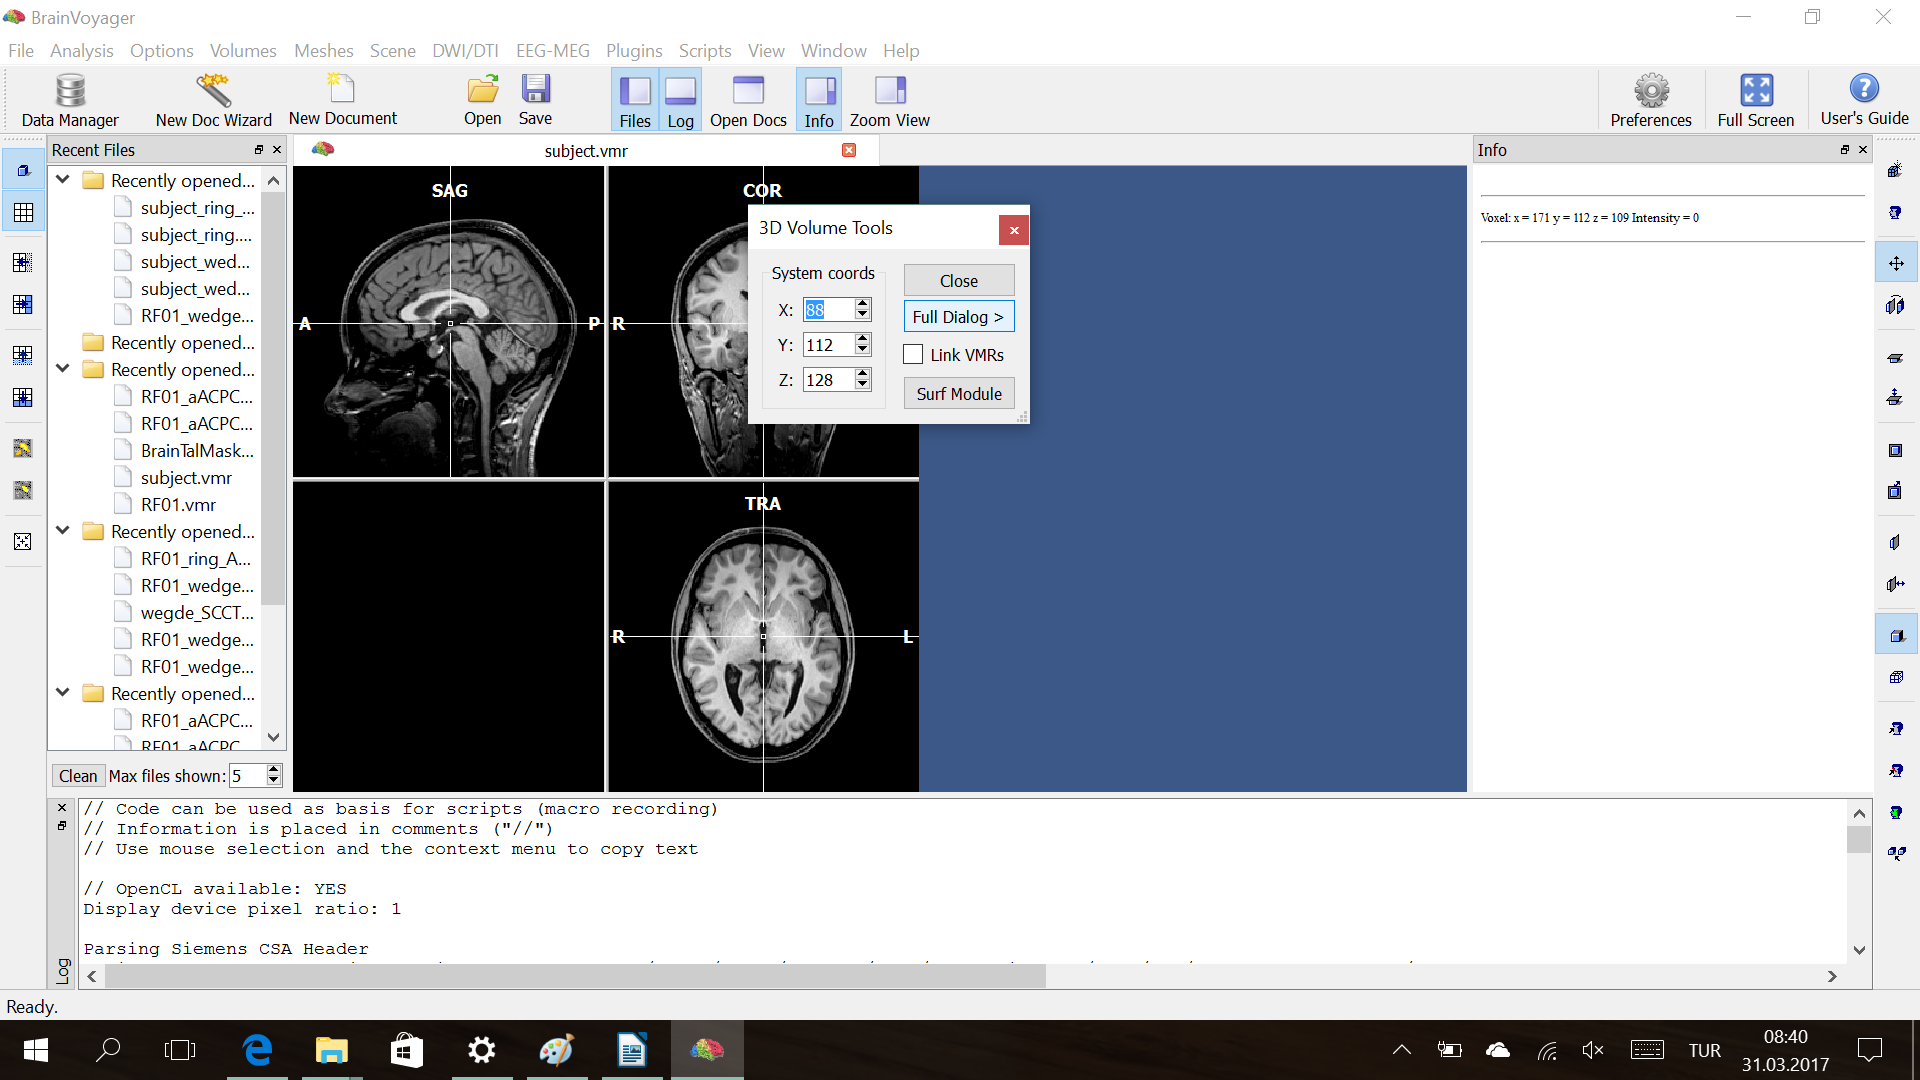
Volumes → 3D Volume Tools → Full Dialog → Talairach → AC-PC Transformation
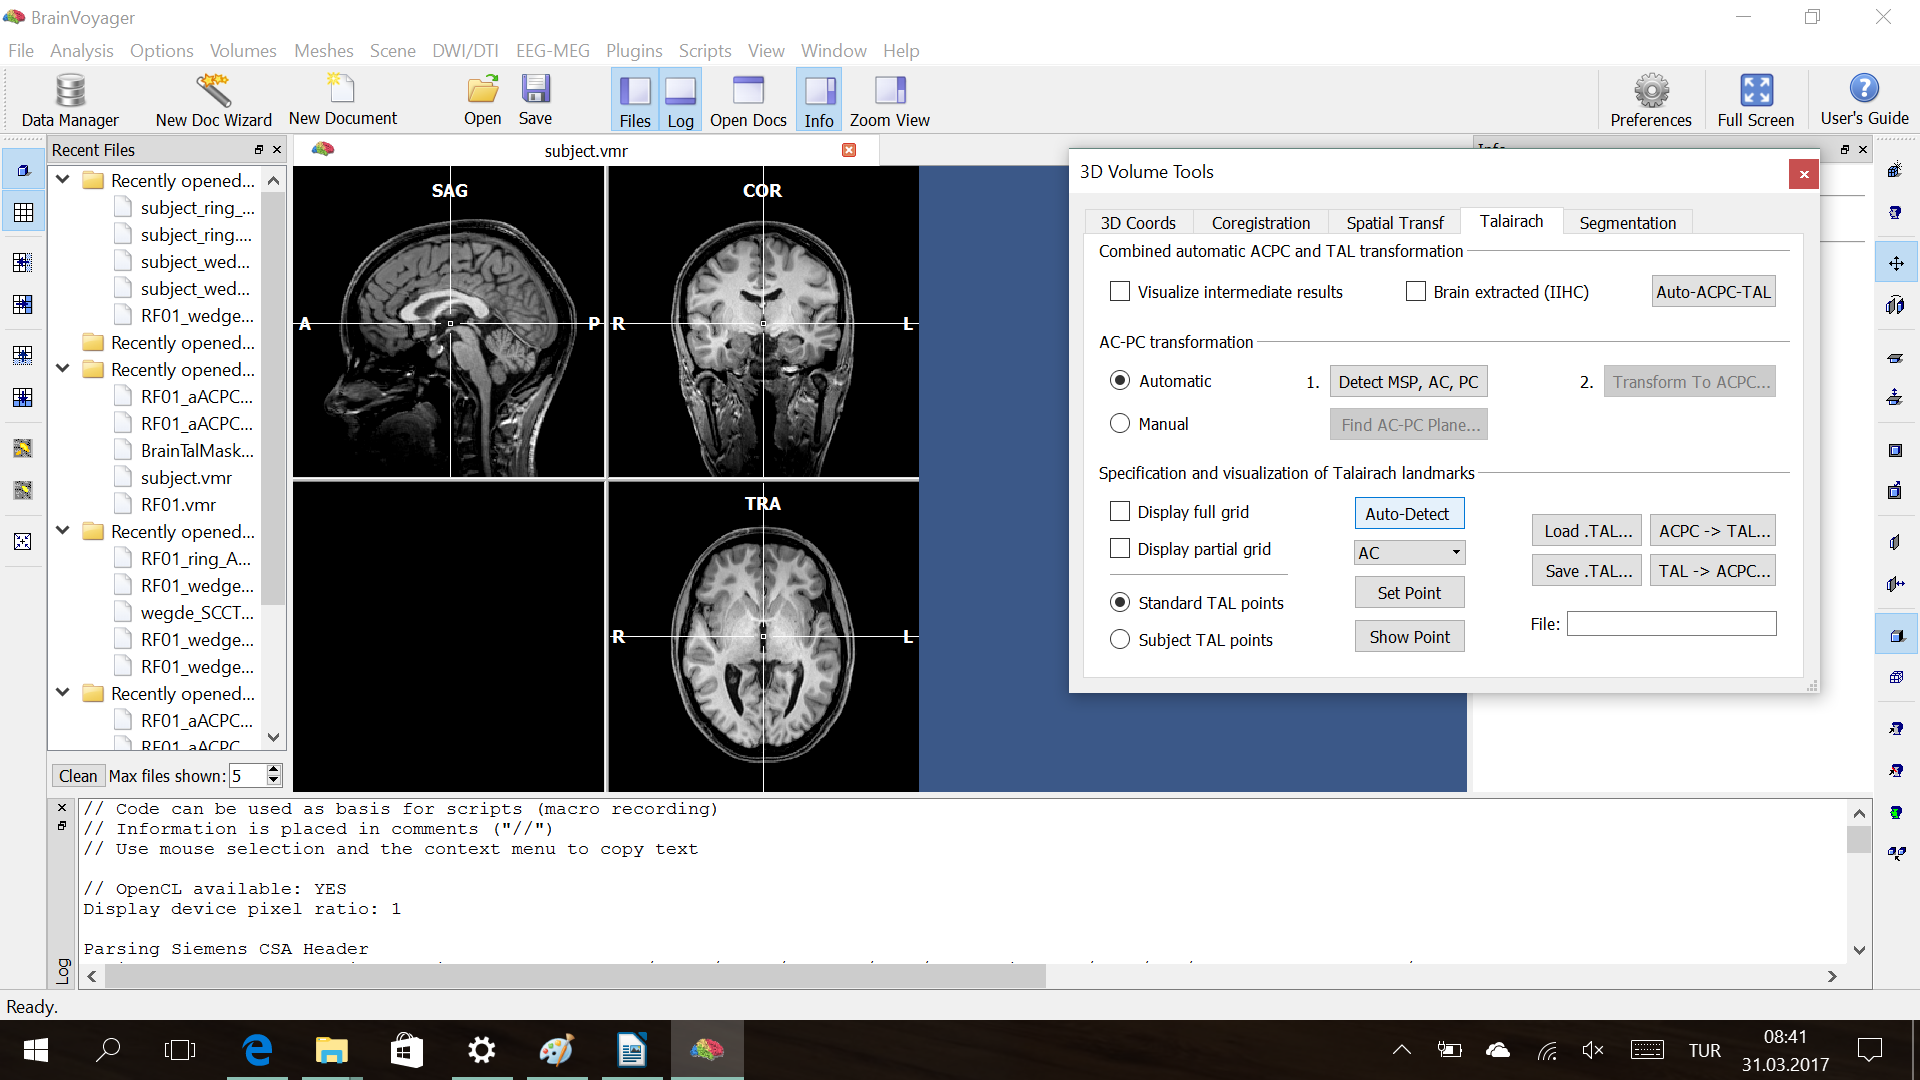
– Detect MSP, AC, PC → Transform to ACPC → Save .TAL → “ACPC → TAL”
– Takes several minutes.
– Your data file is saved by BV automatically.
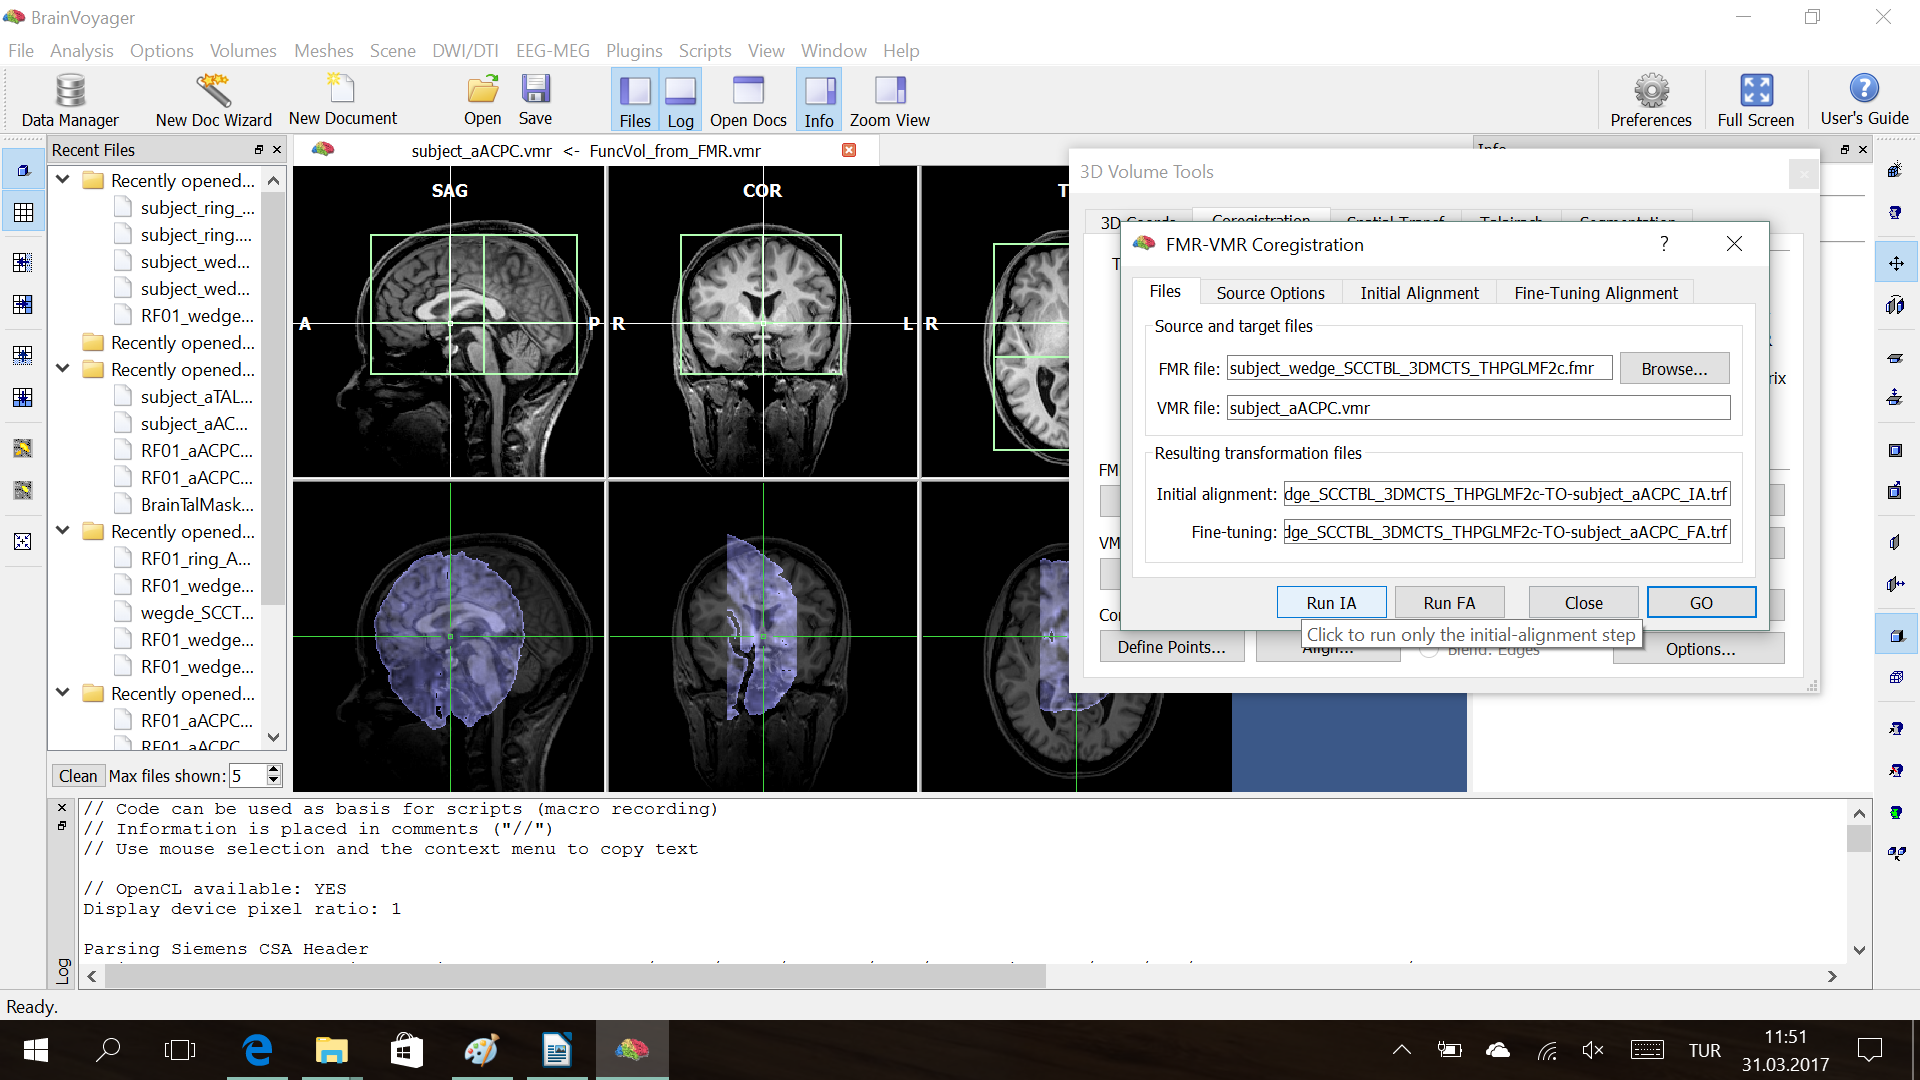
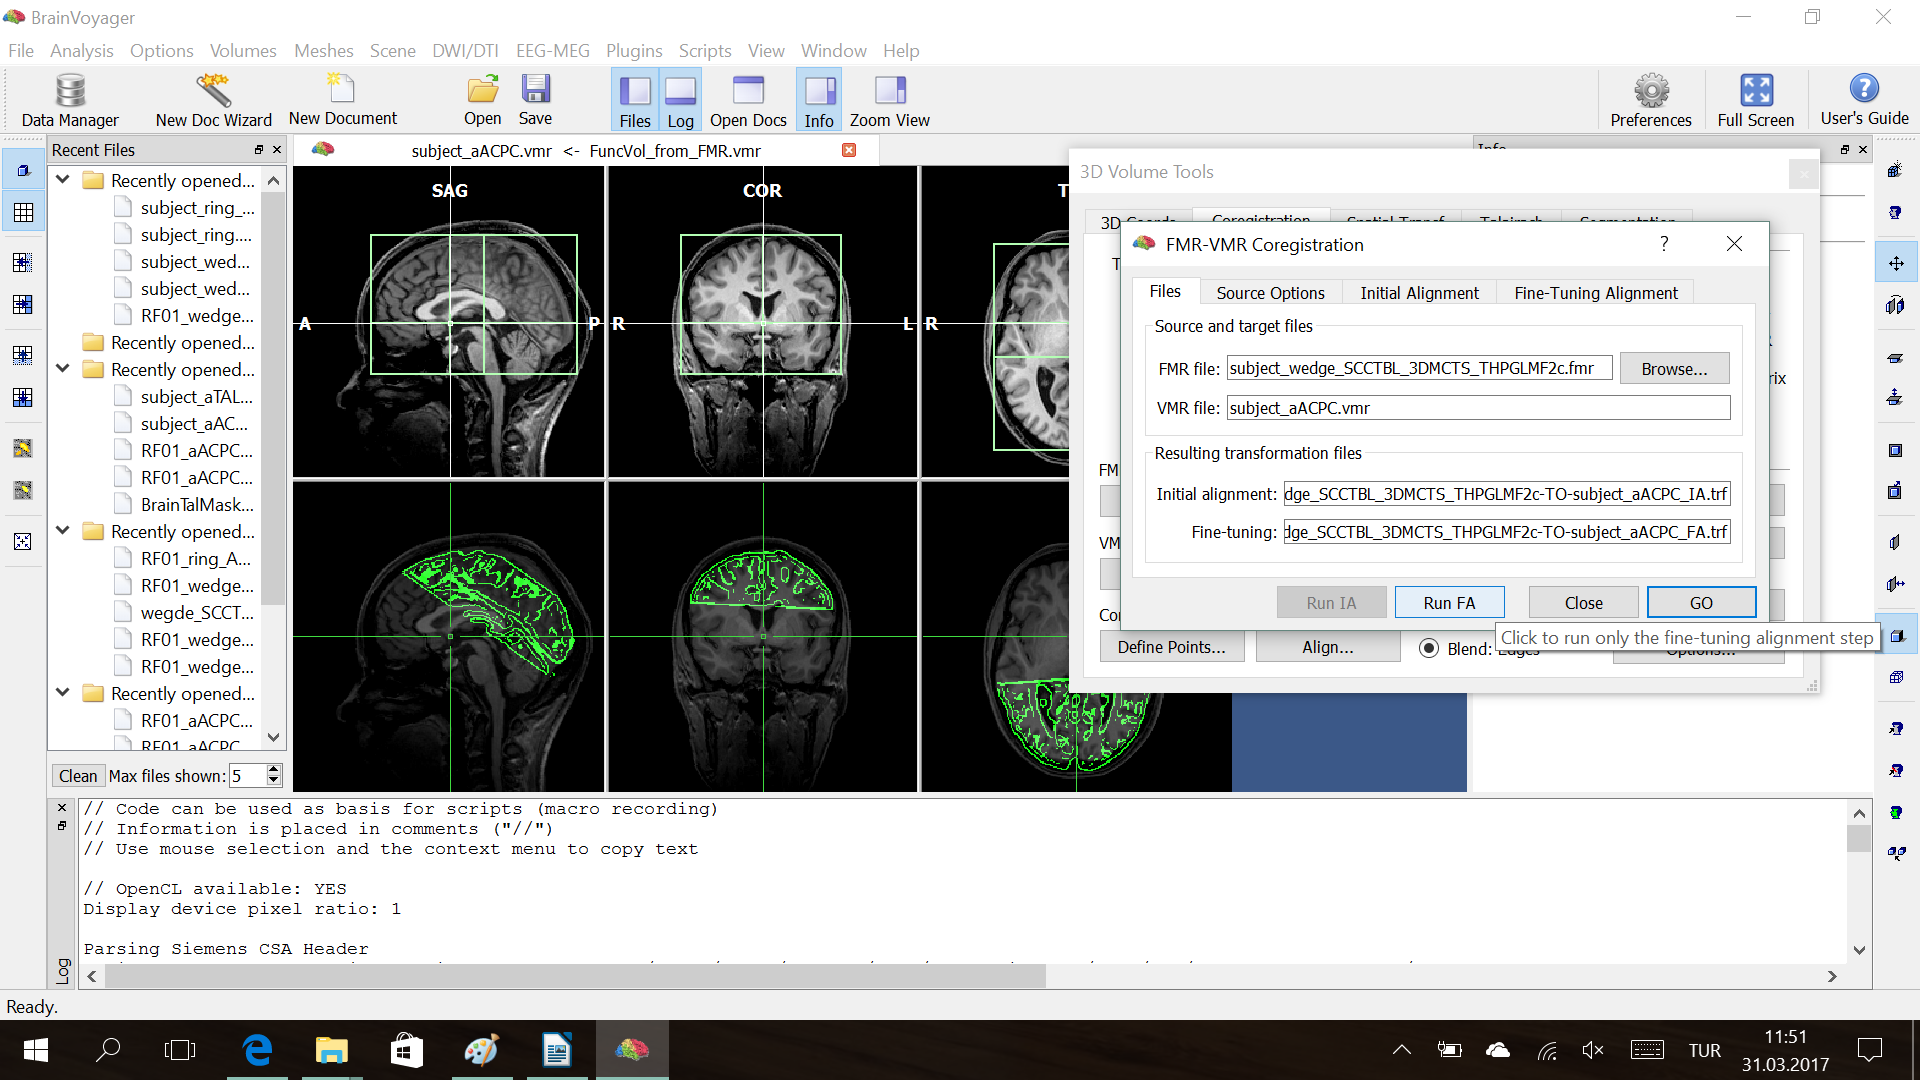
Step5. FMR-VMR Coregistration
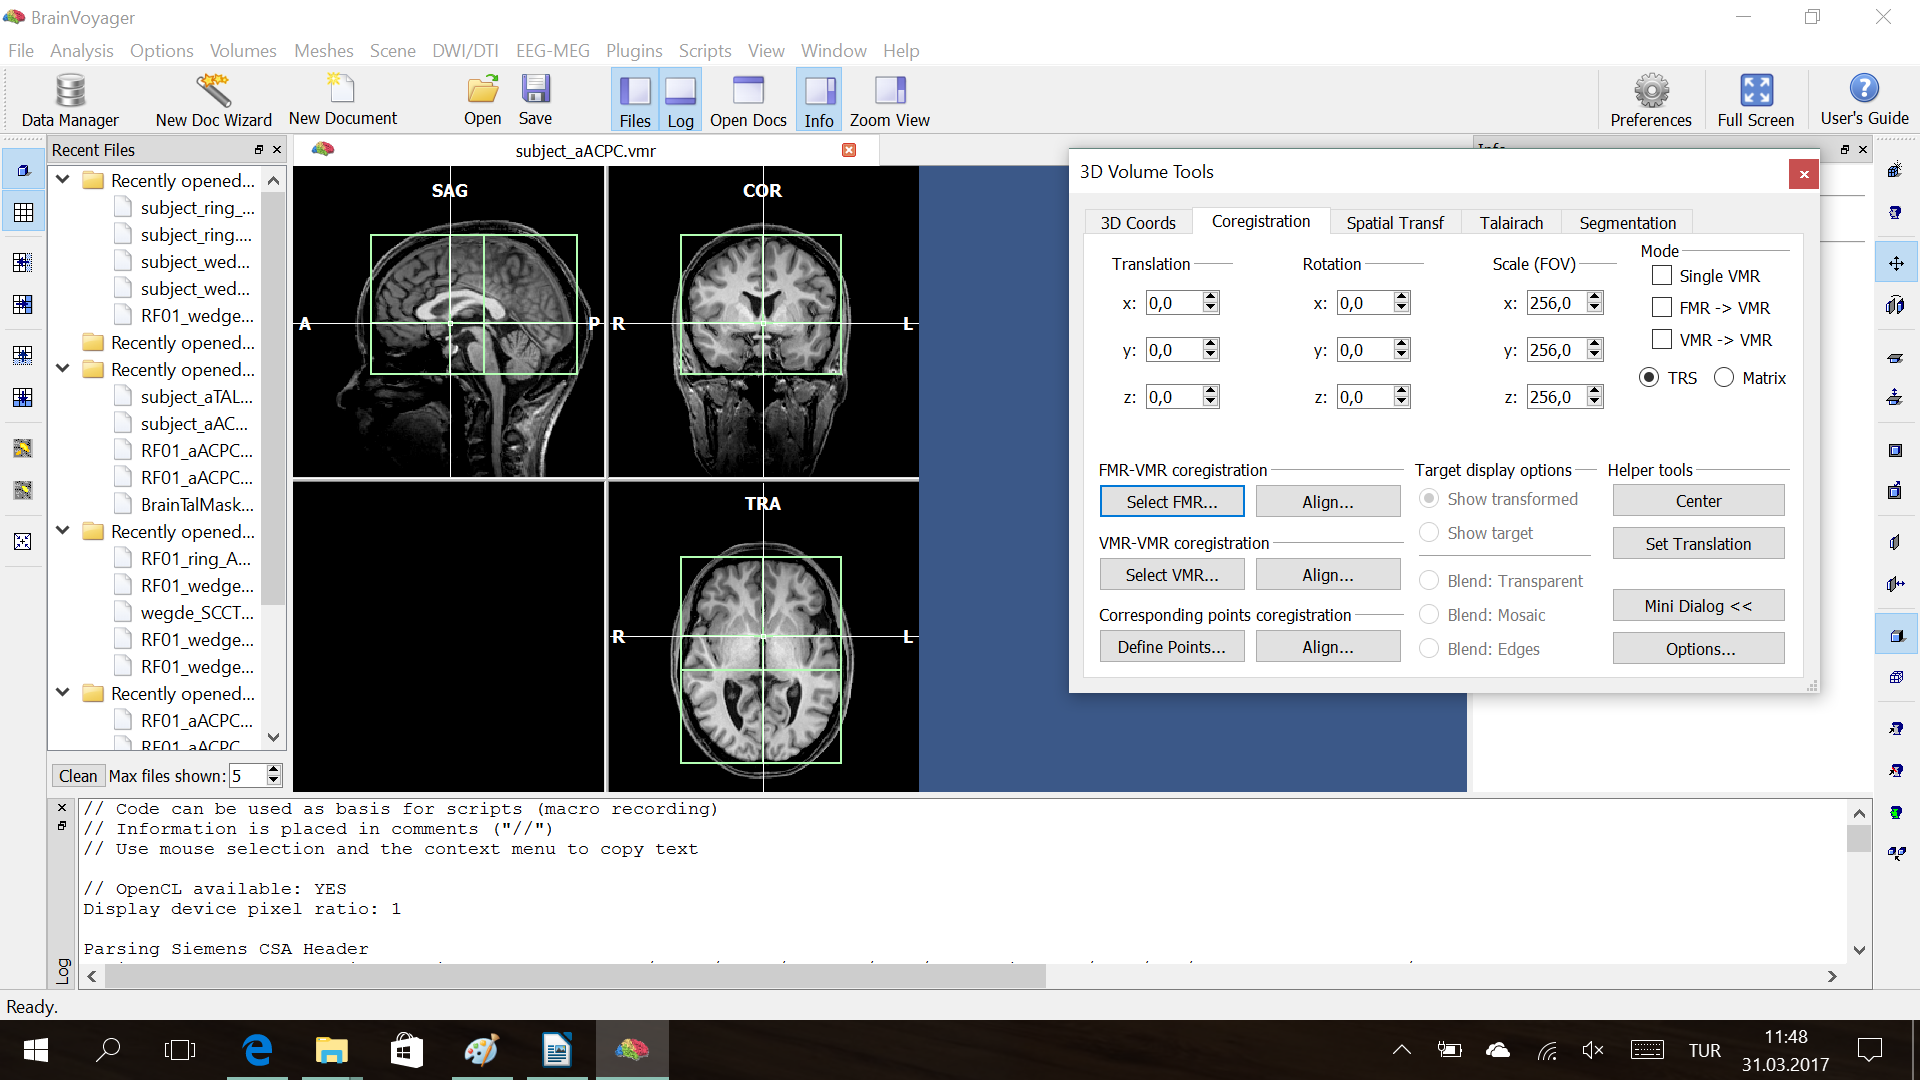
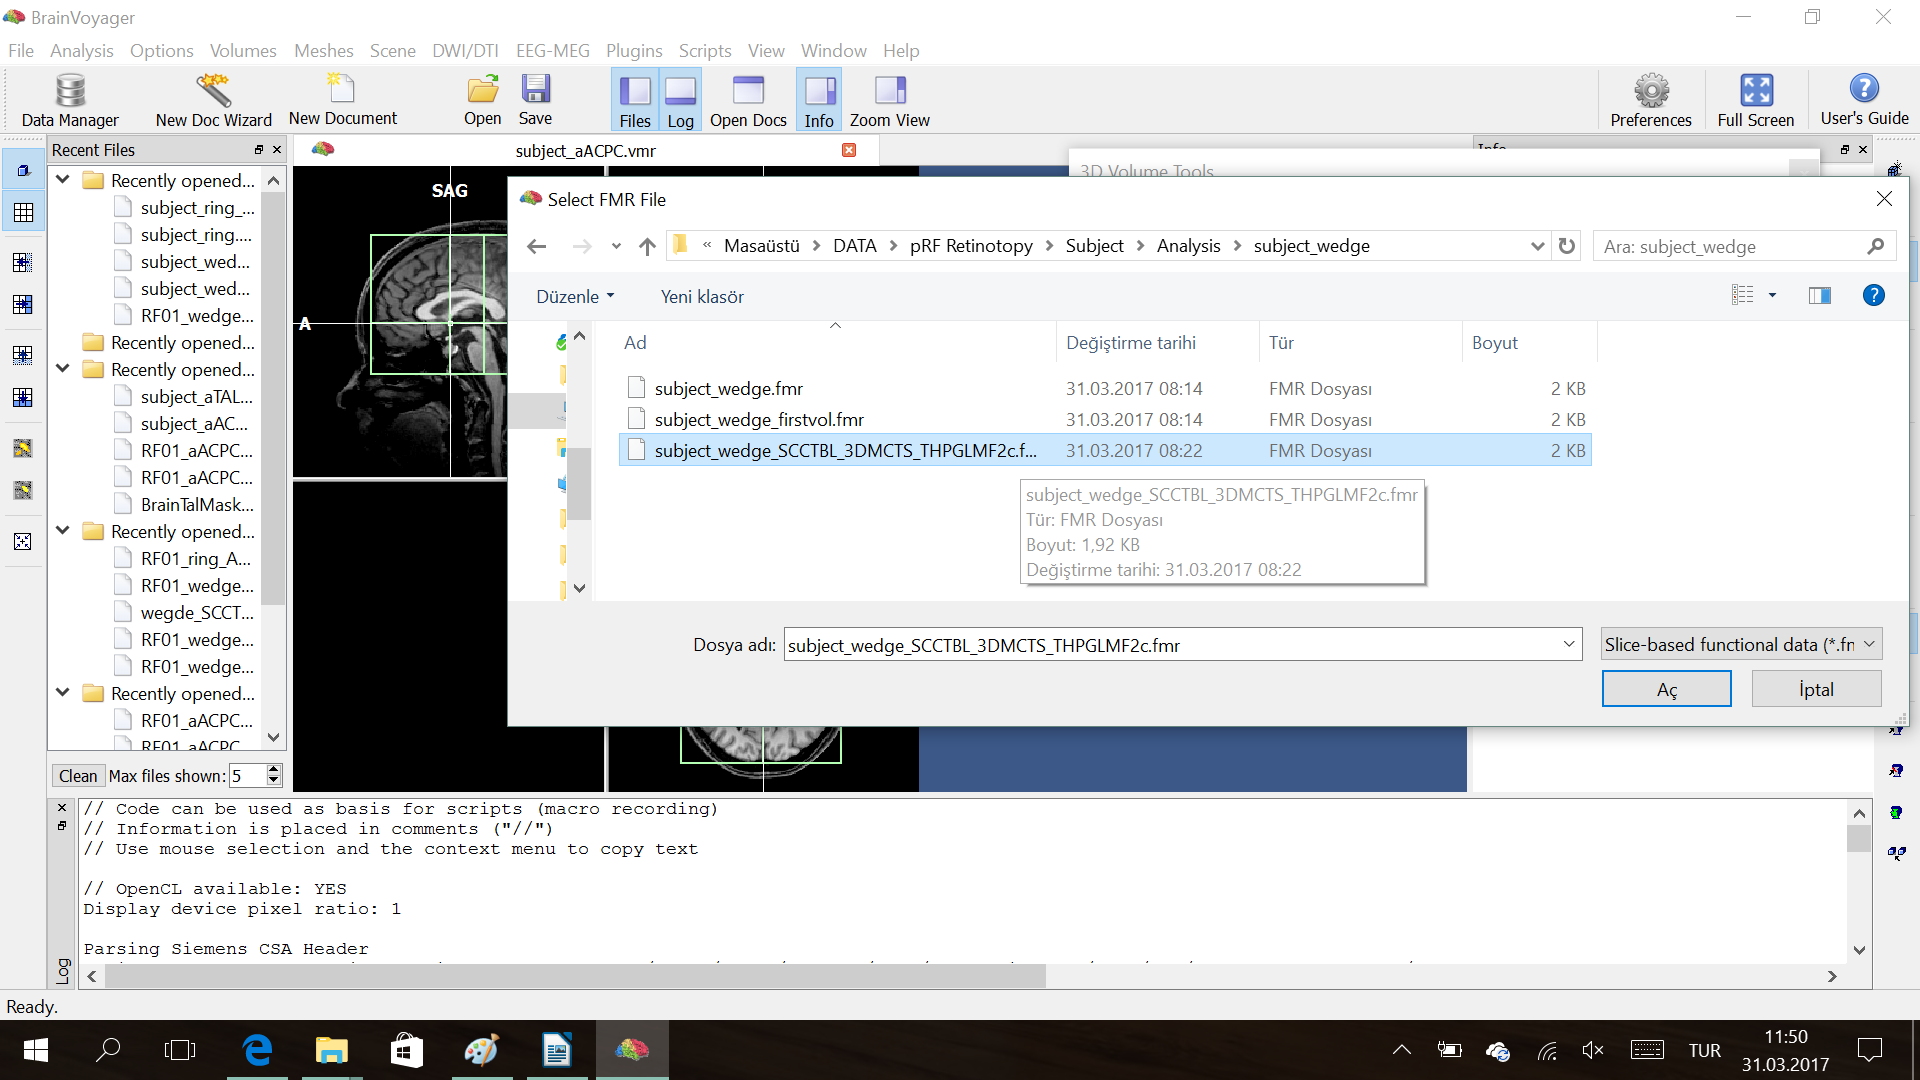
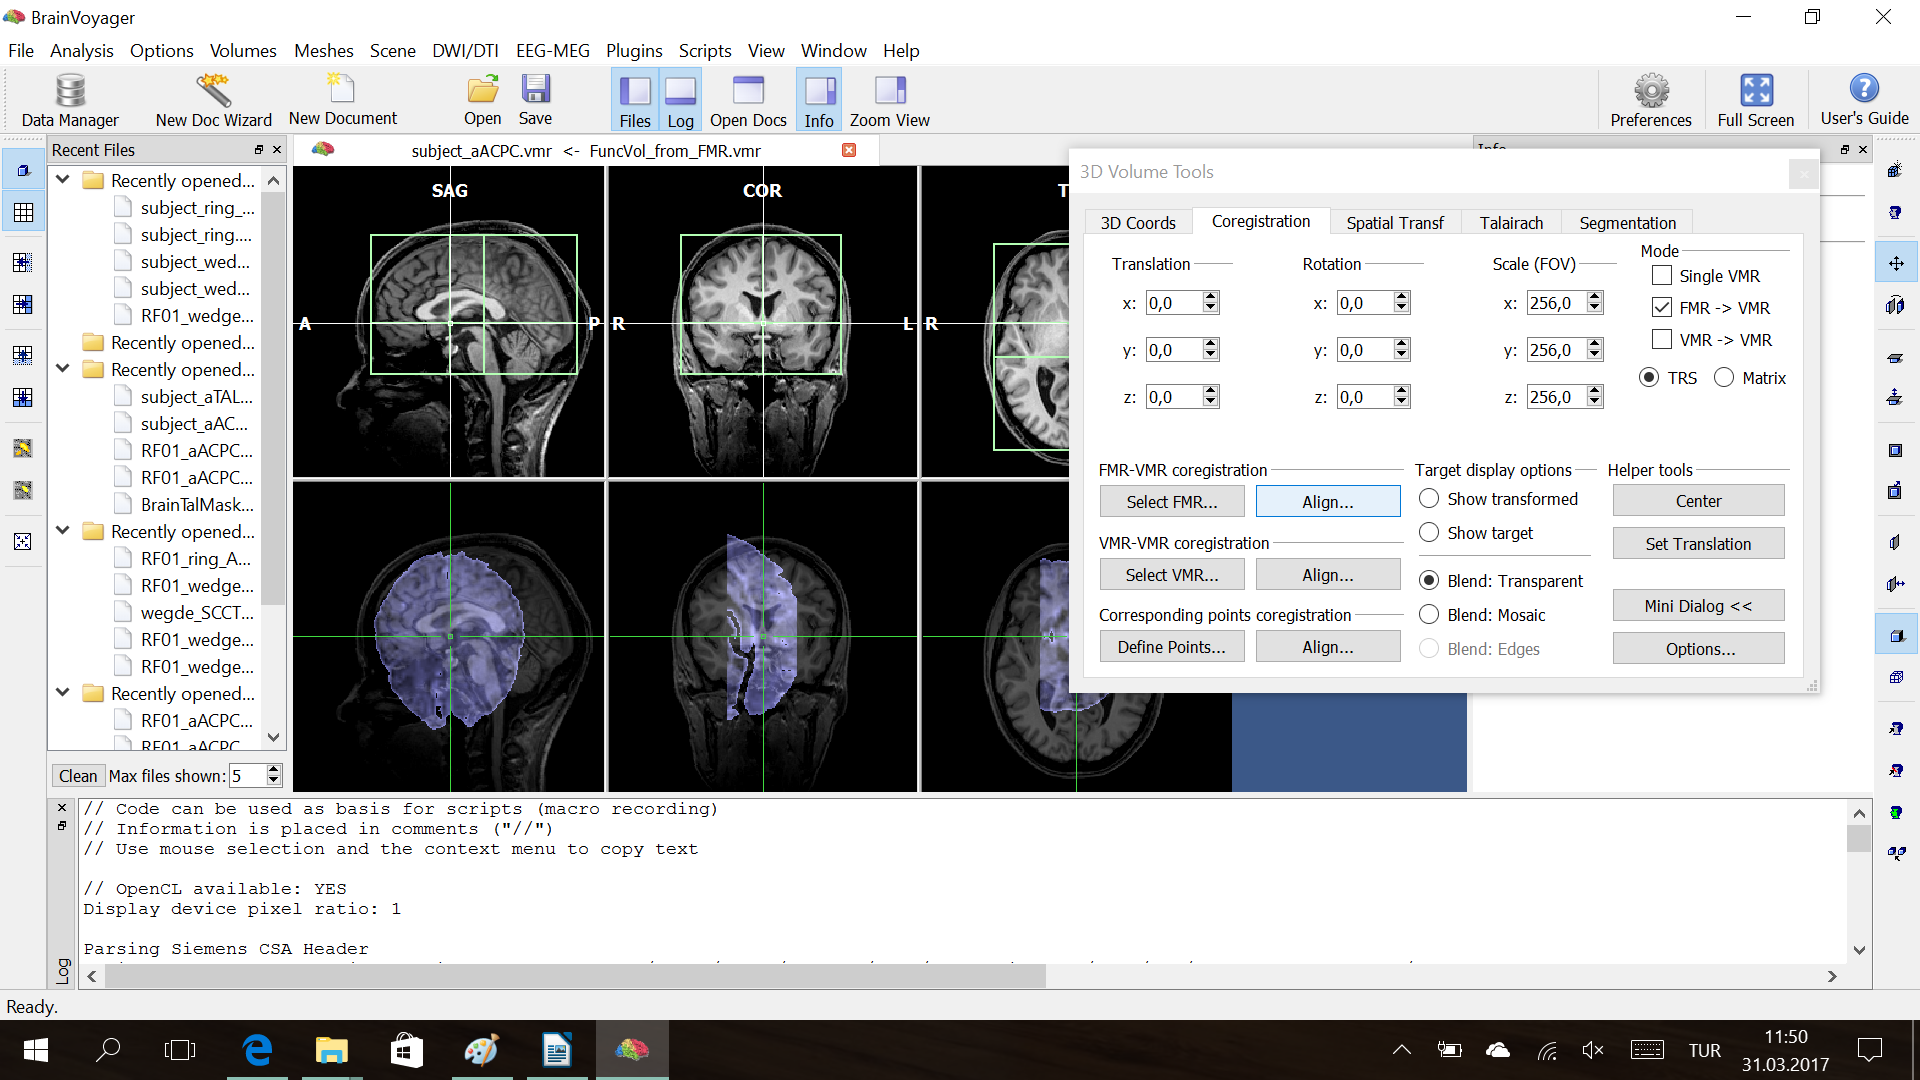
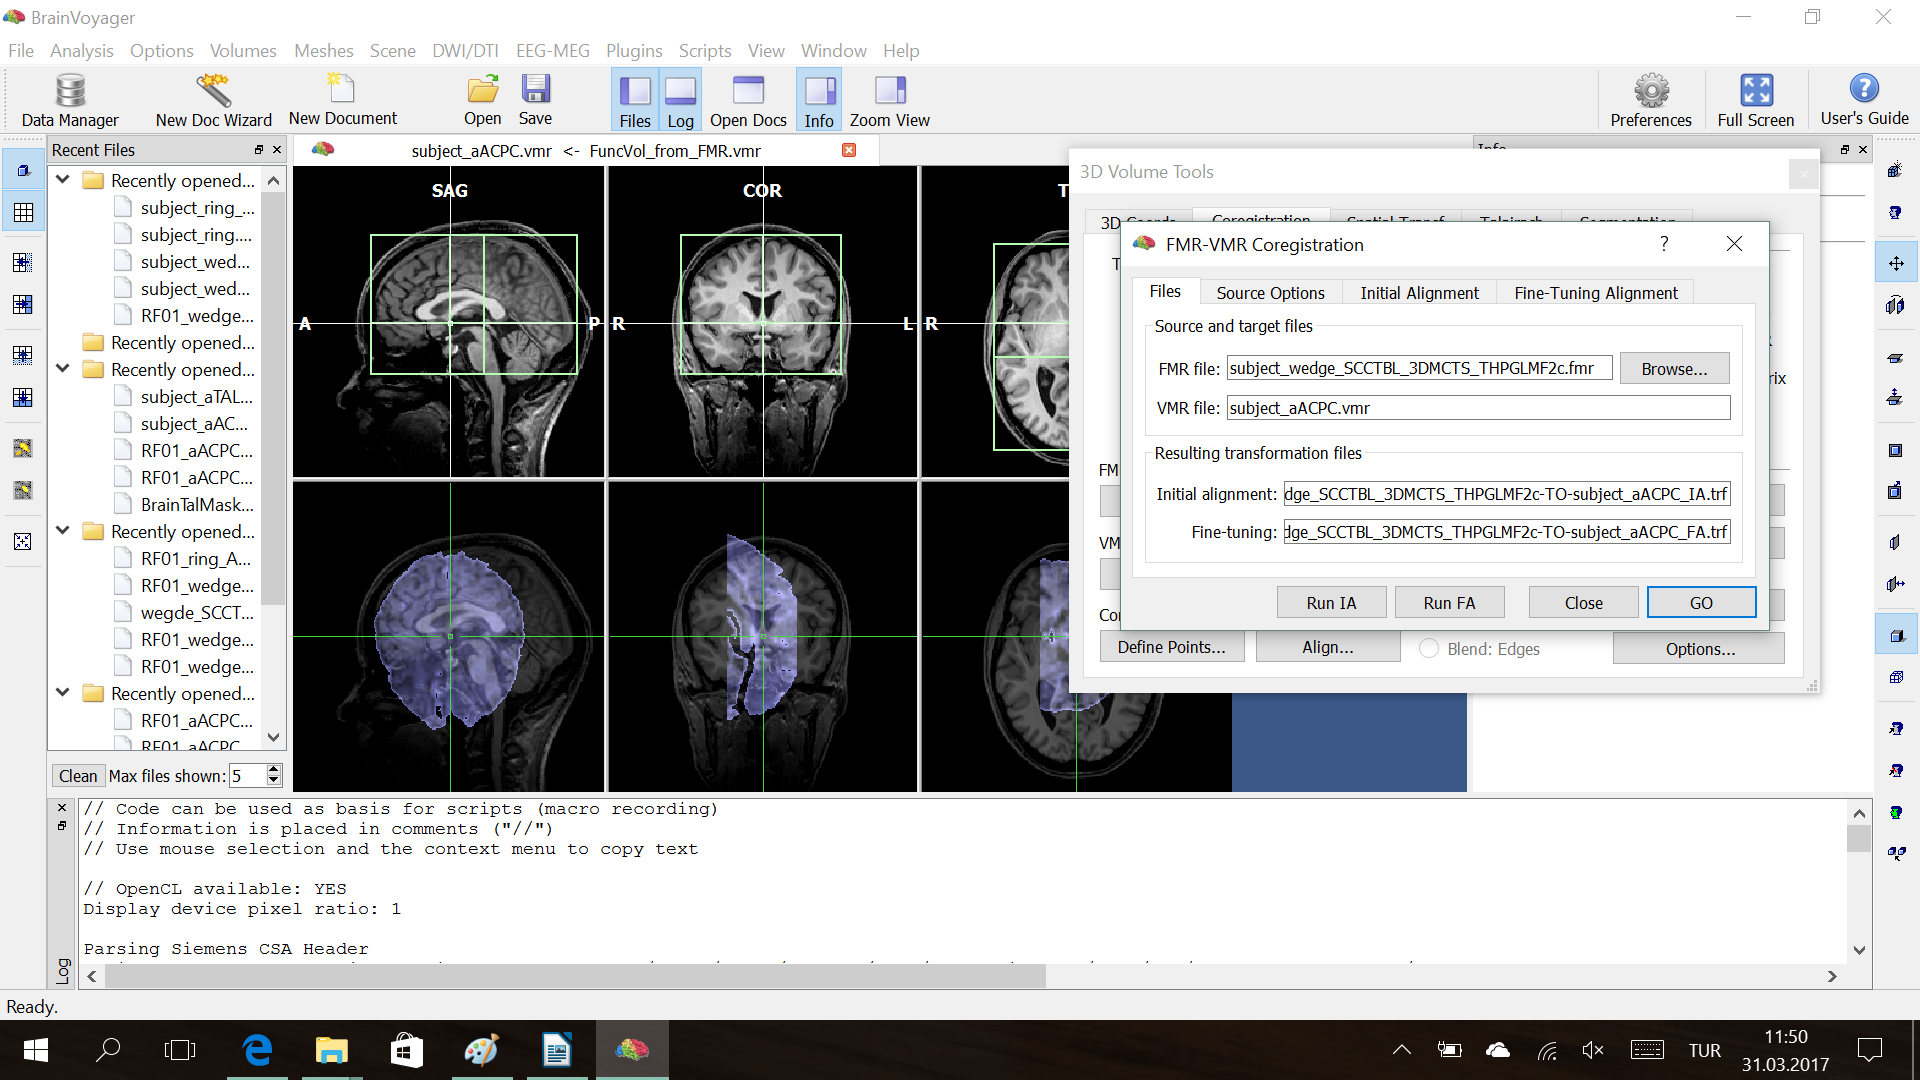
Volumes → 3D Volume Tools → Full Dialog → Coregistration → FMR-VMR Coregistration
– Initial and Final alignment files are saved automatically by BV.
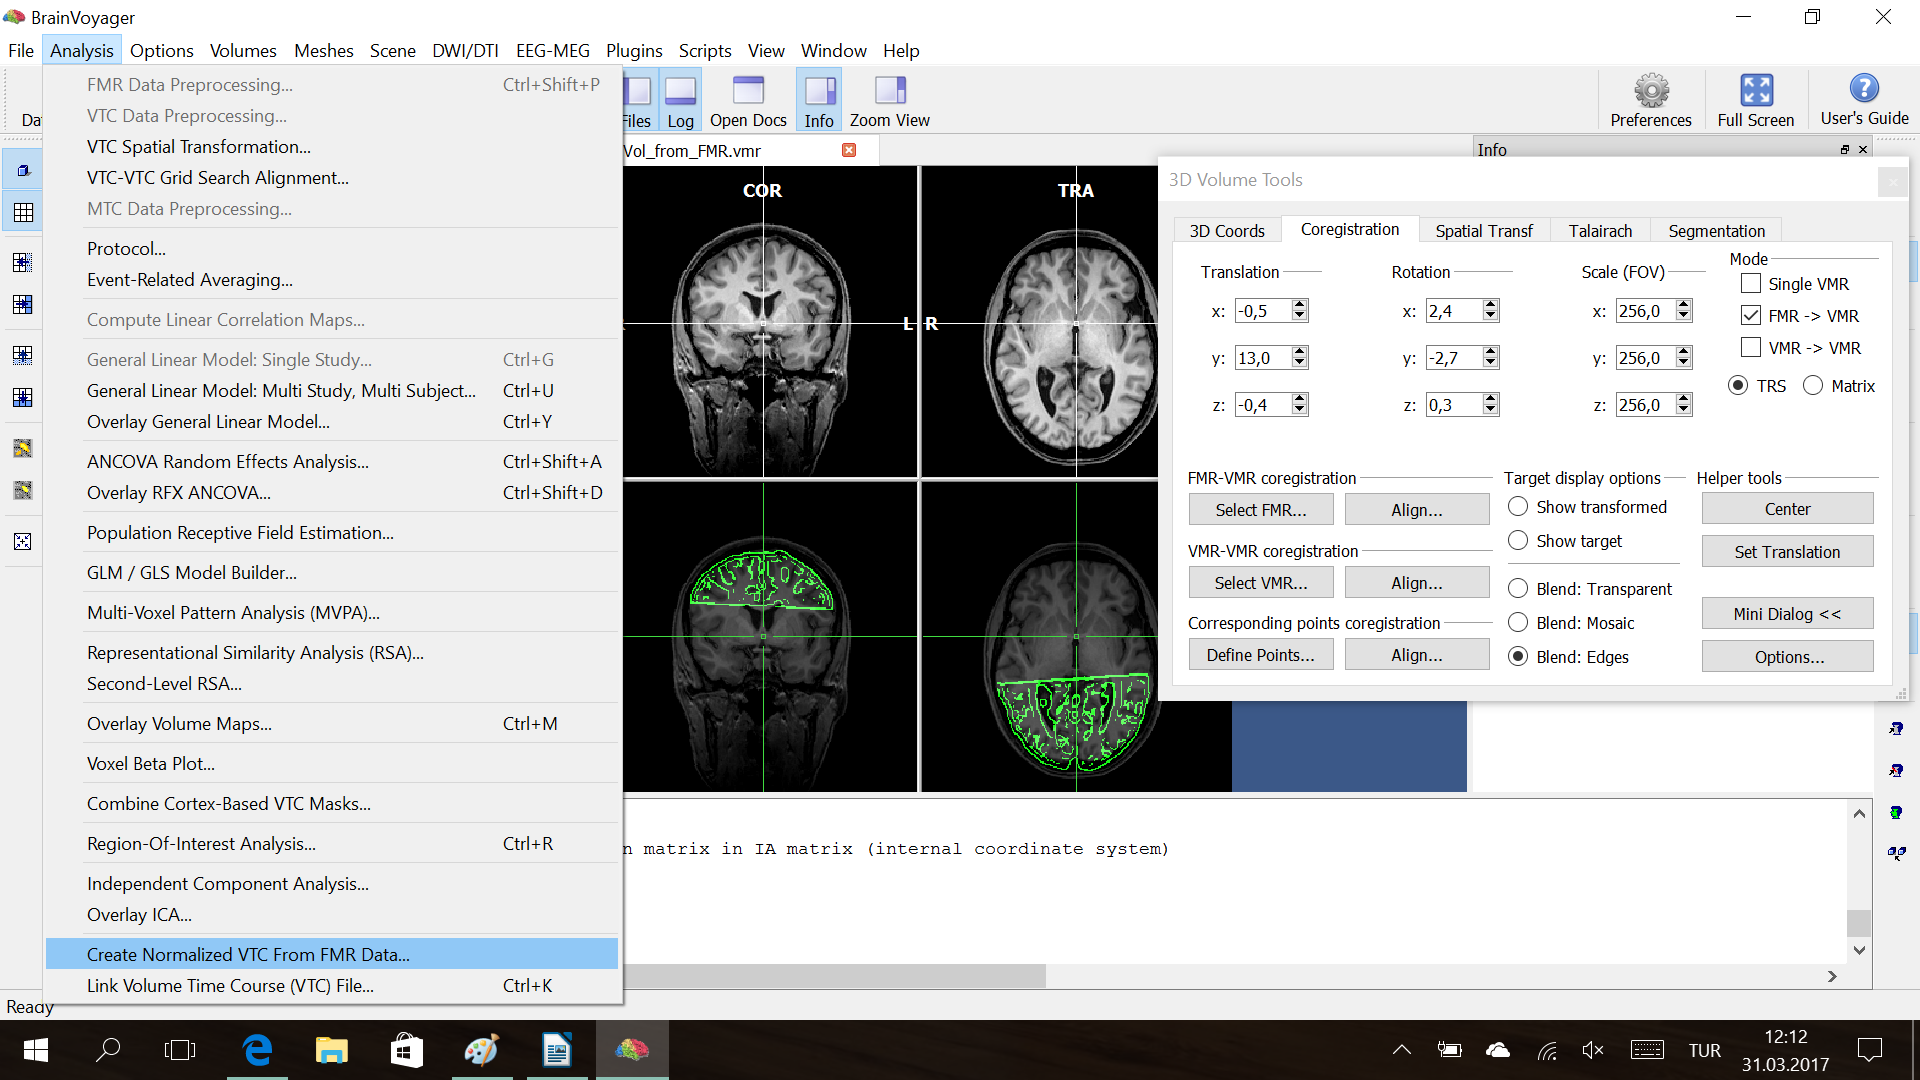
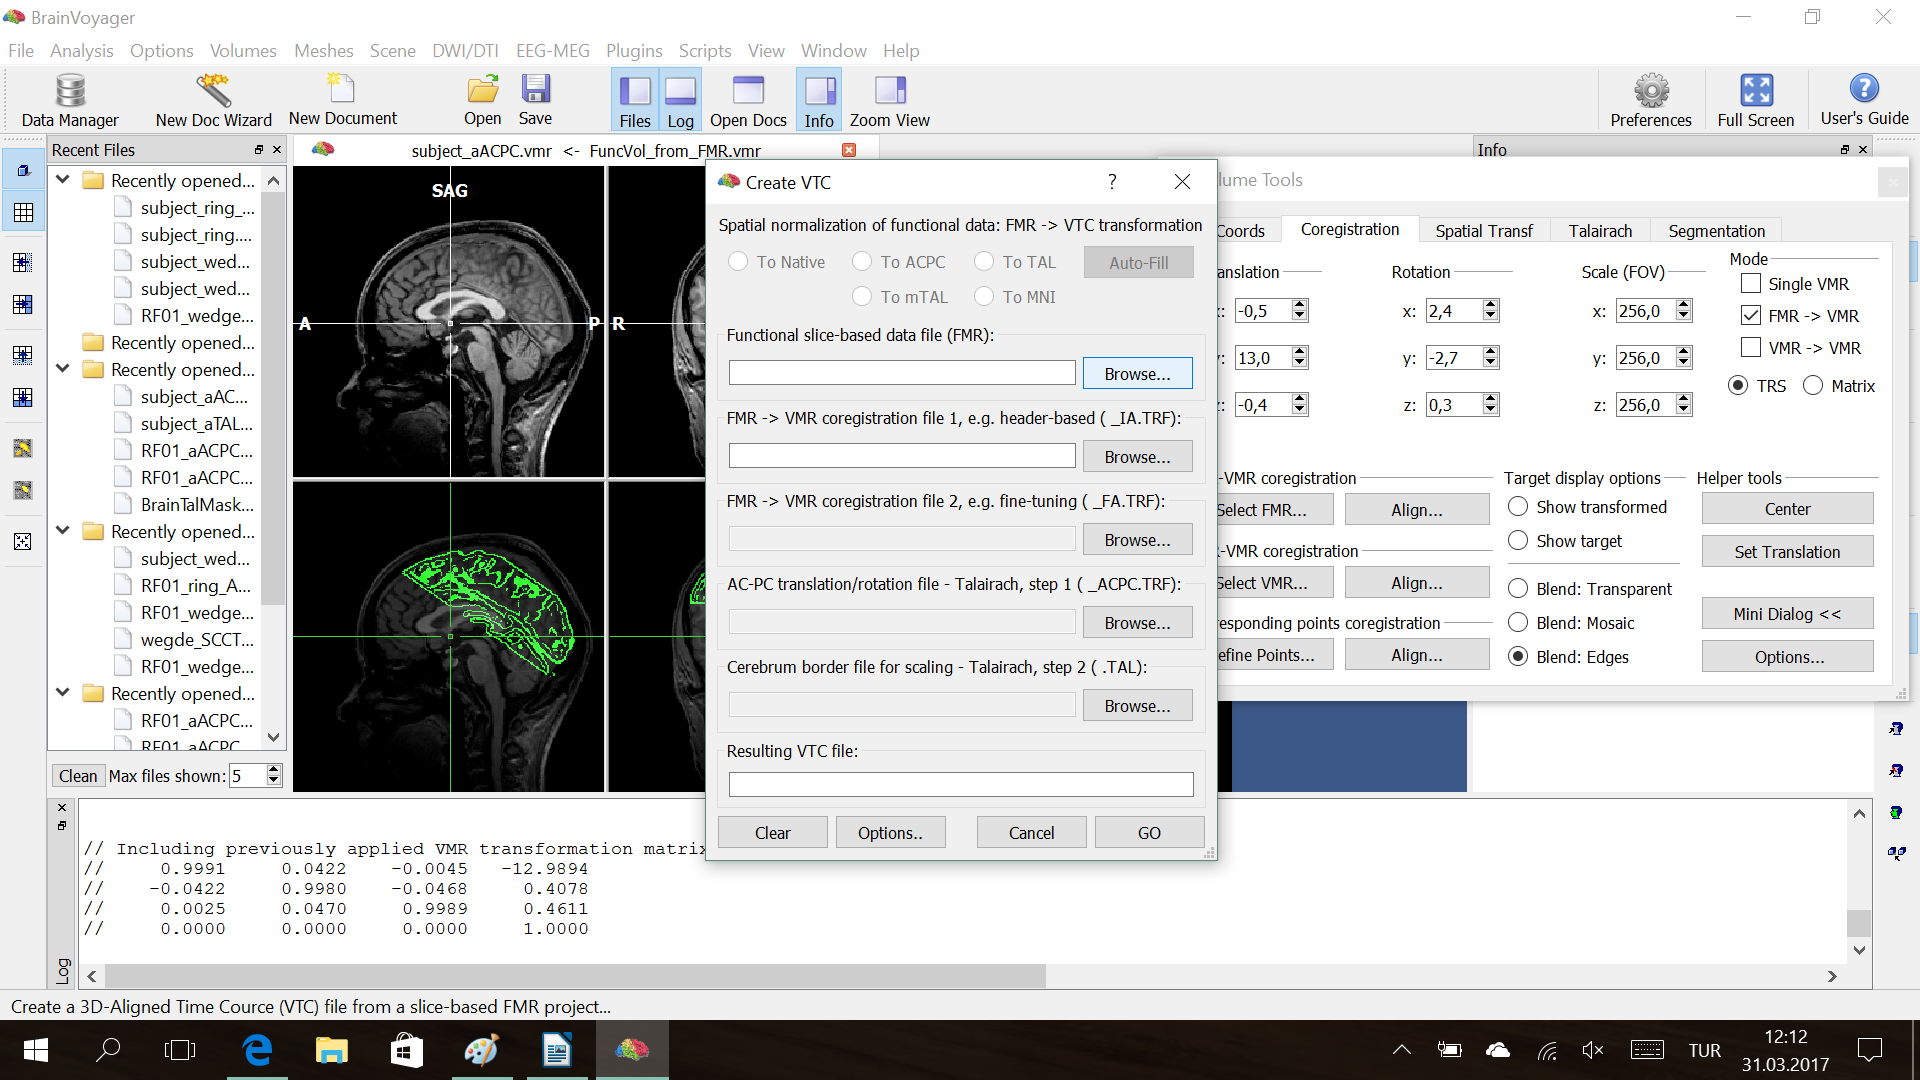
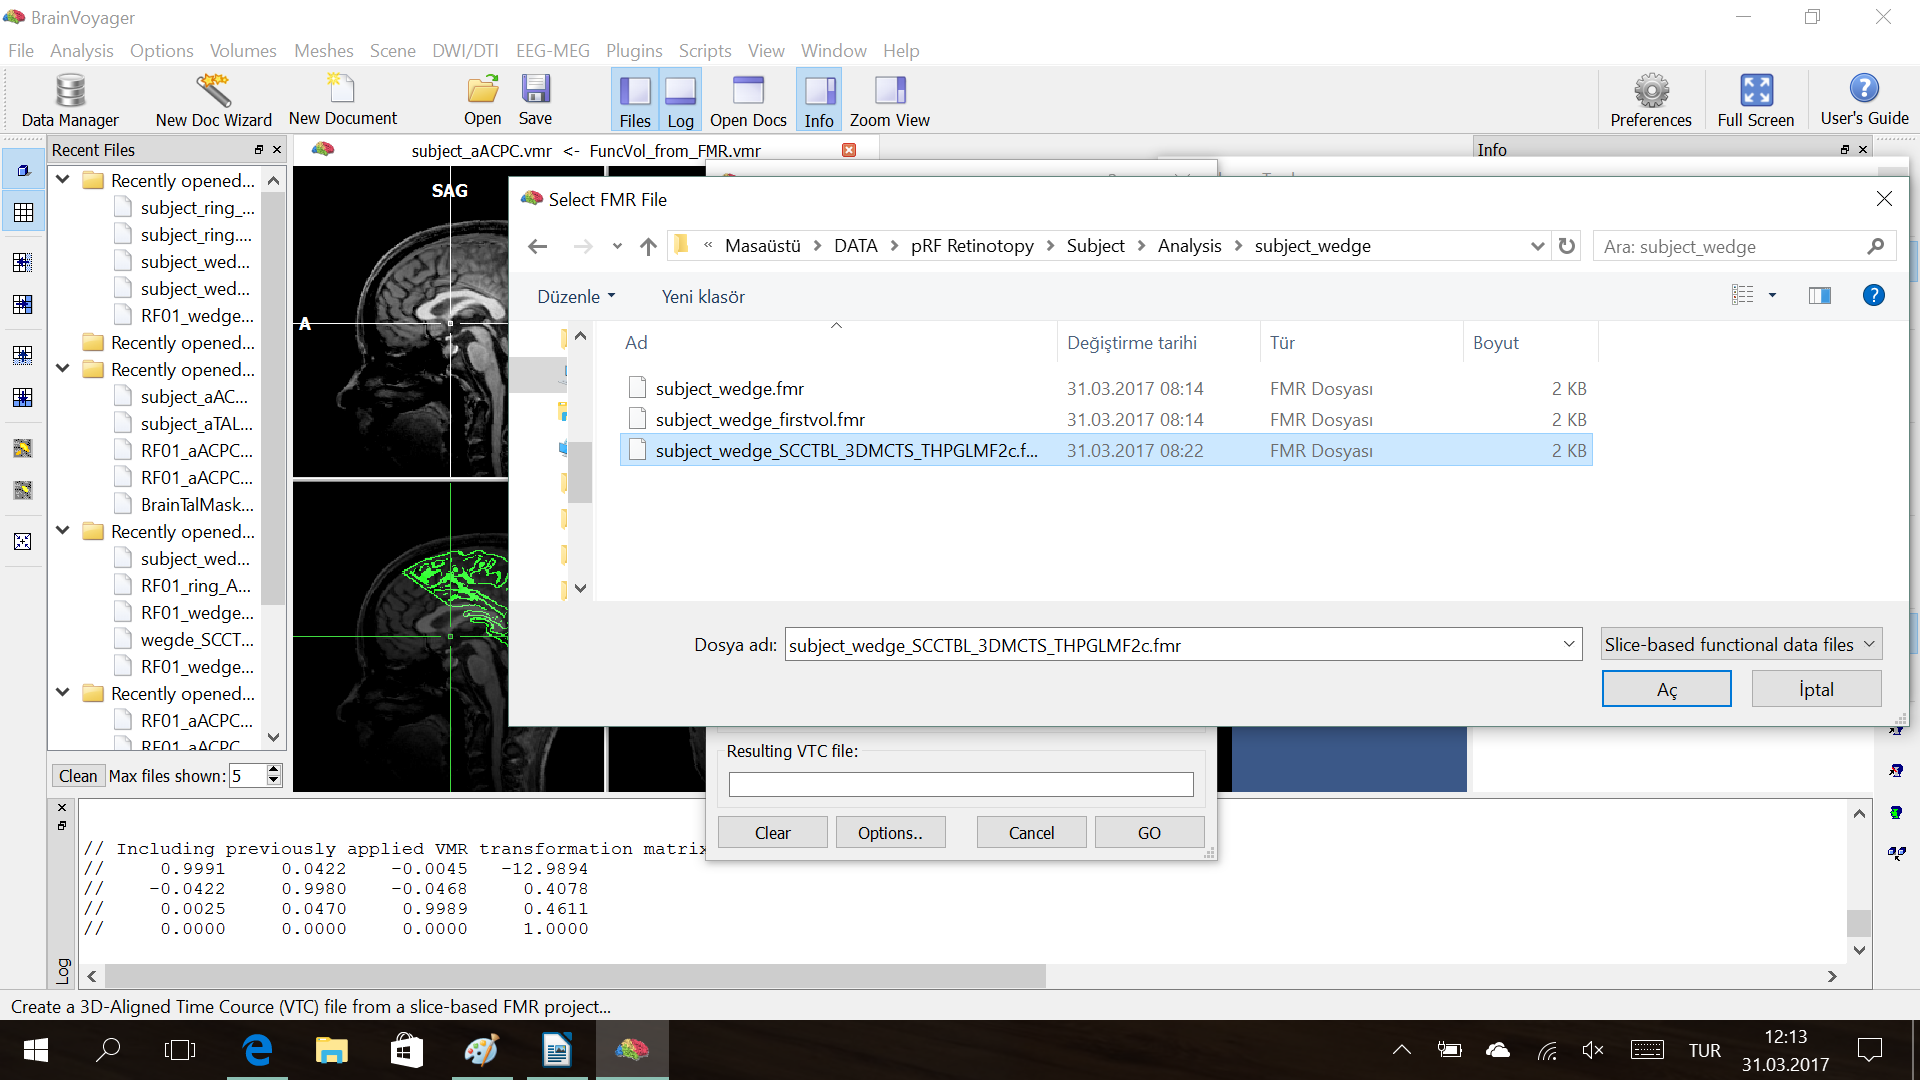
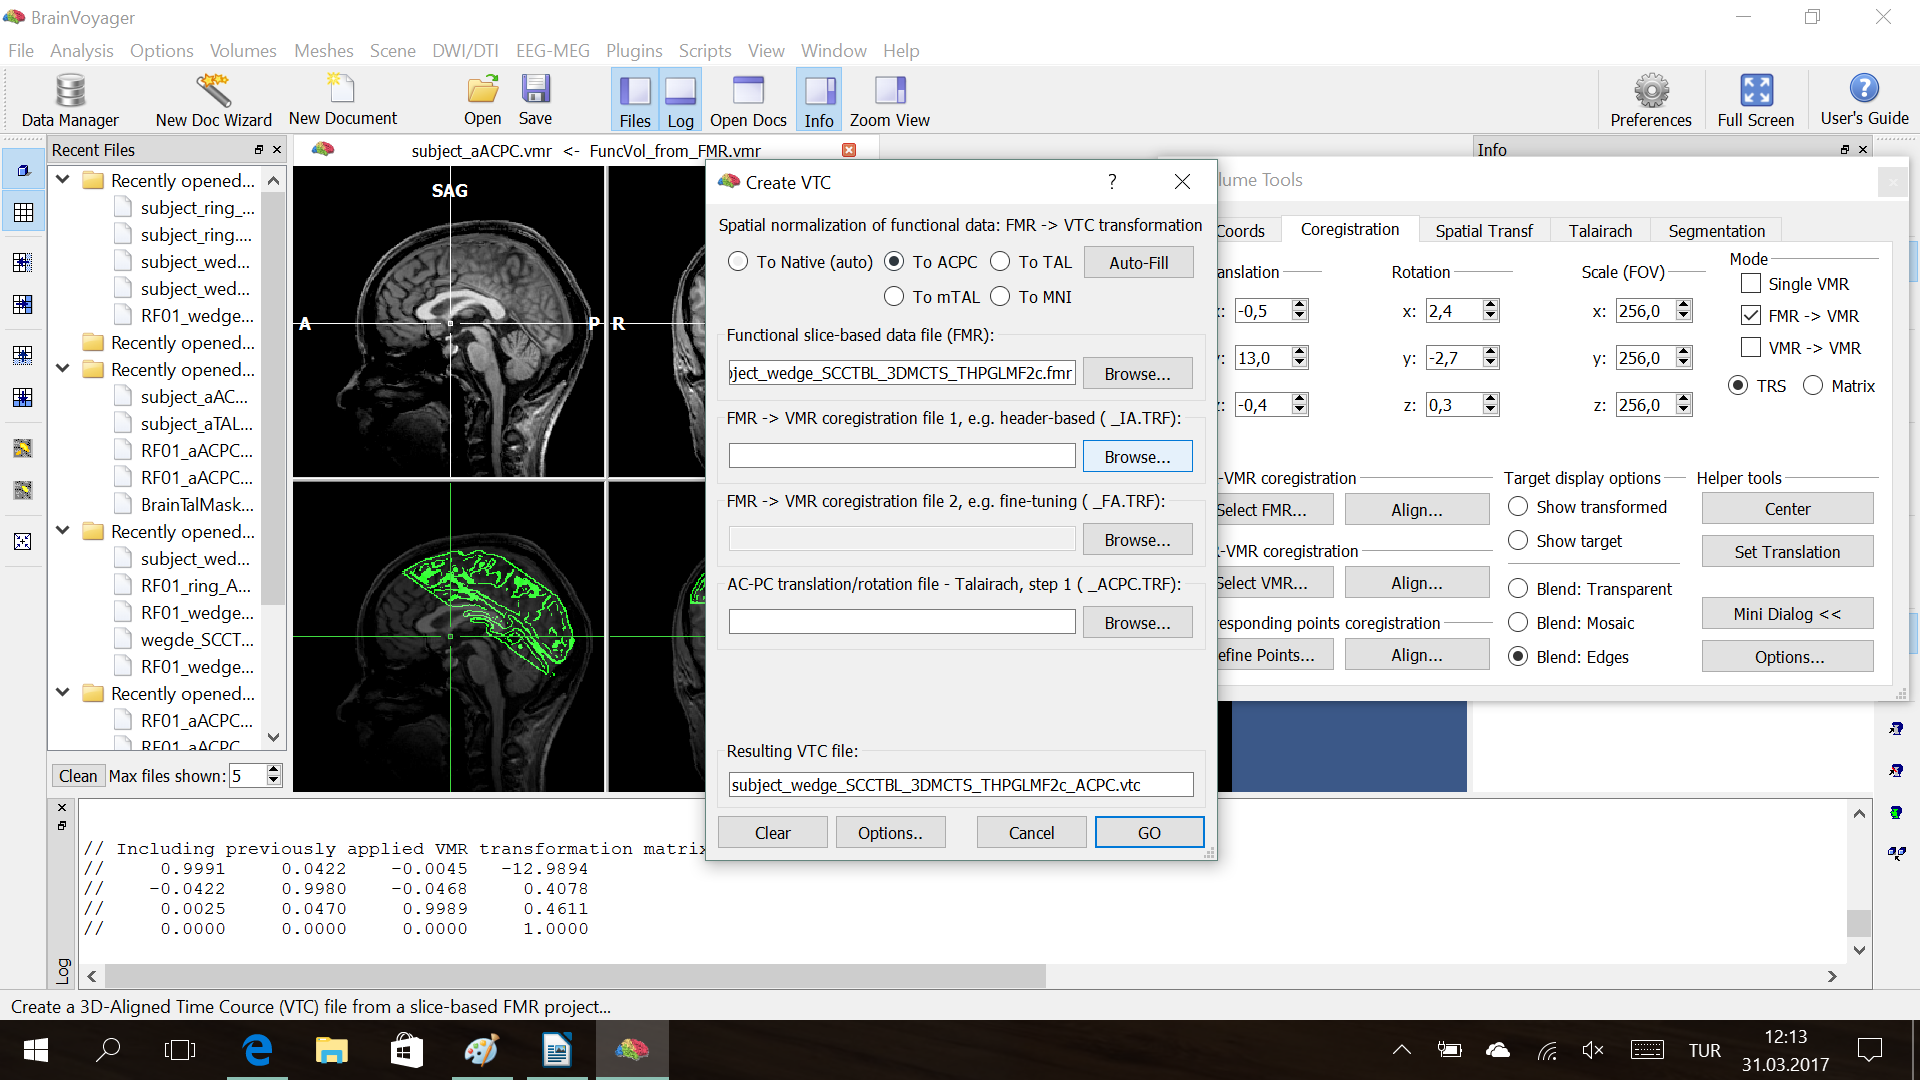
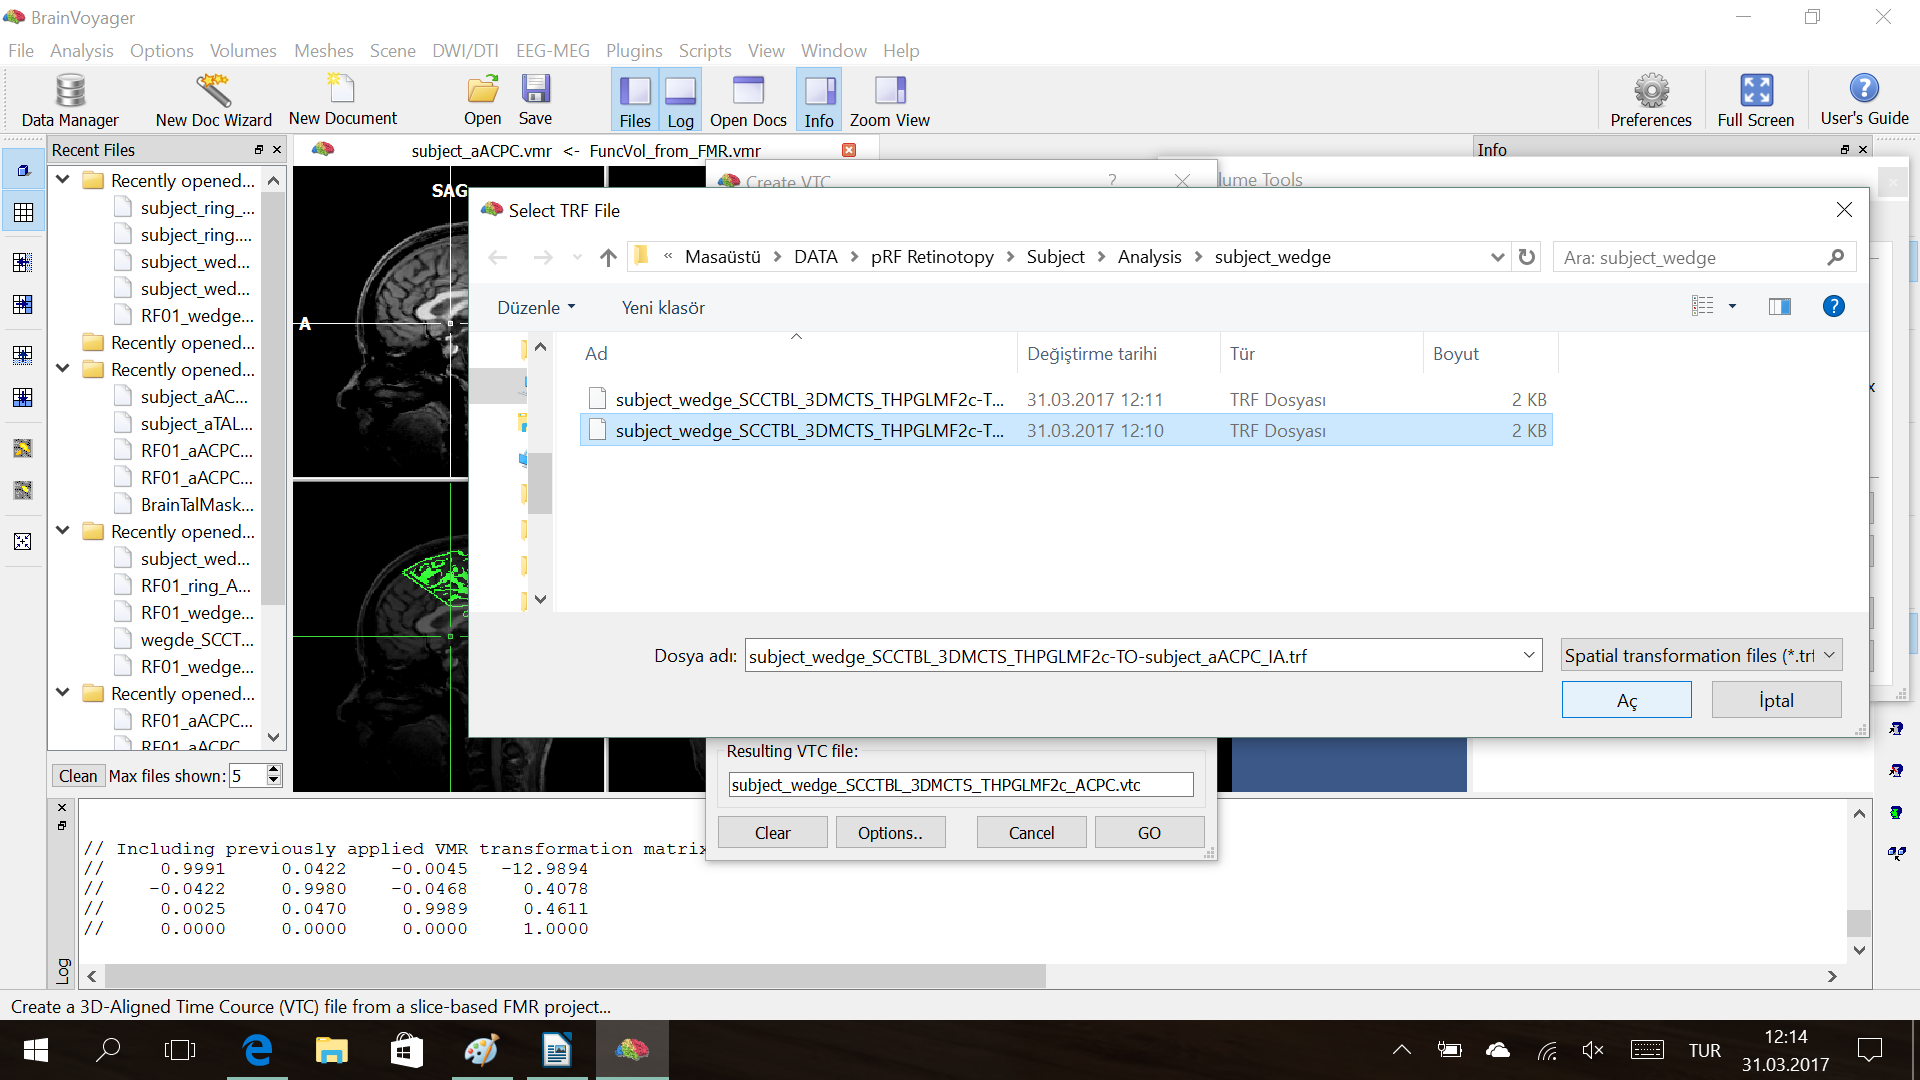
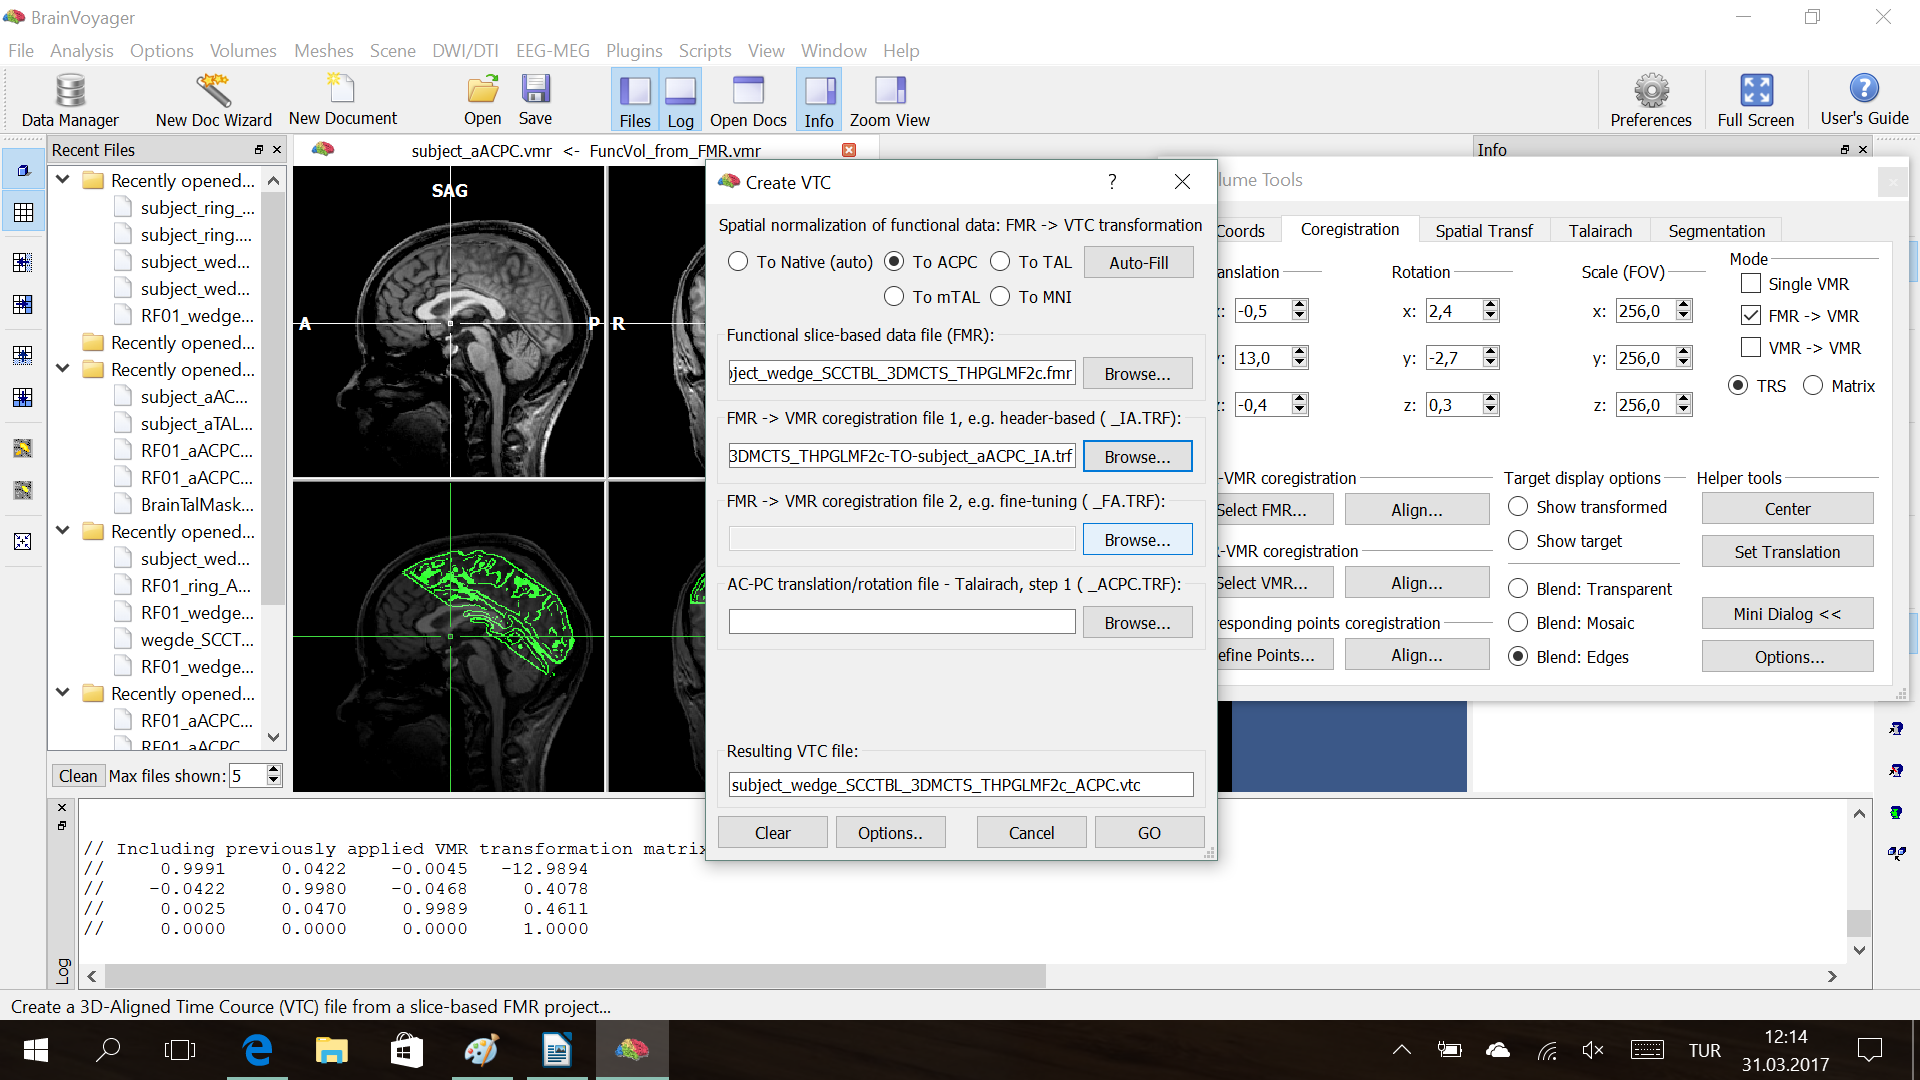
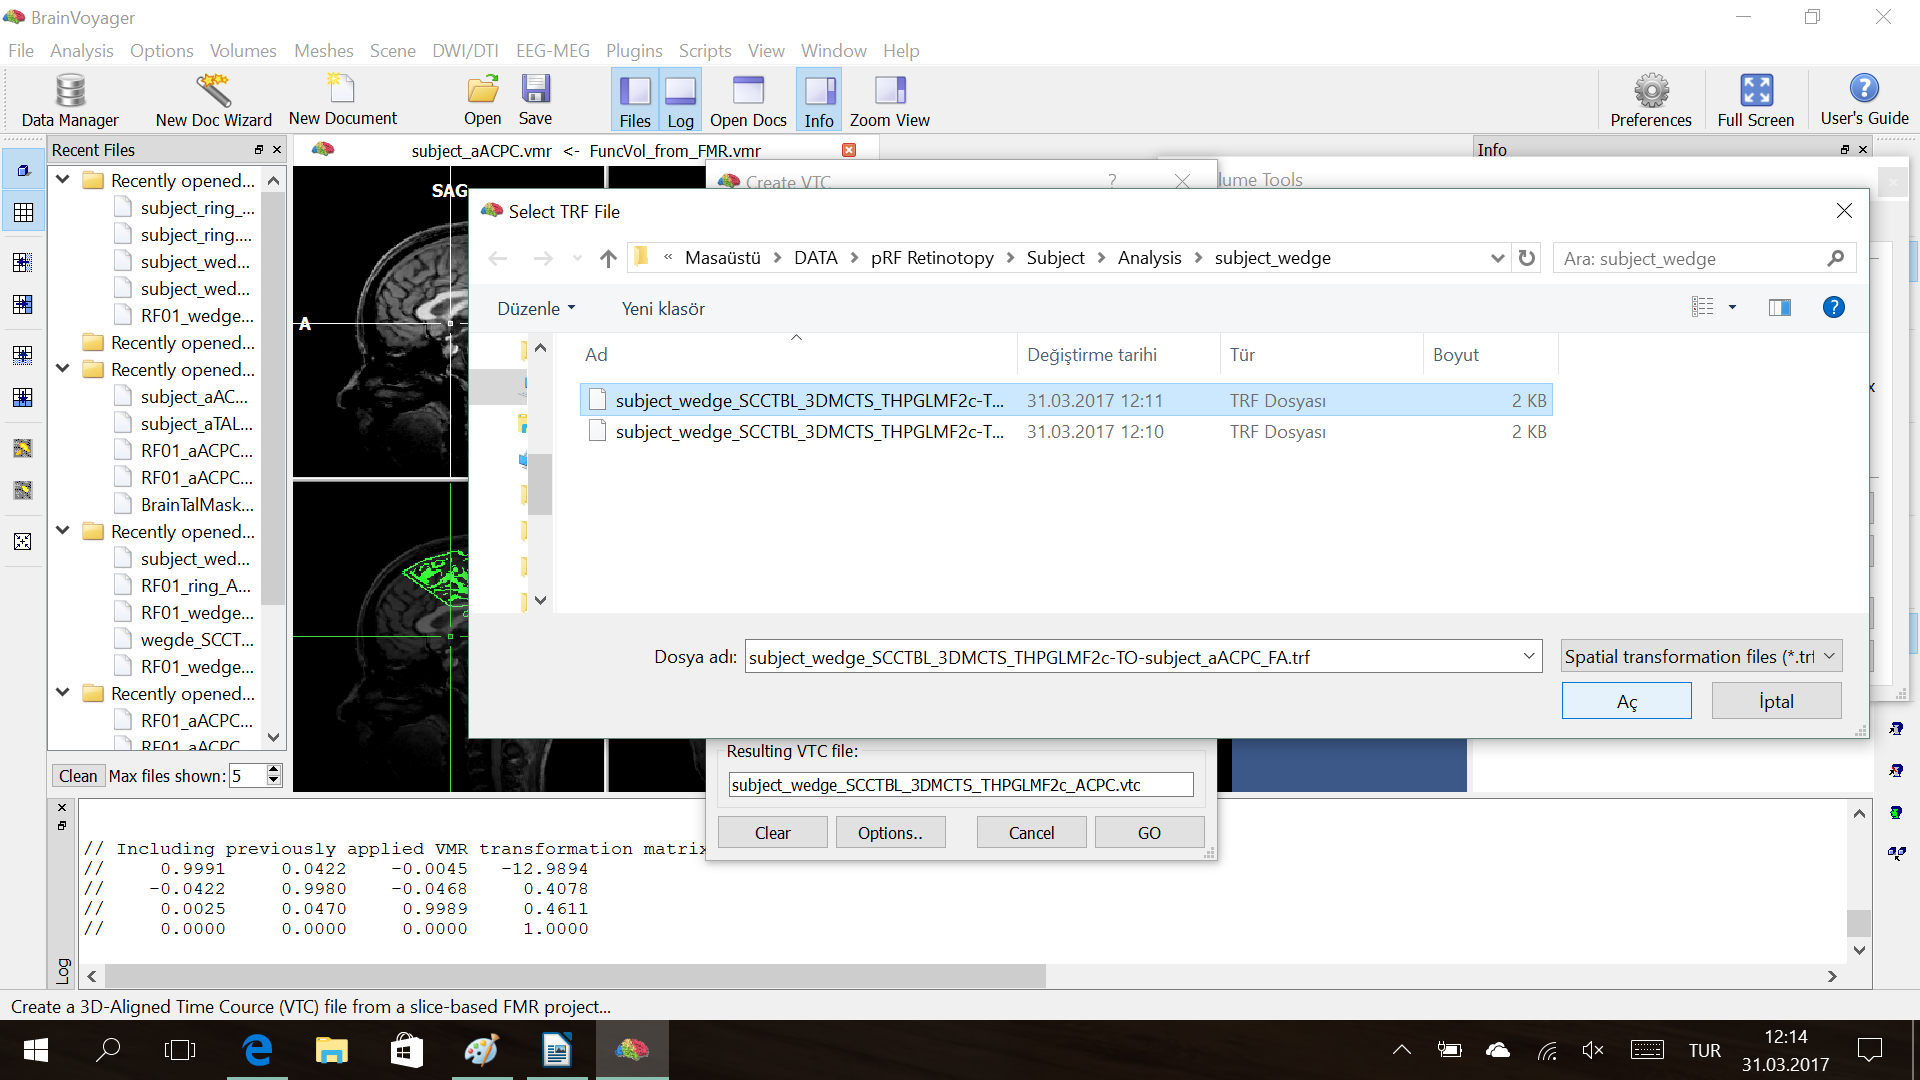
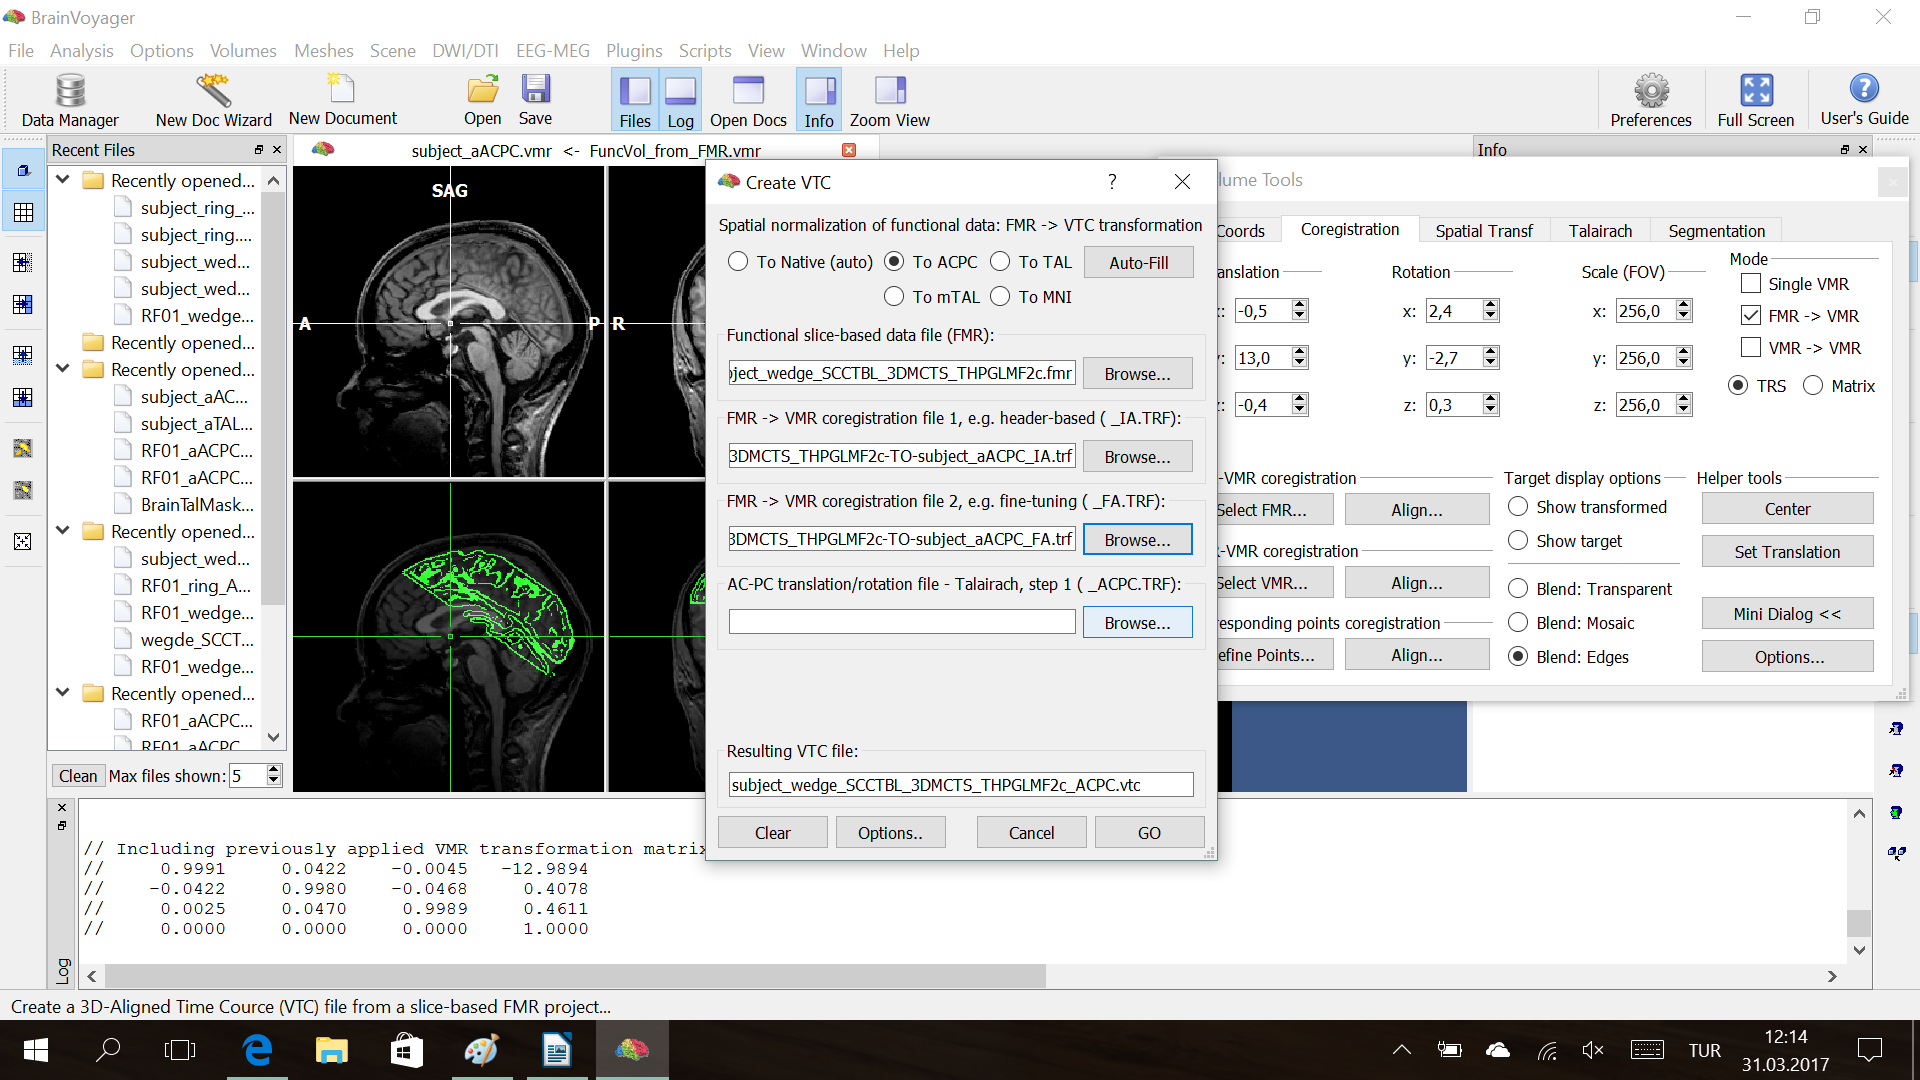
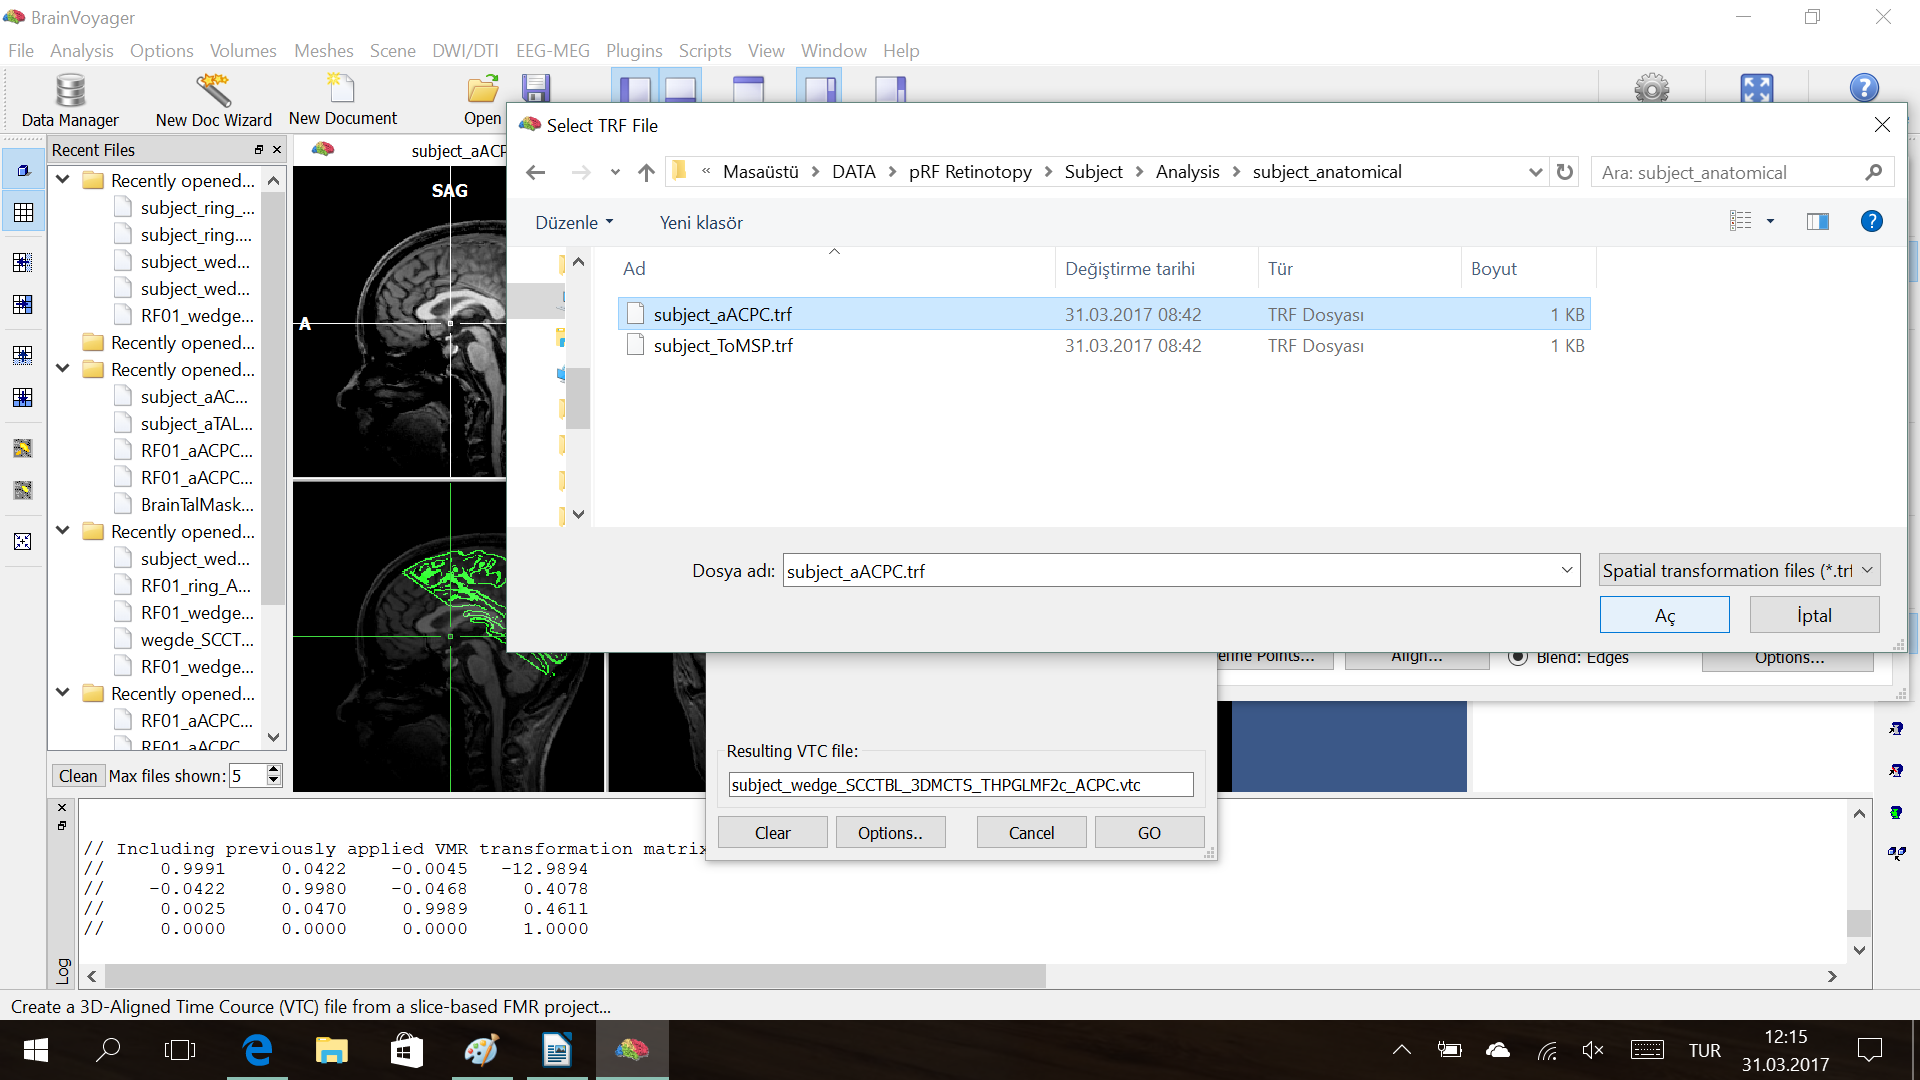
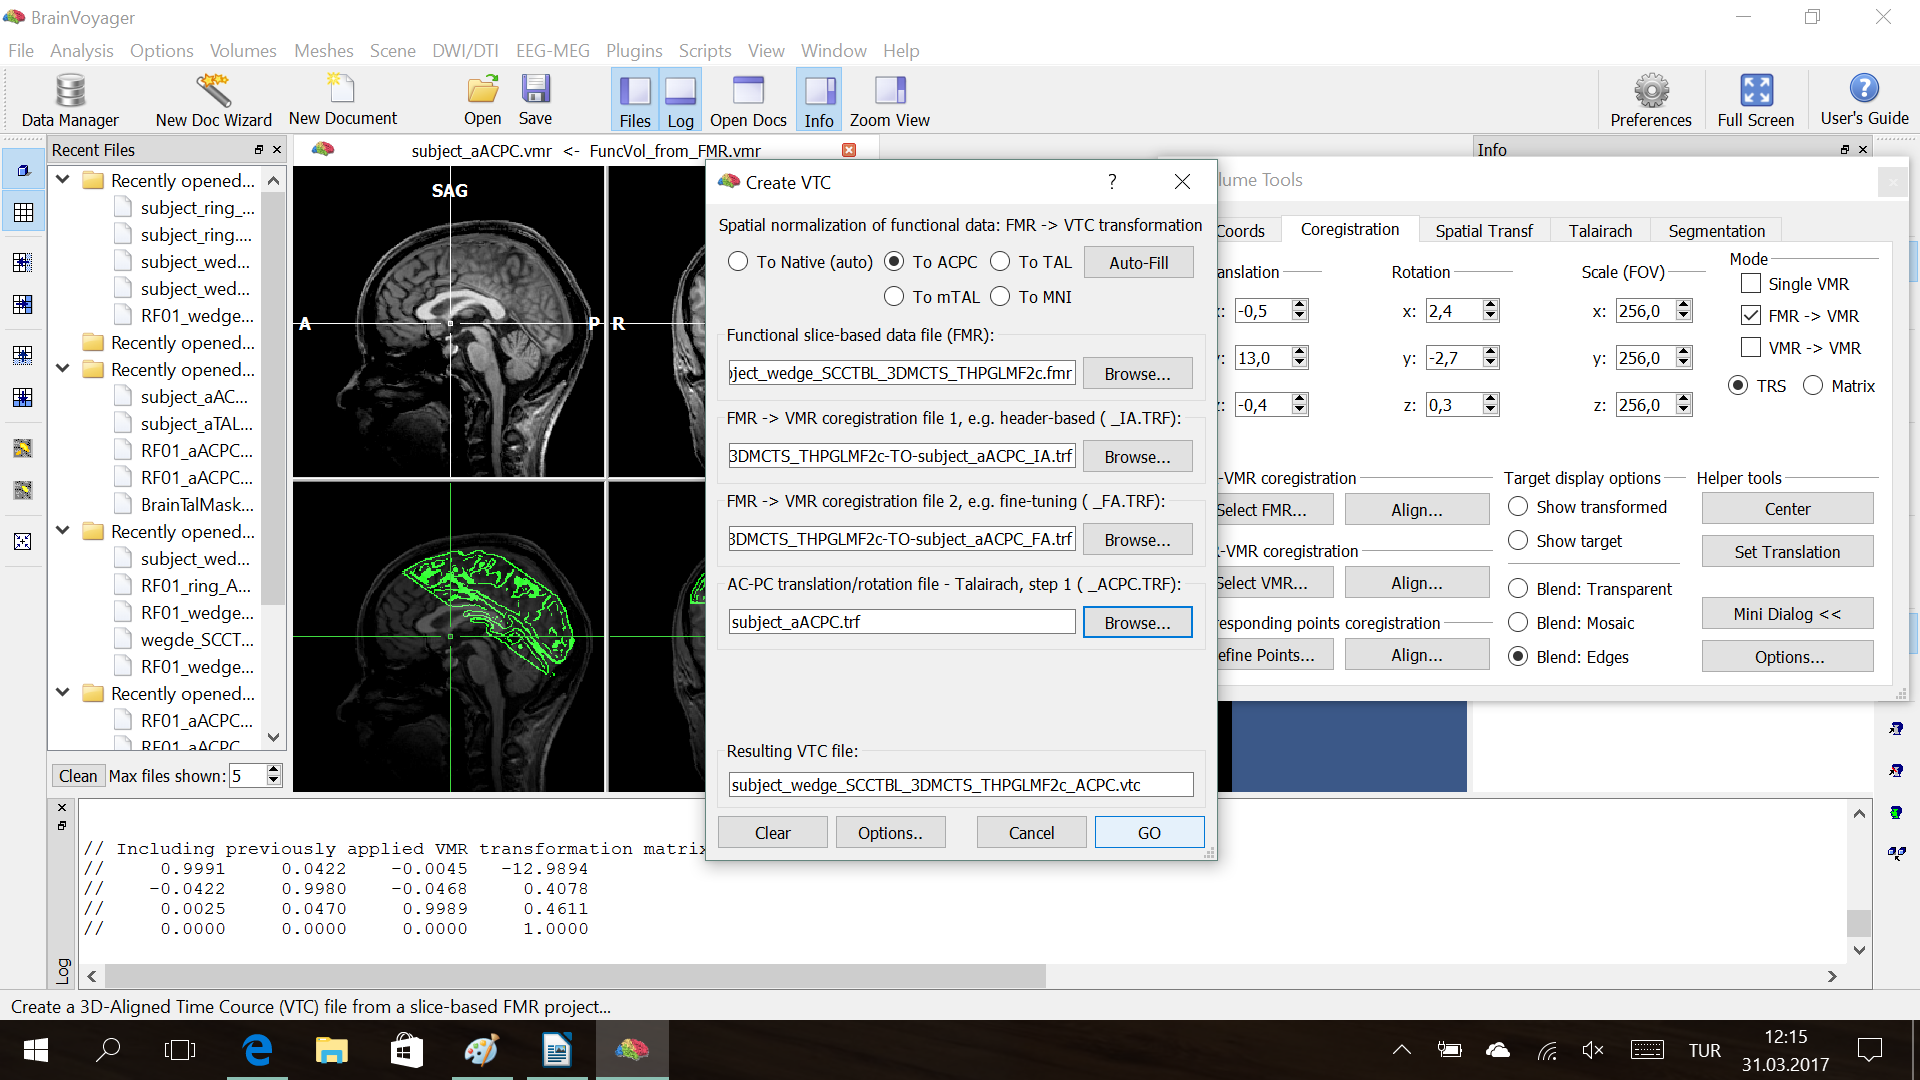
Step6. Create .vtc file
Analysis → Create Volume Time Course (VTC) file
Step7. Segmentation of cortex
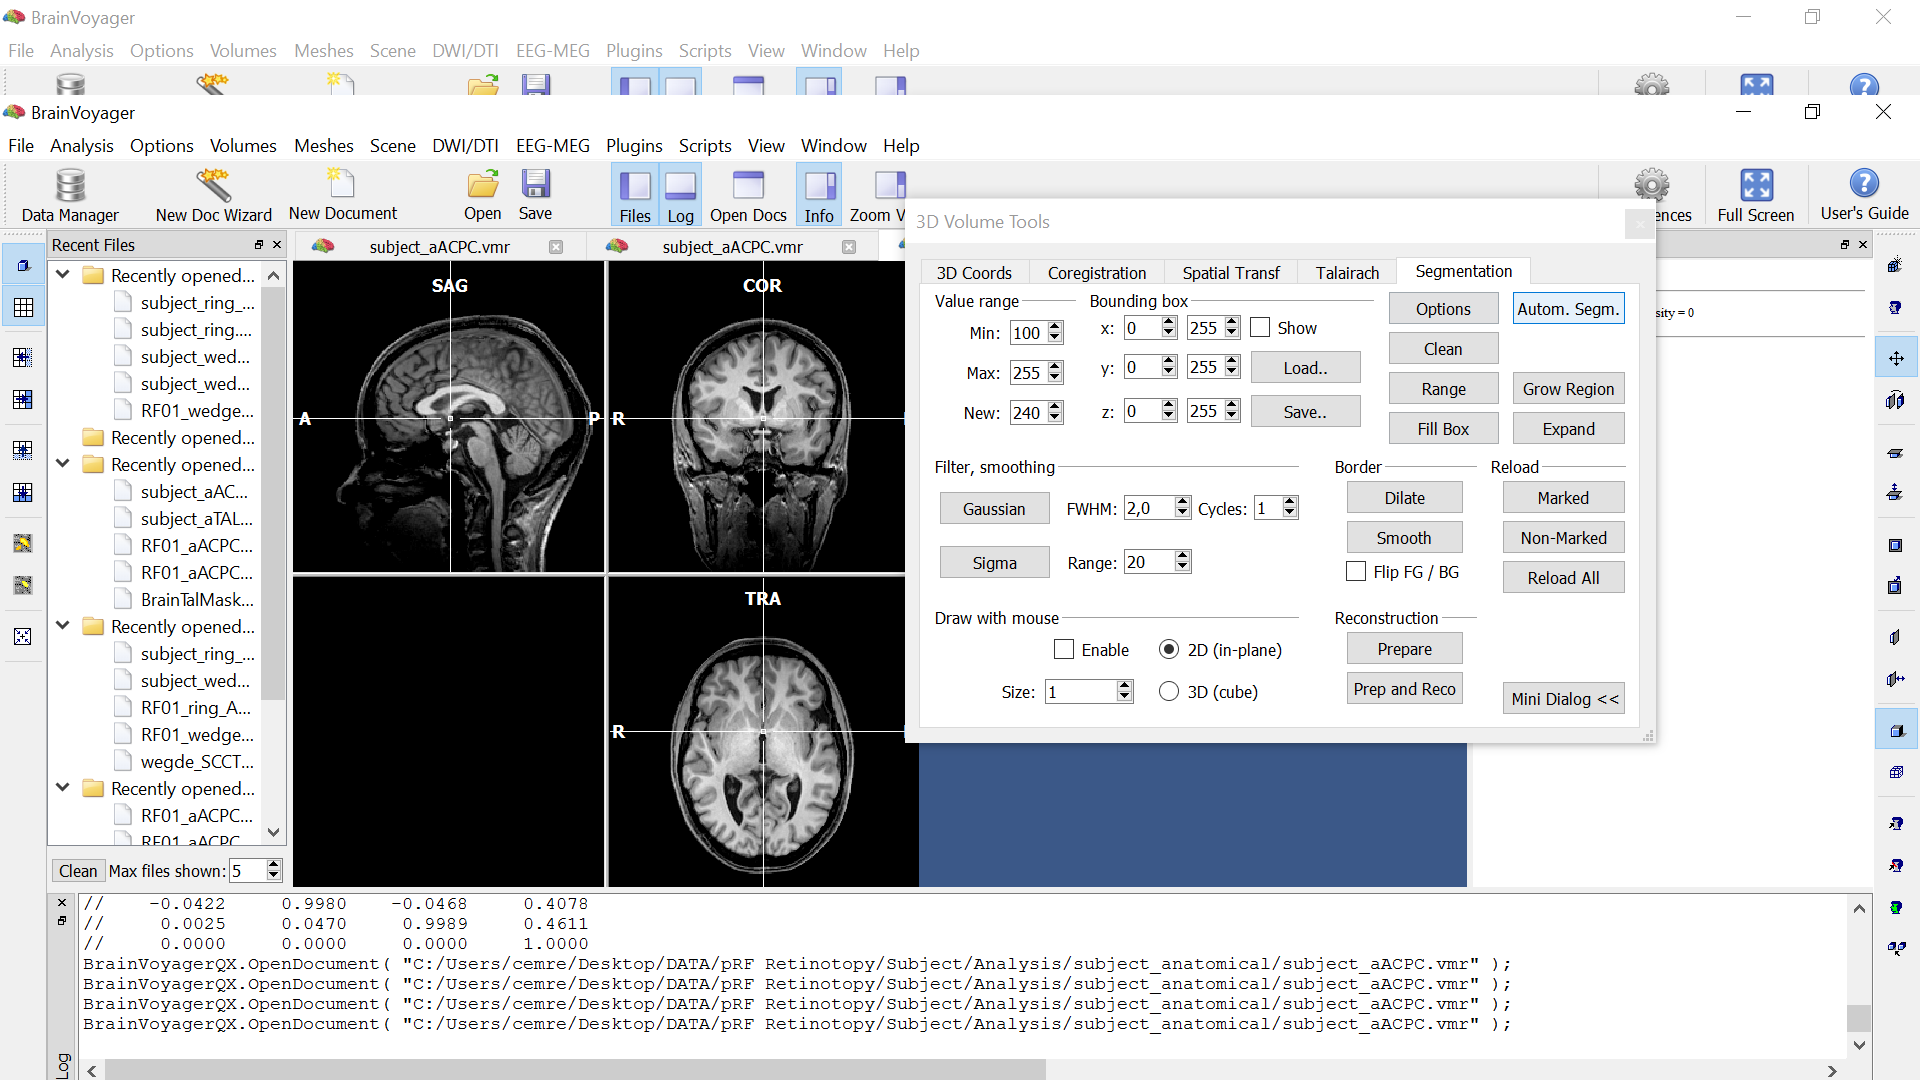
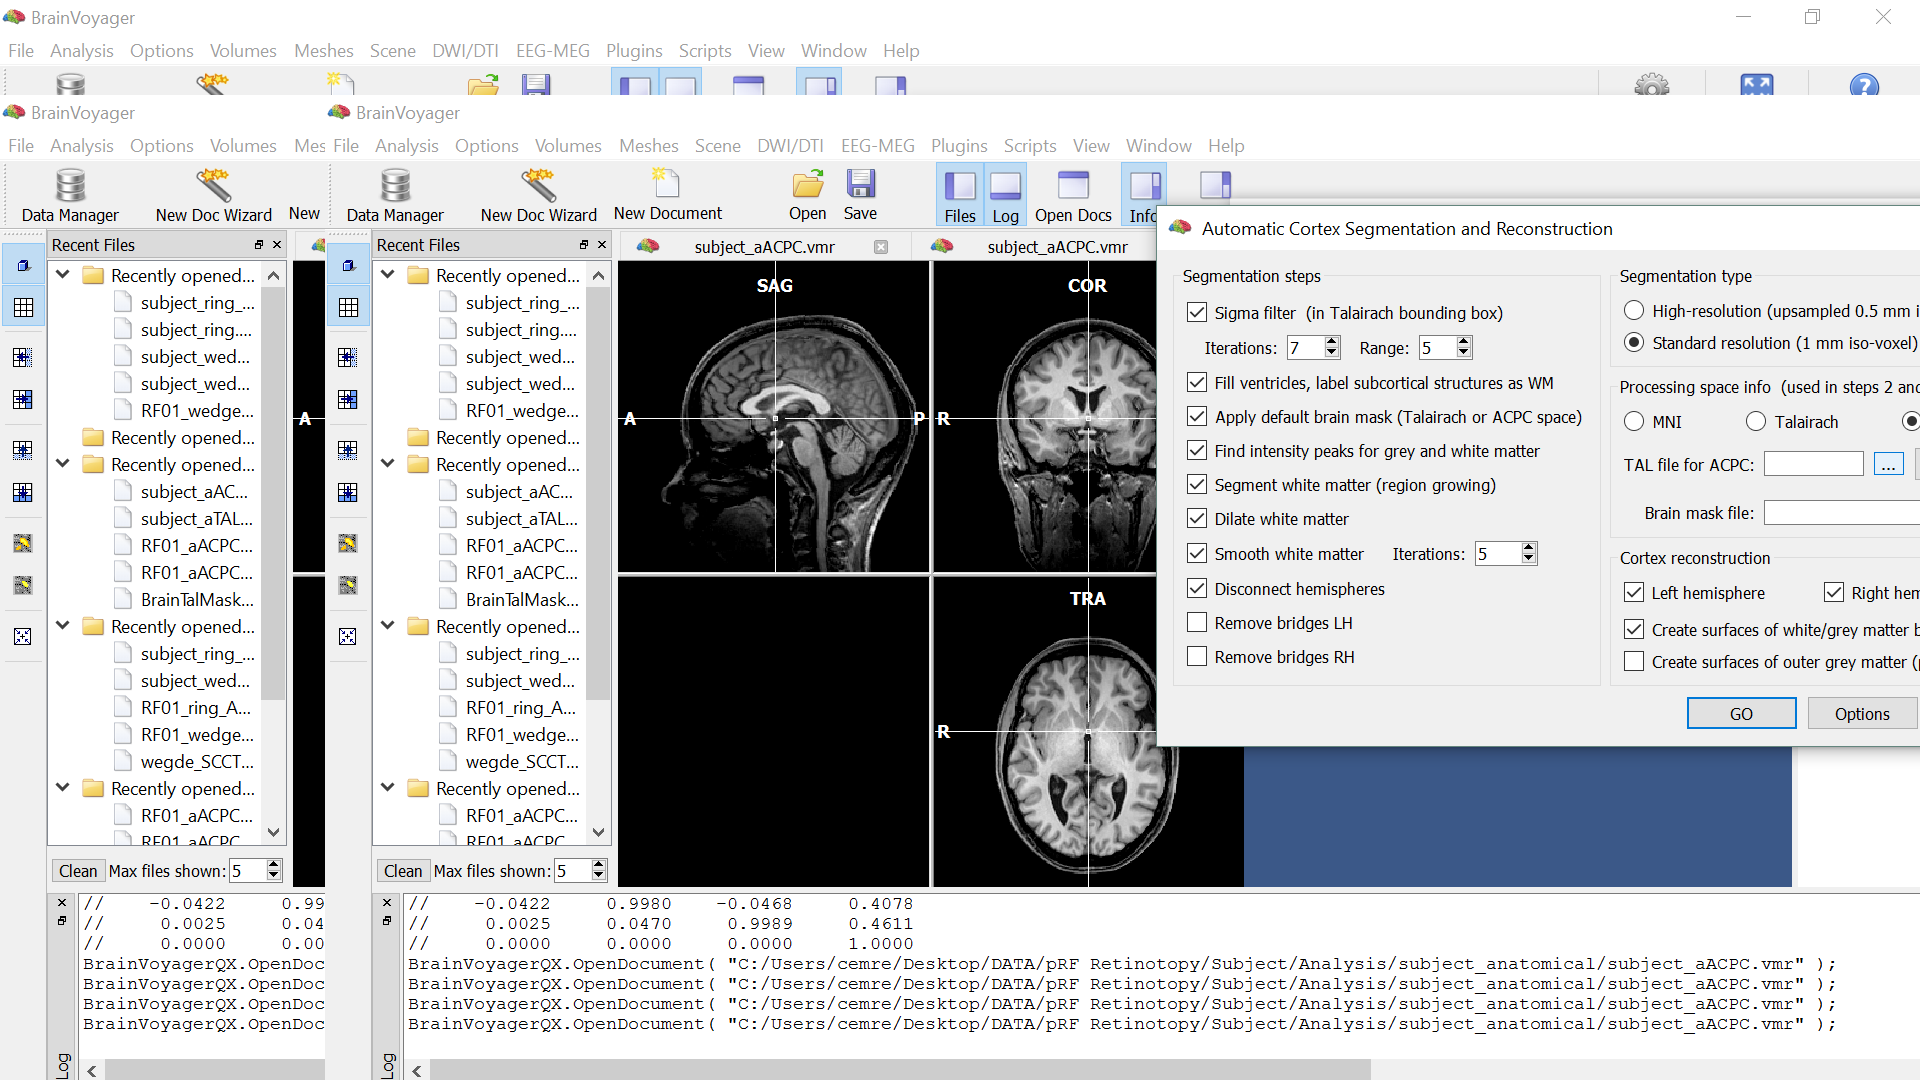
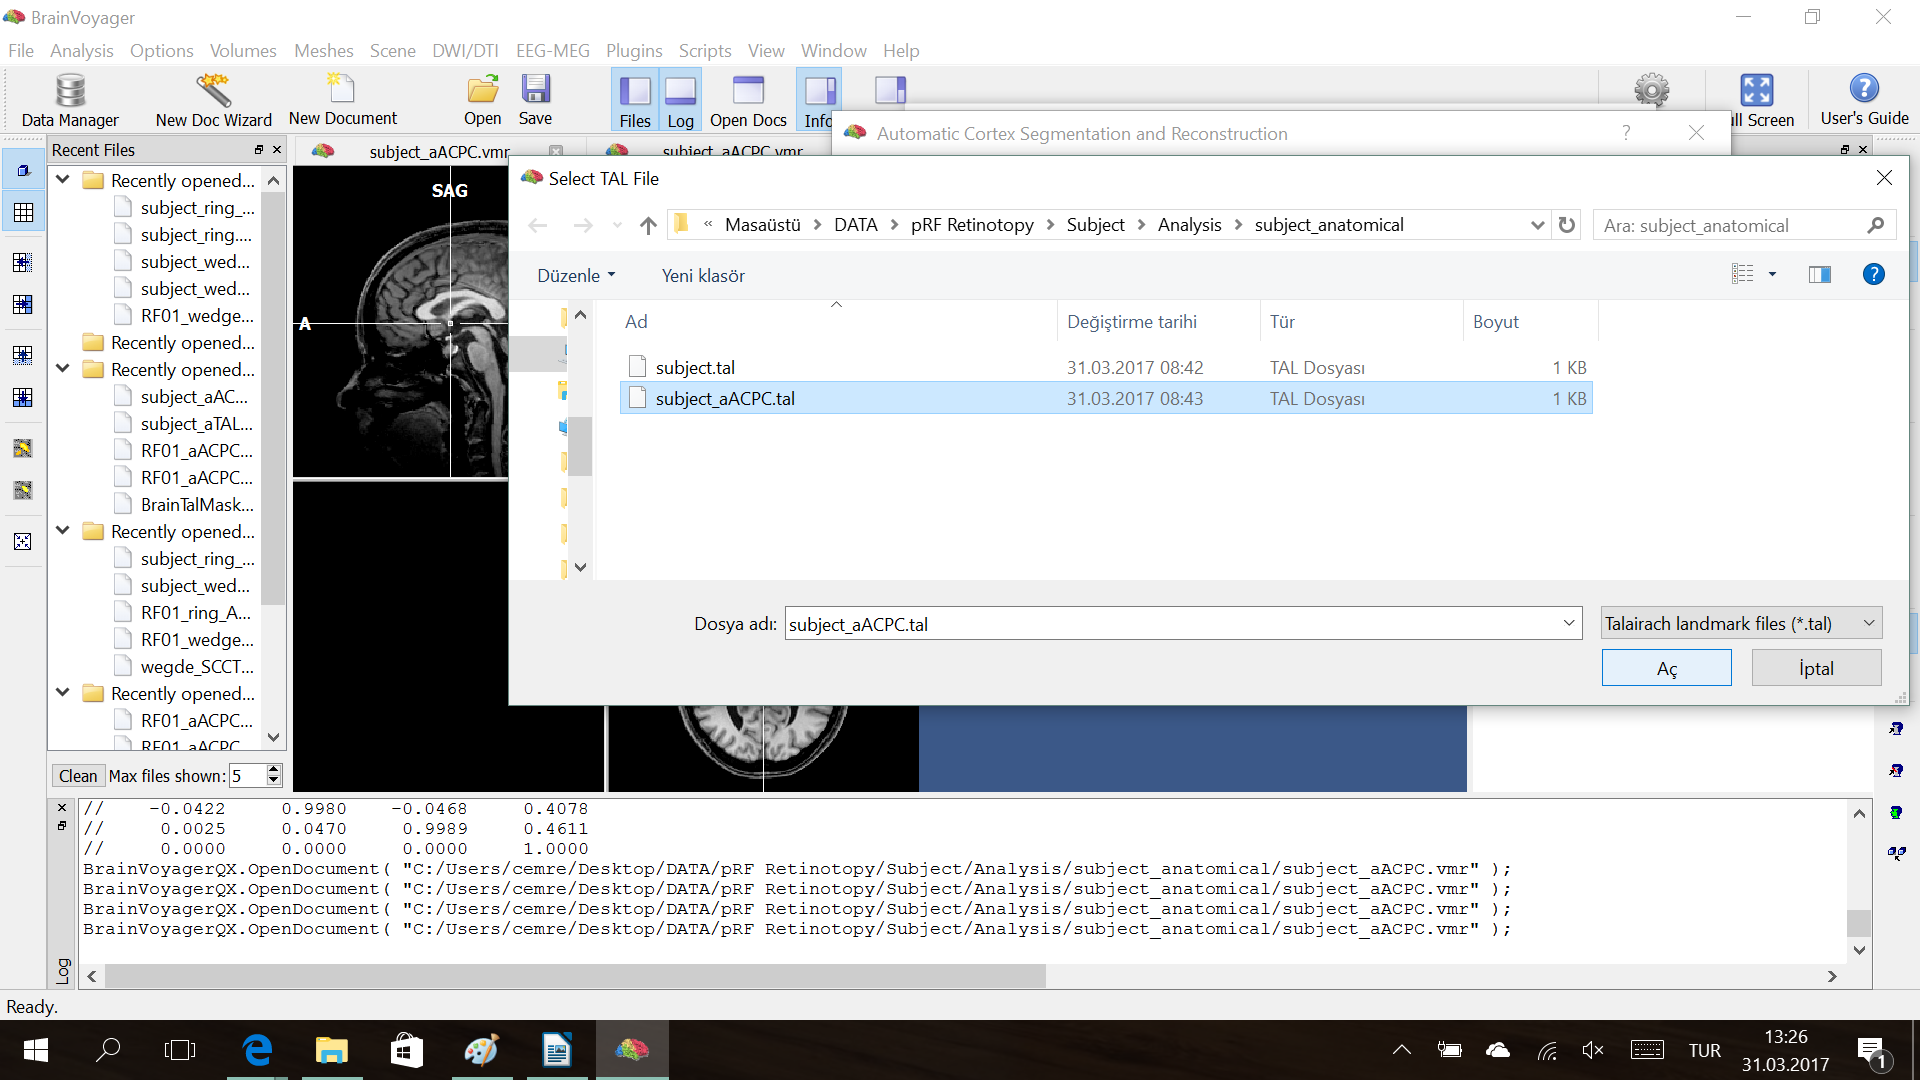
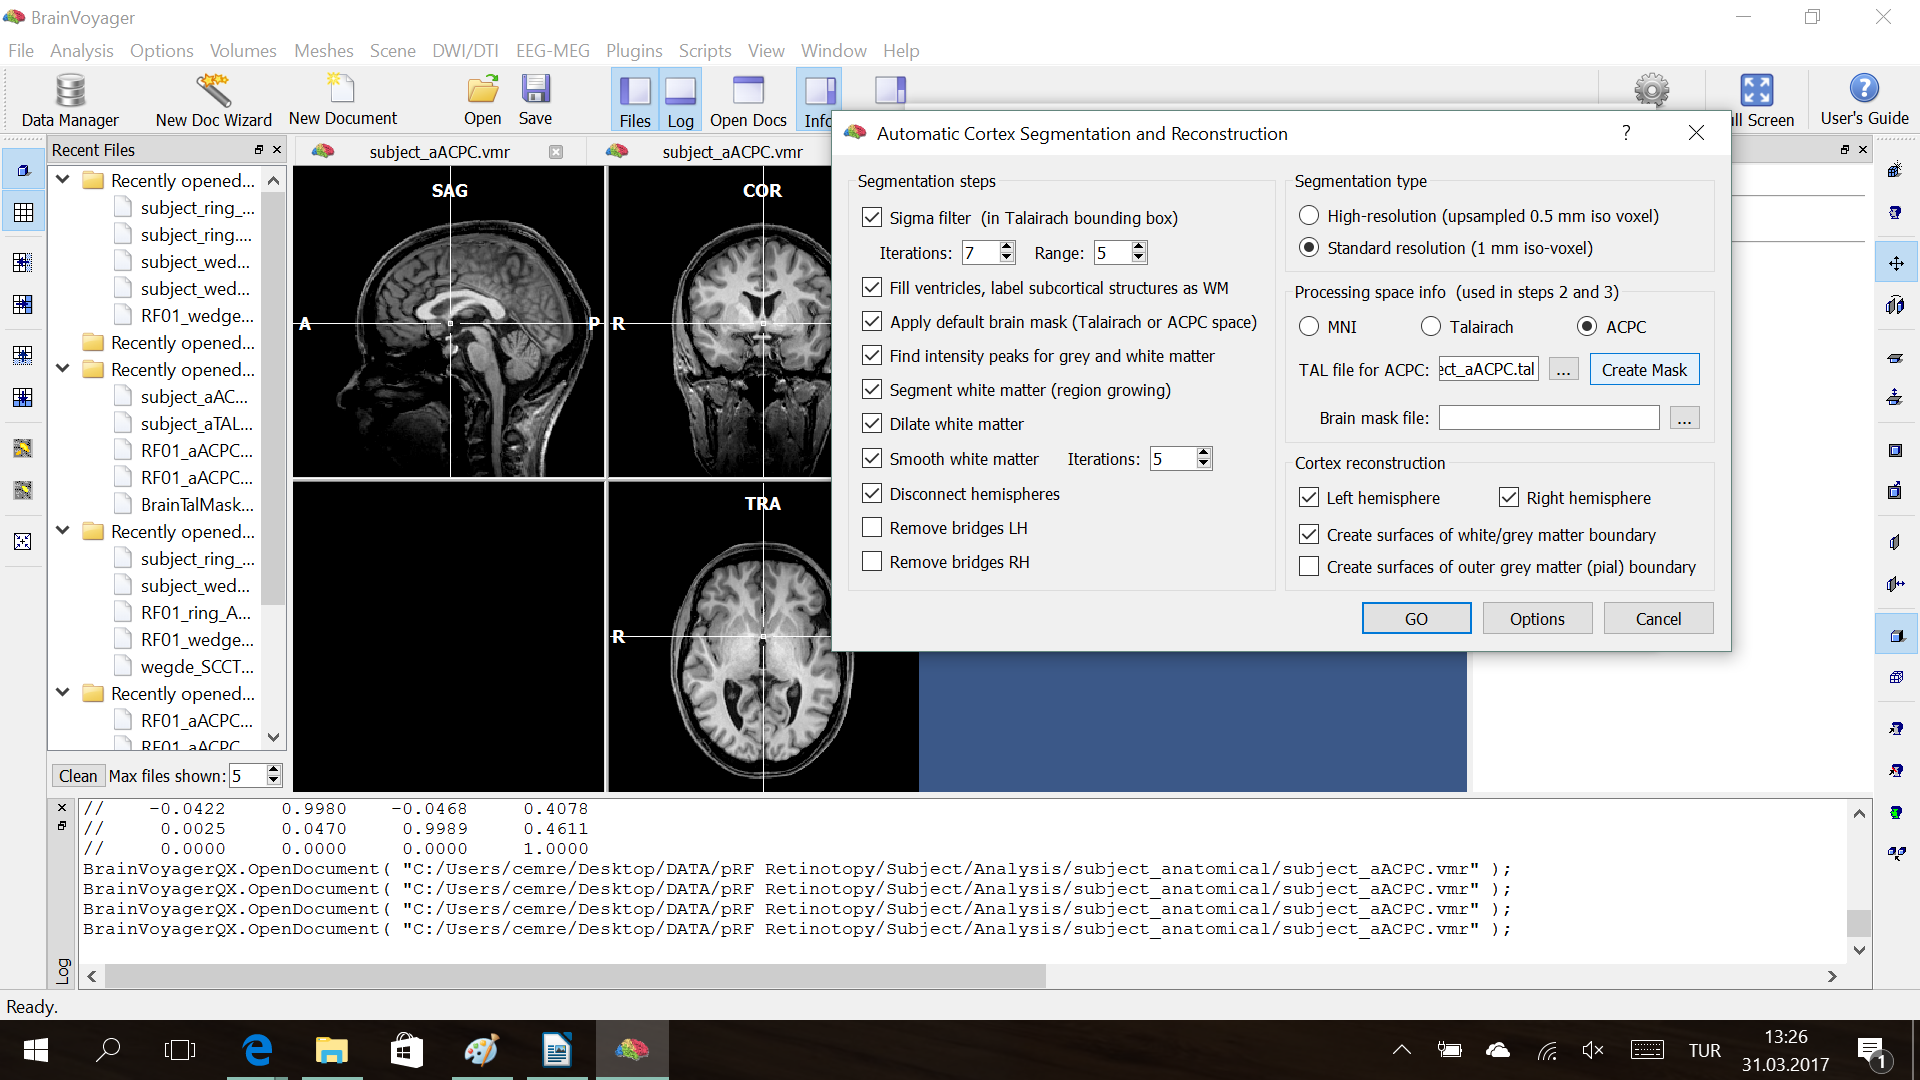
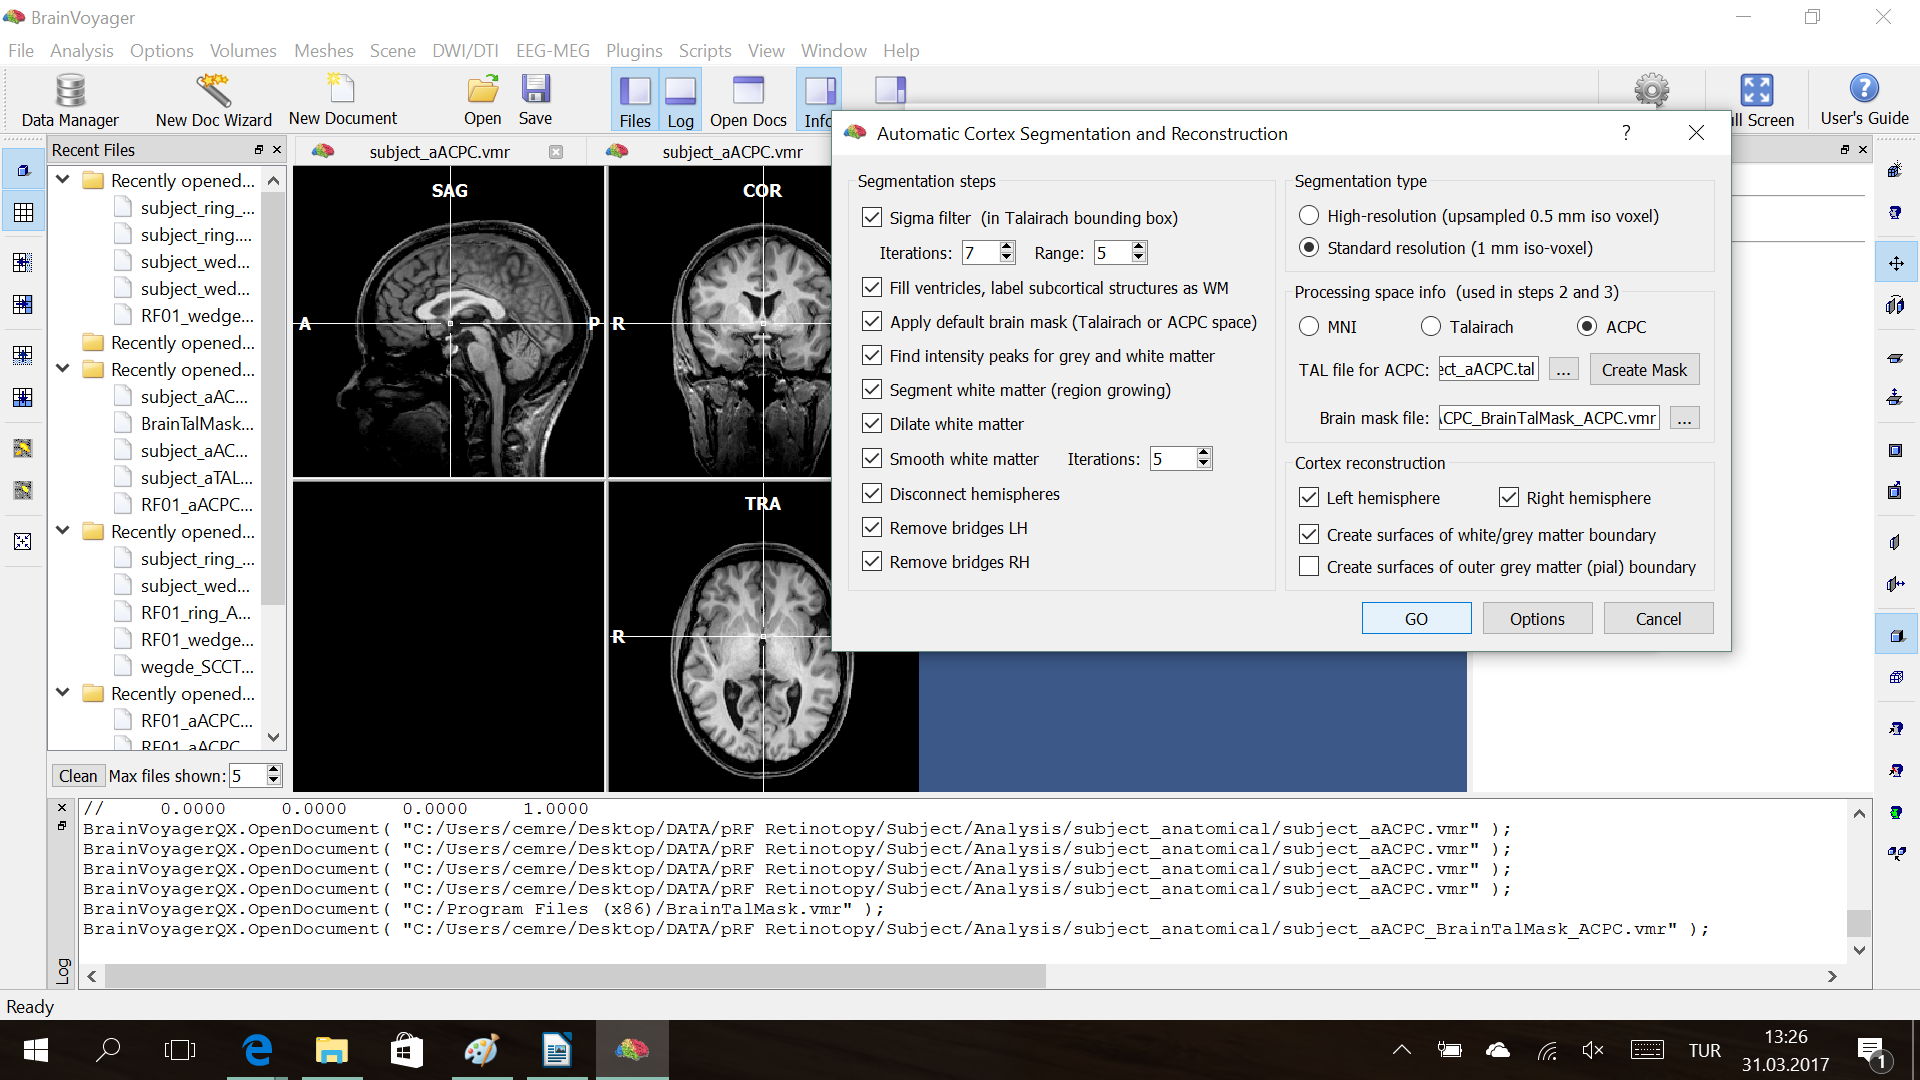
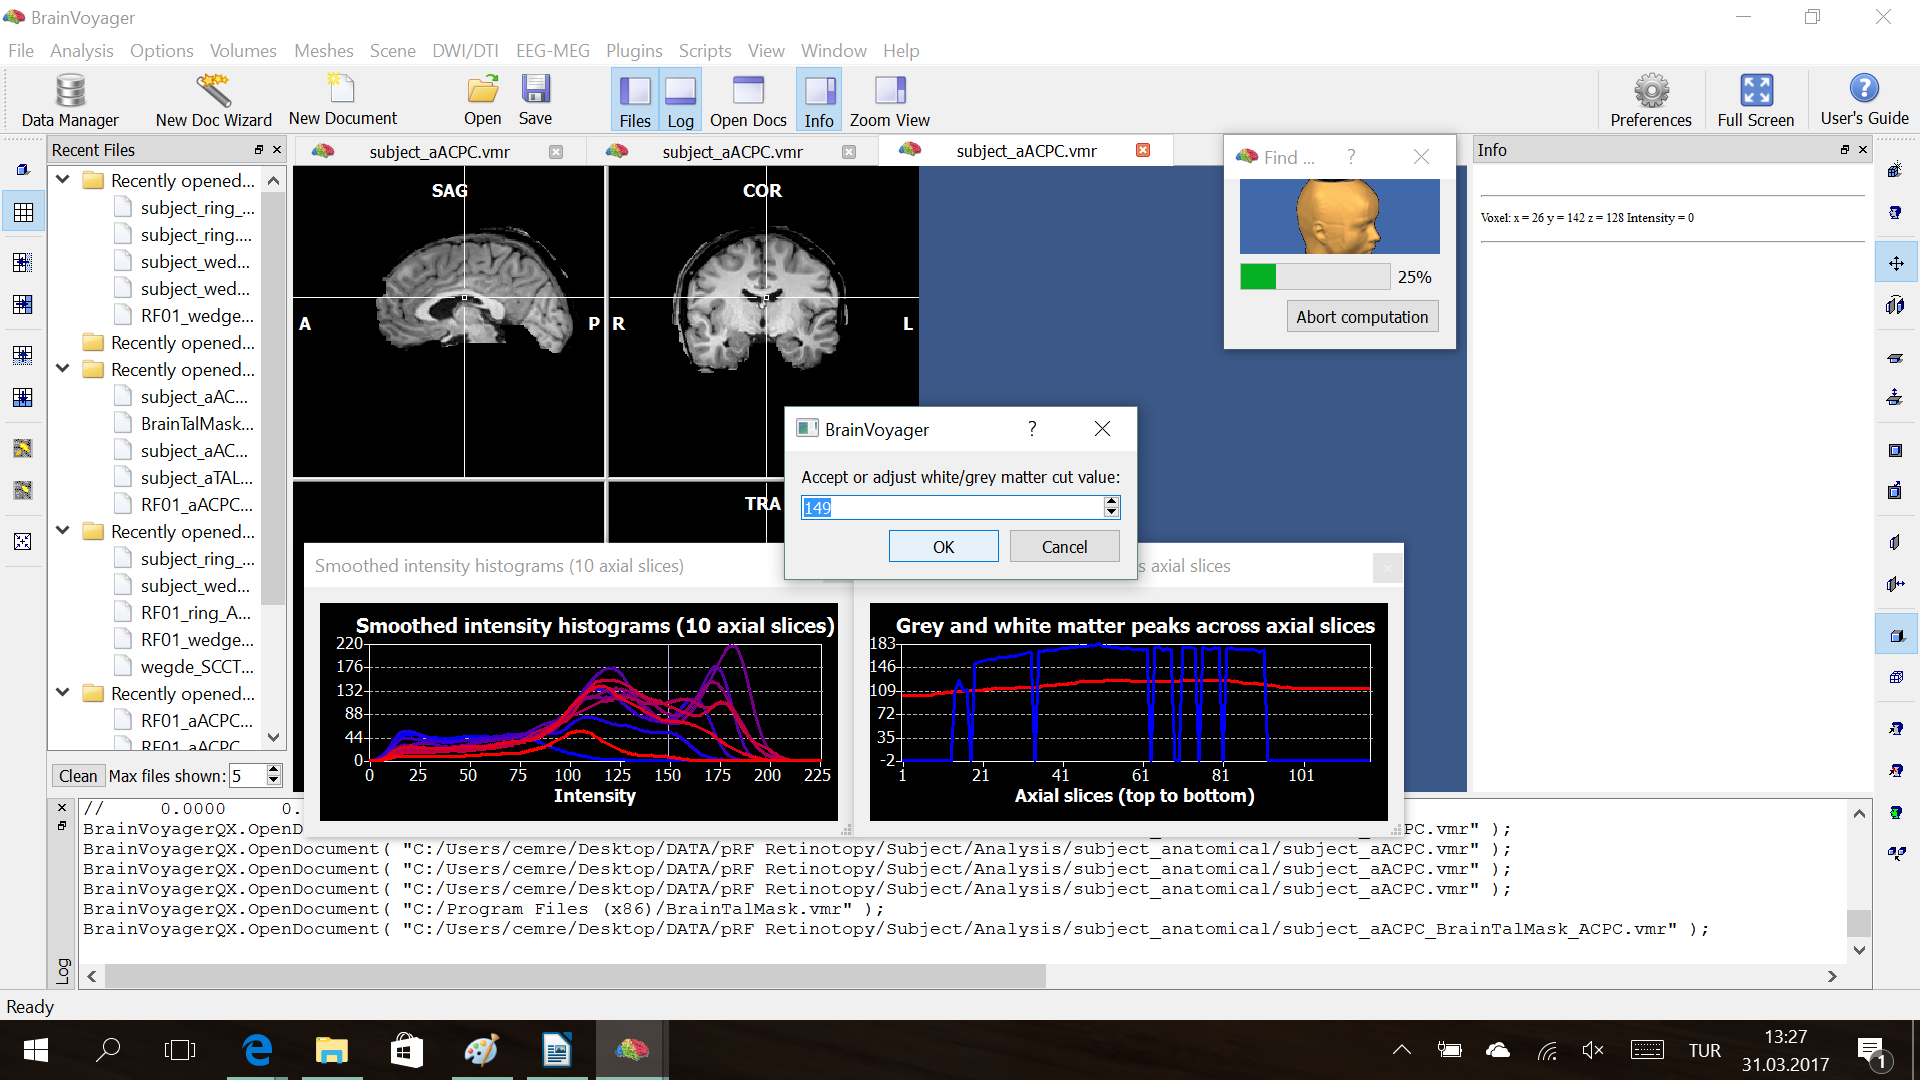
Volumes → 3D Volume Tools → Full Dialog → Segmentaton → Auto-Seg
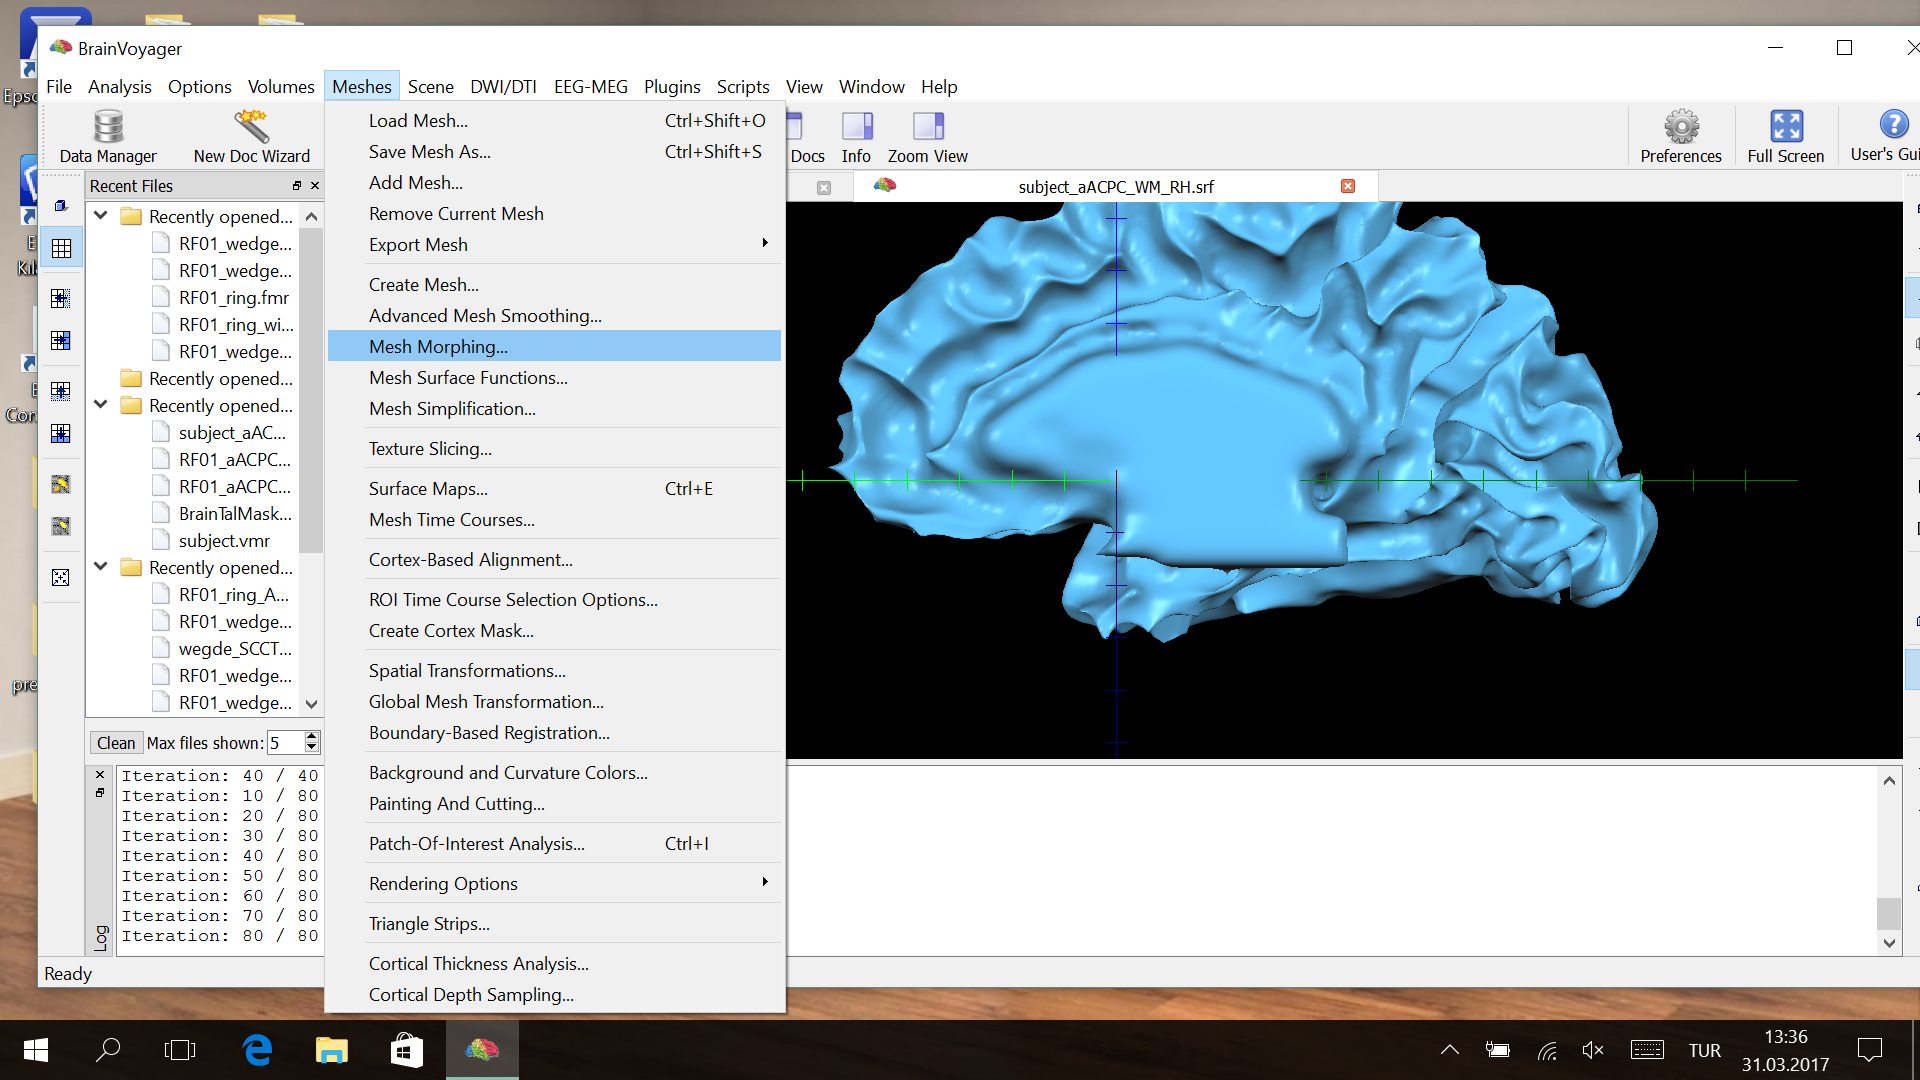
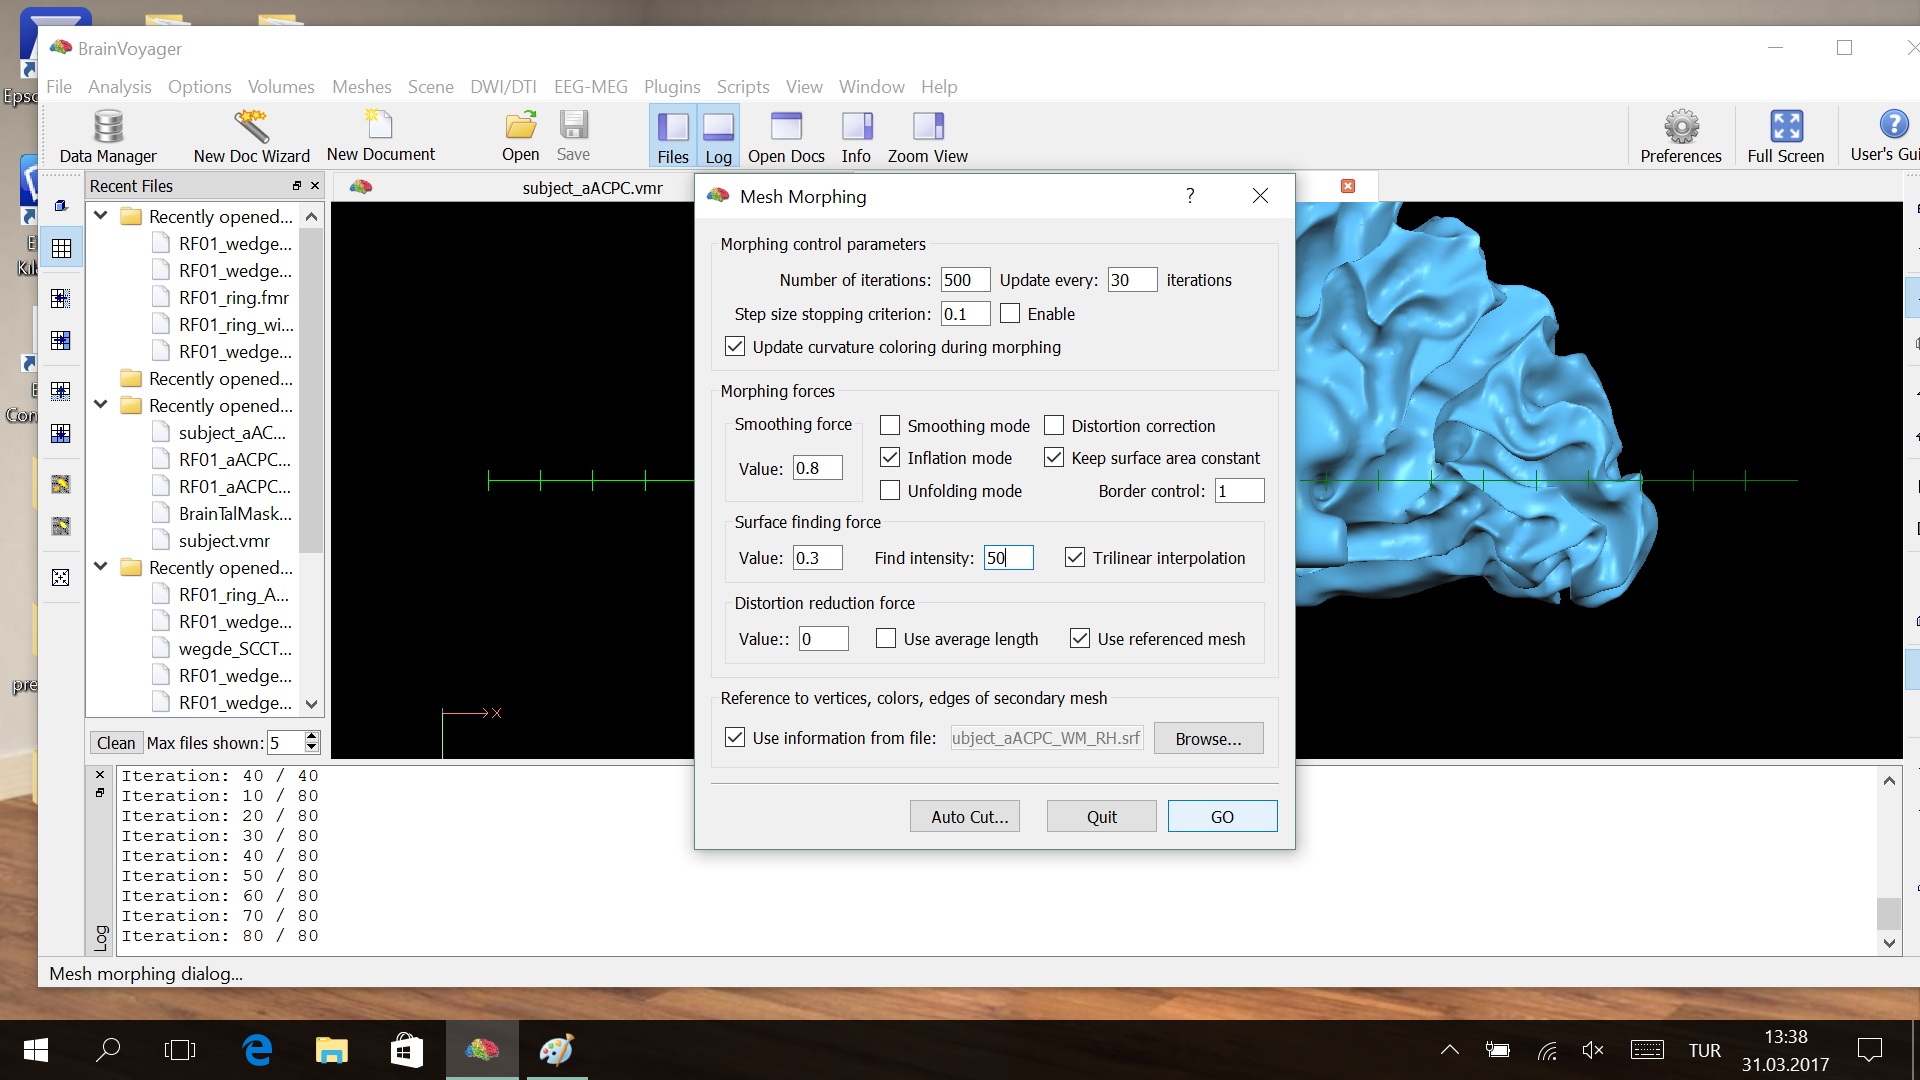
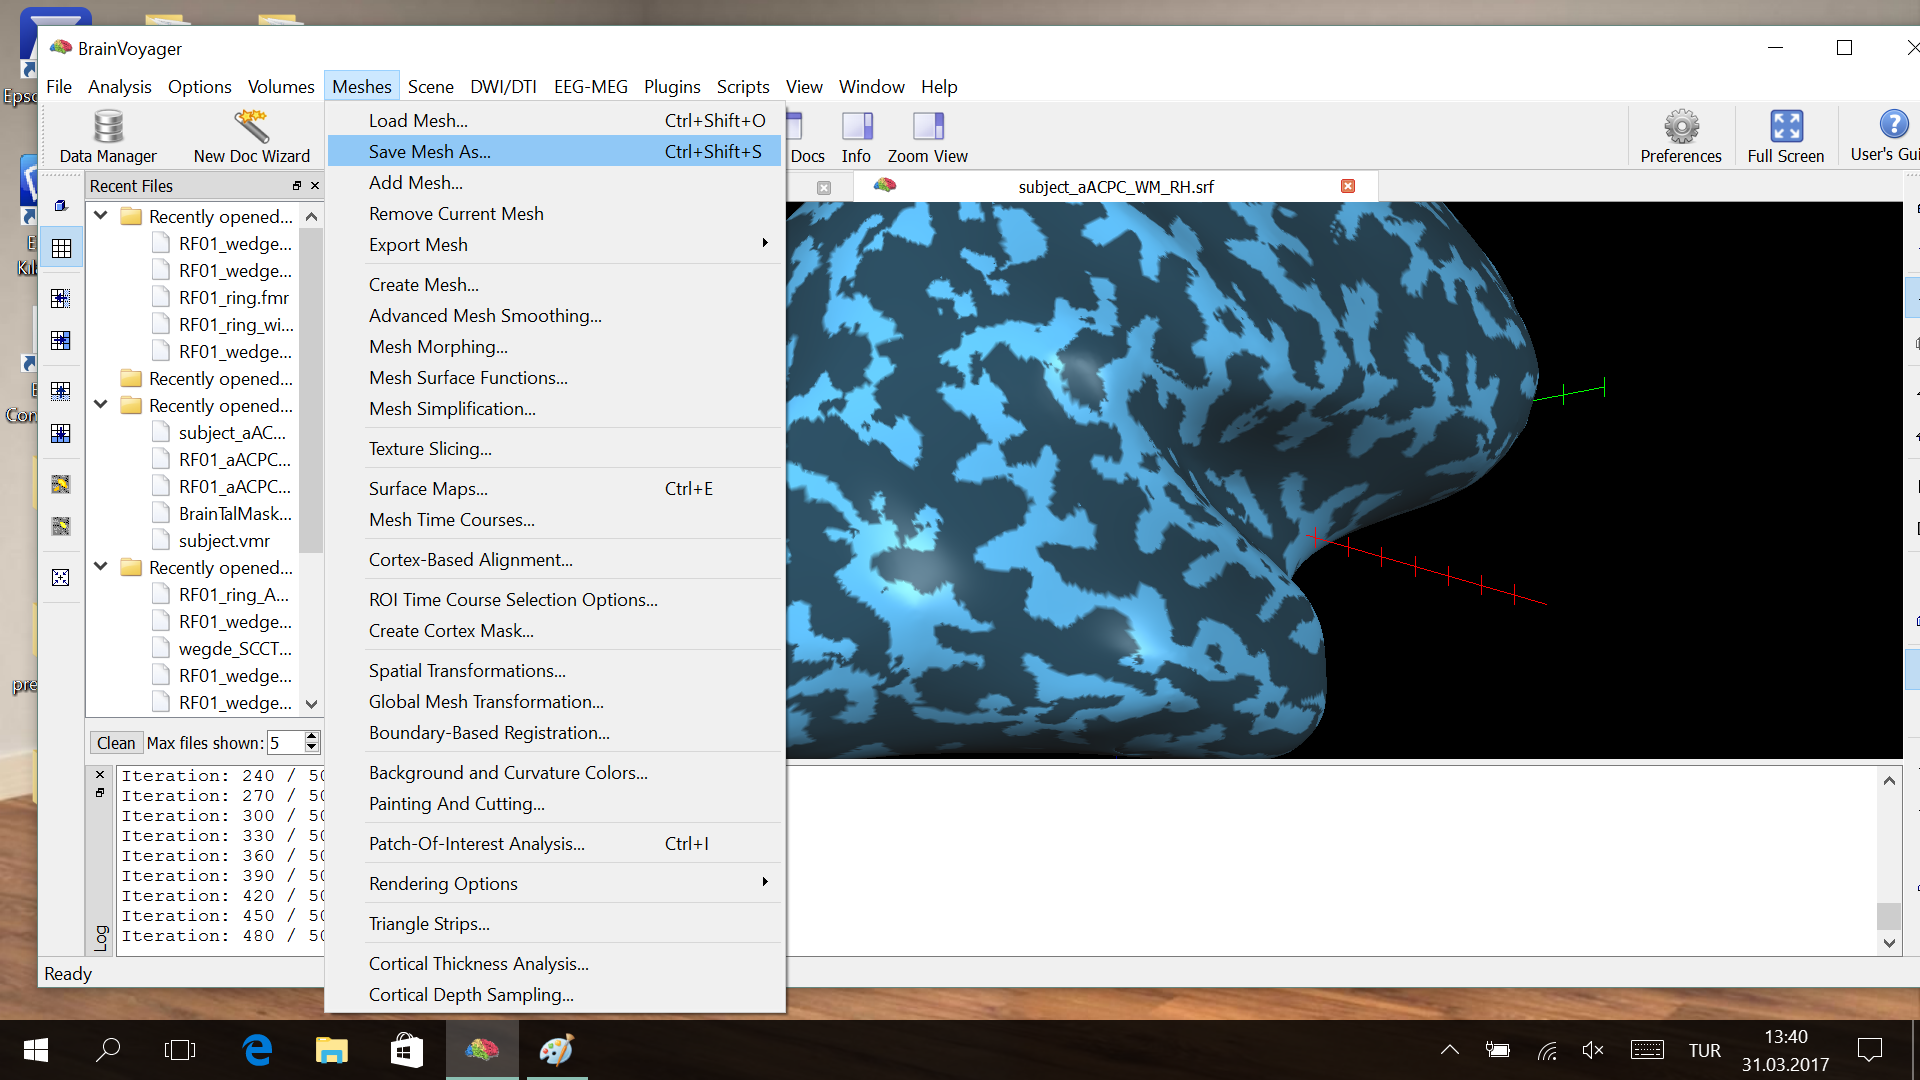
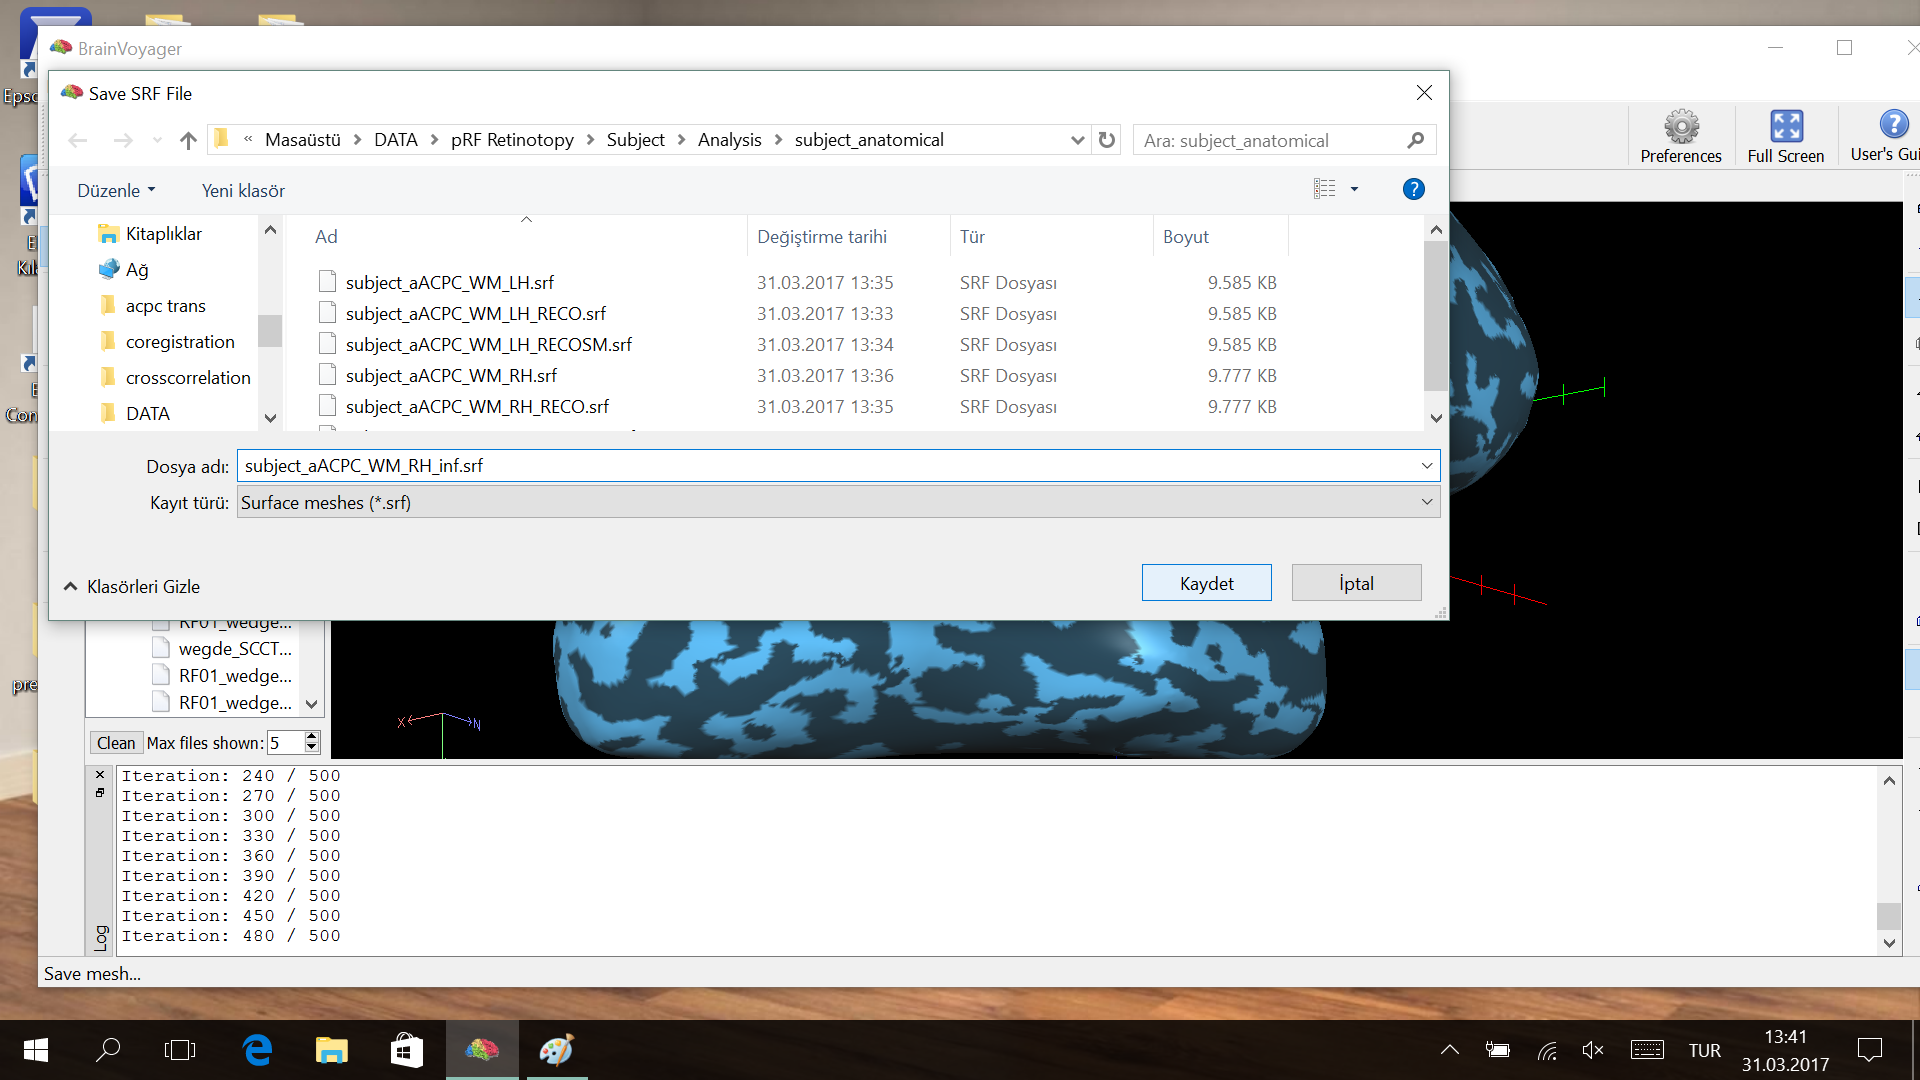
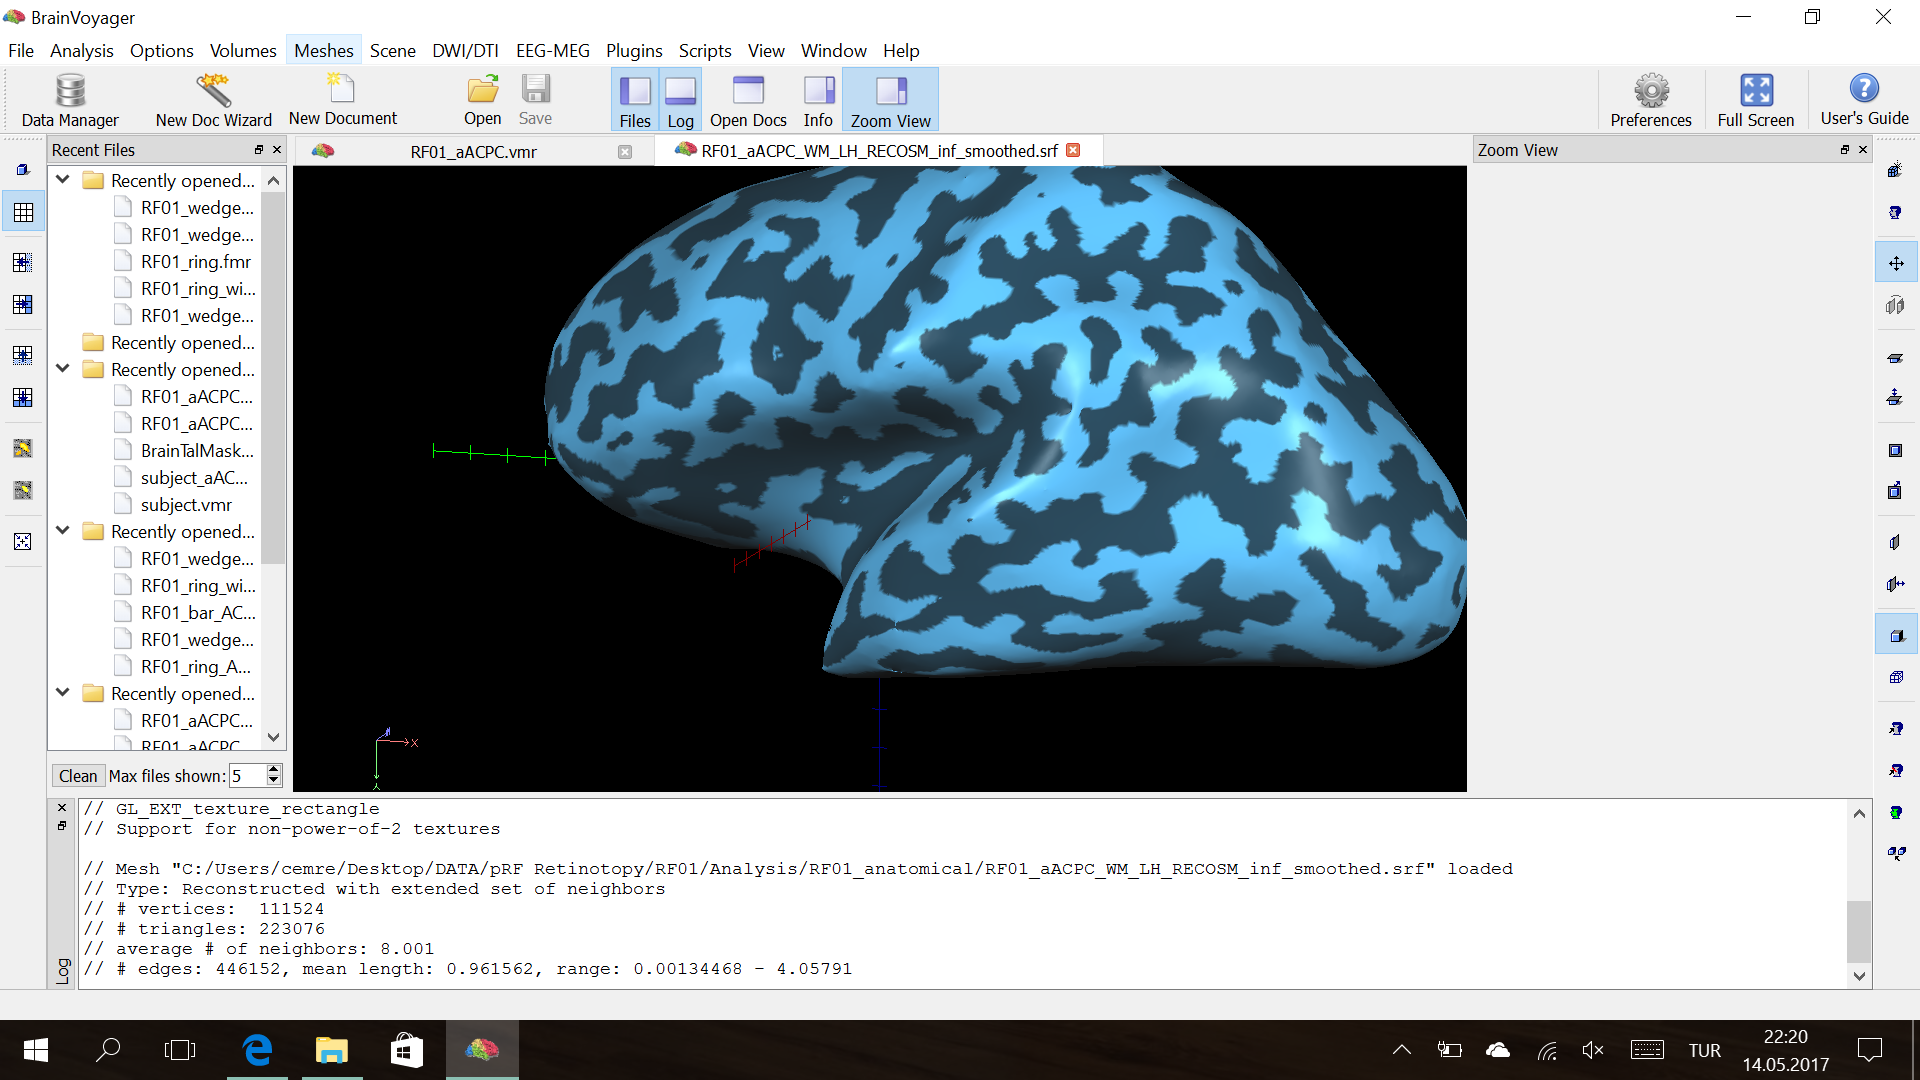
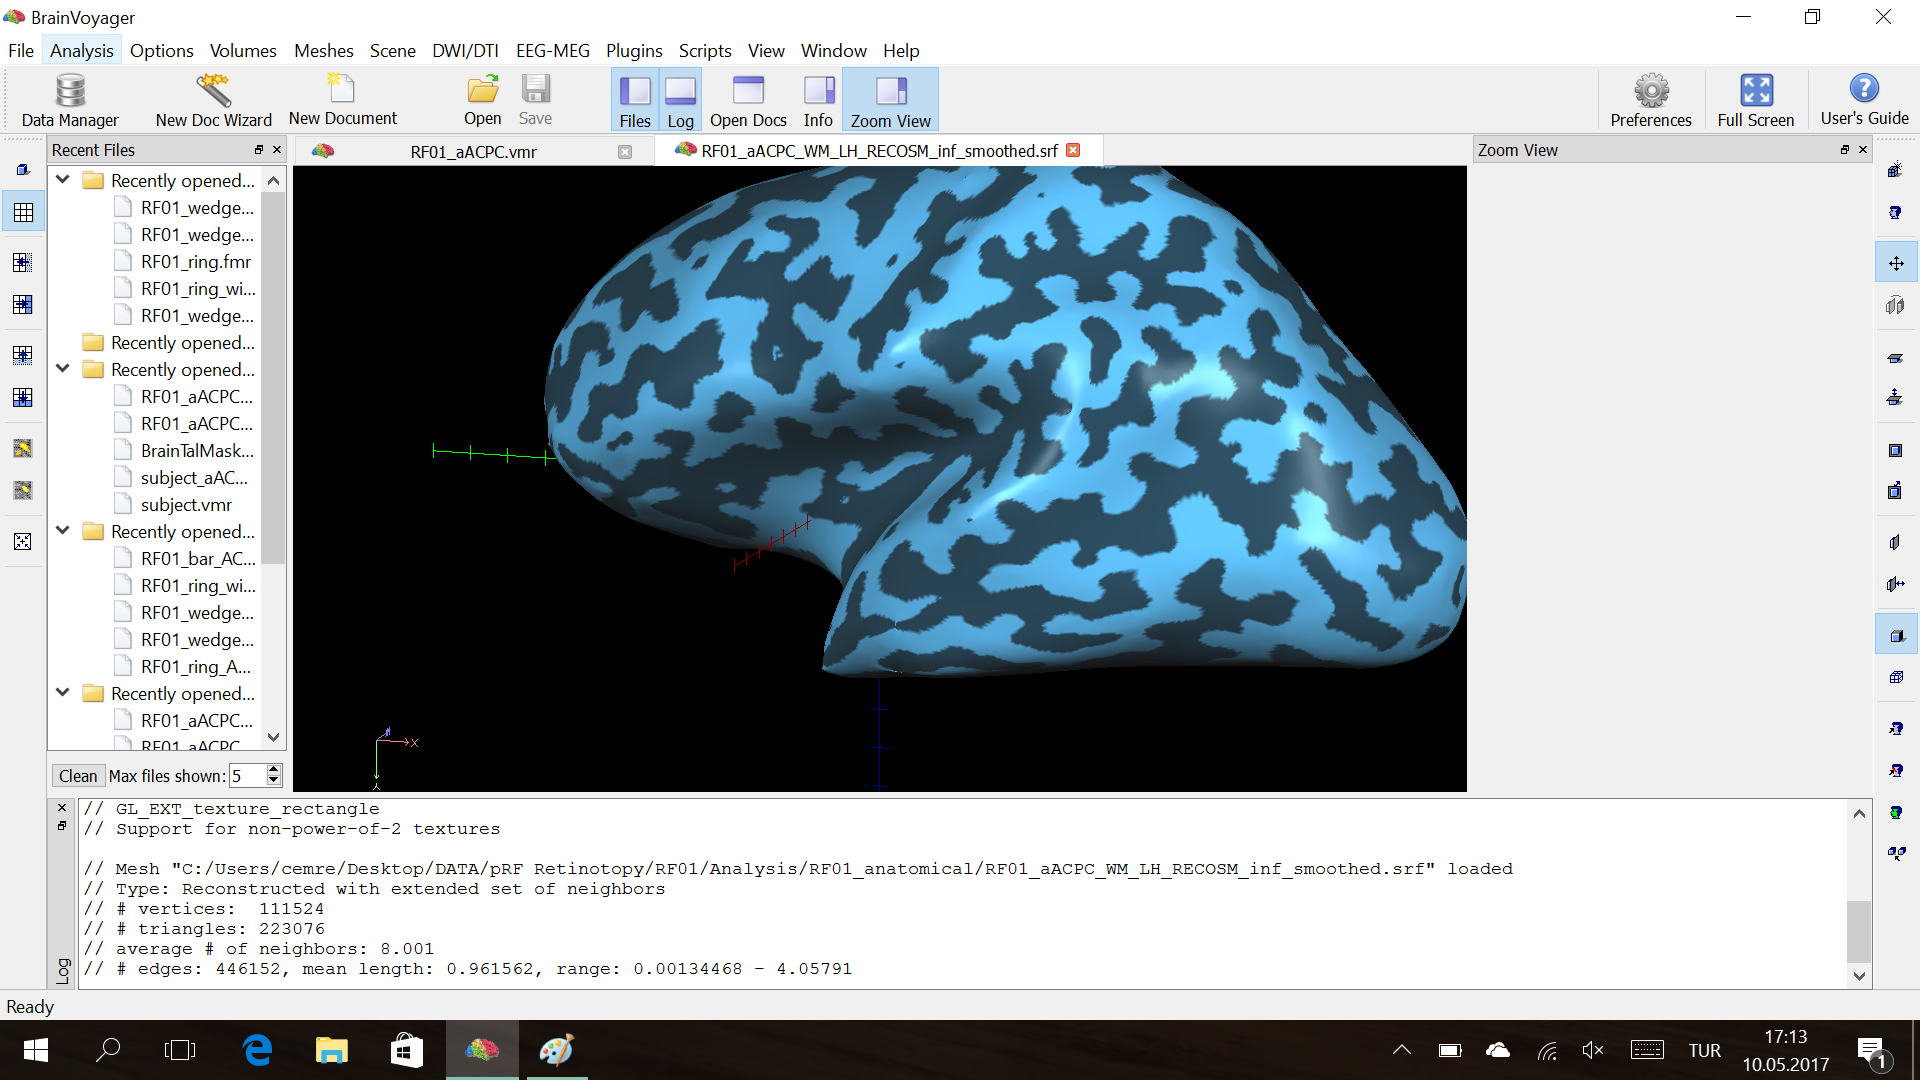
Step8. Inflation of mesh
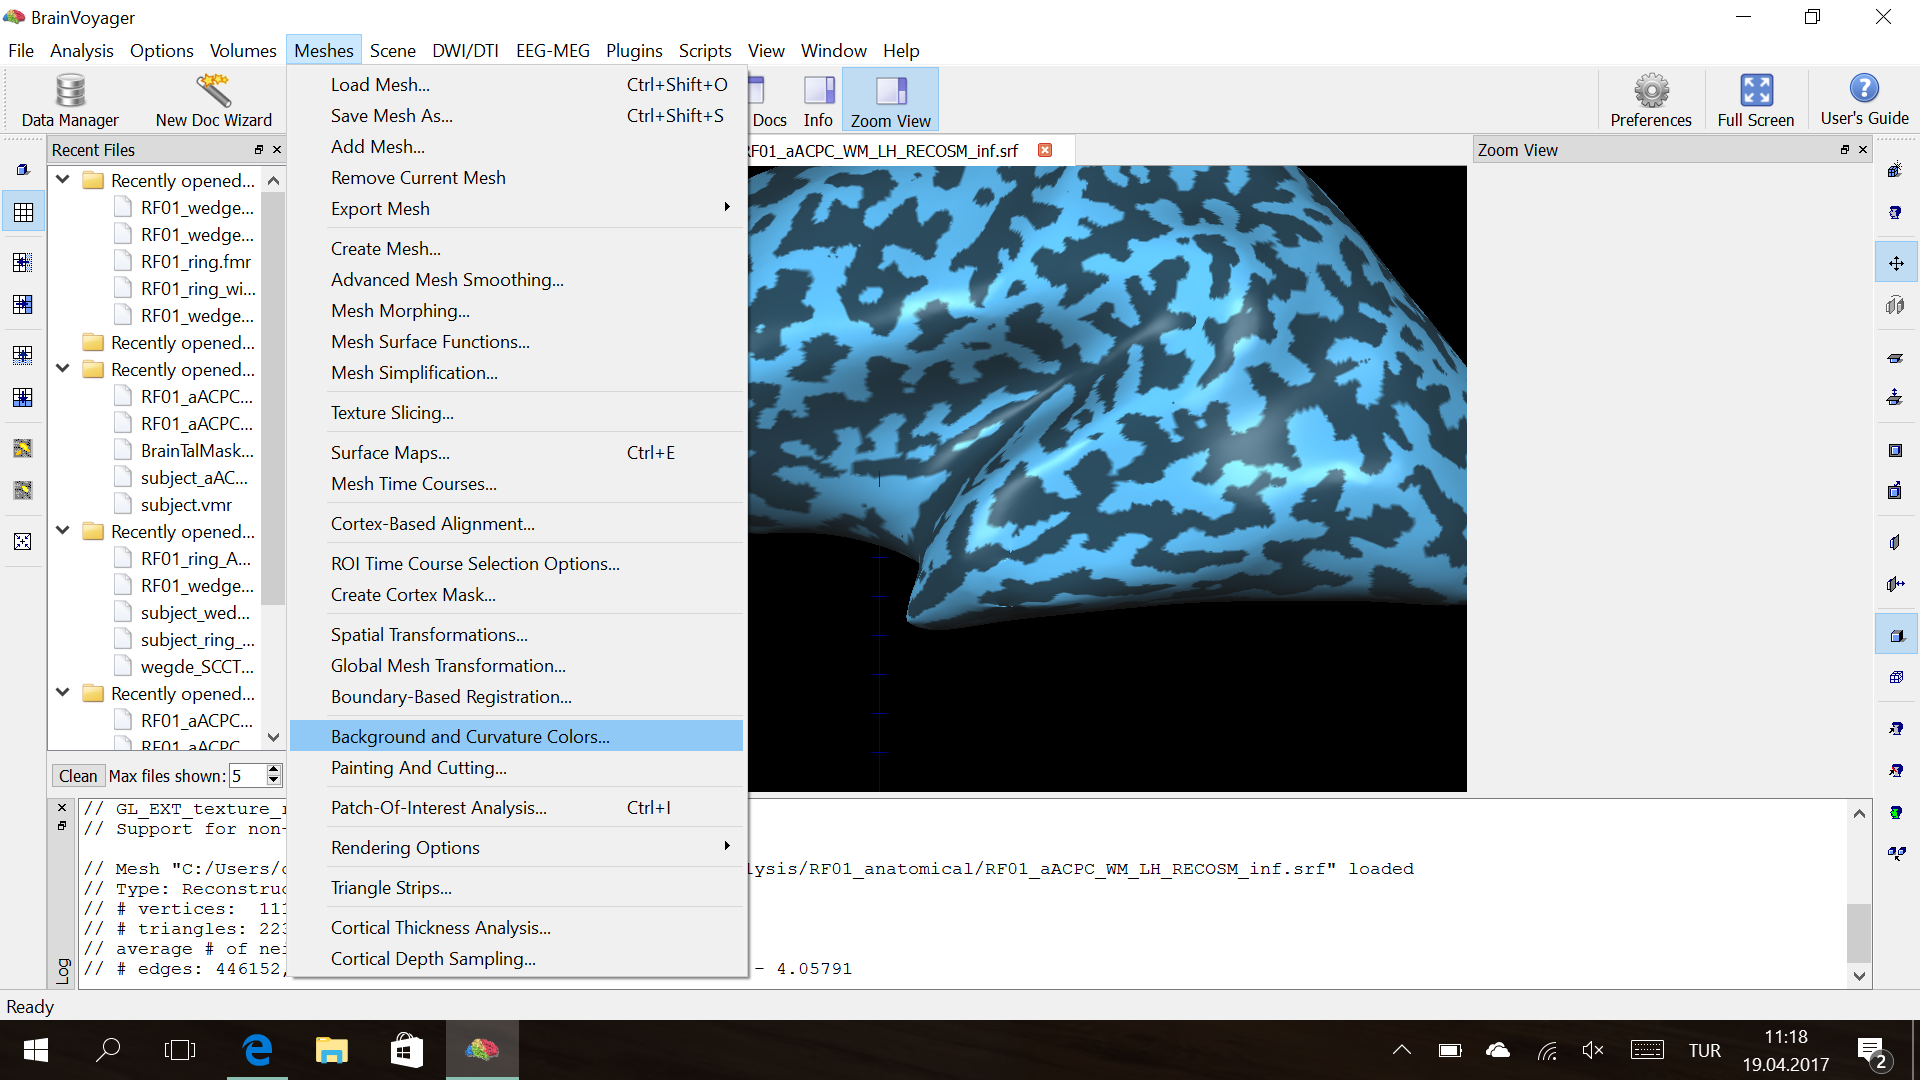
Meshes → Mesh Morphing
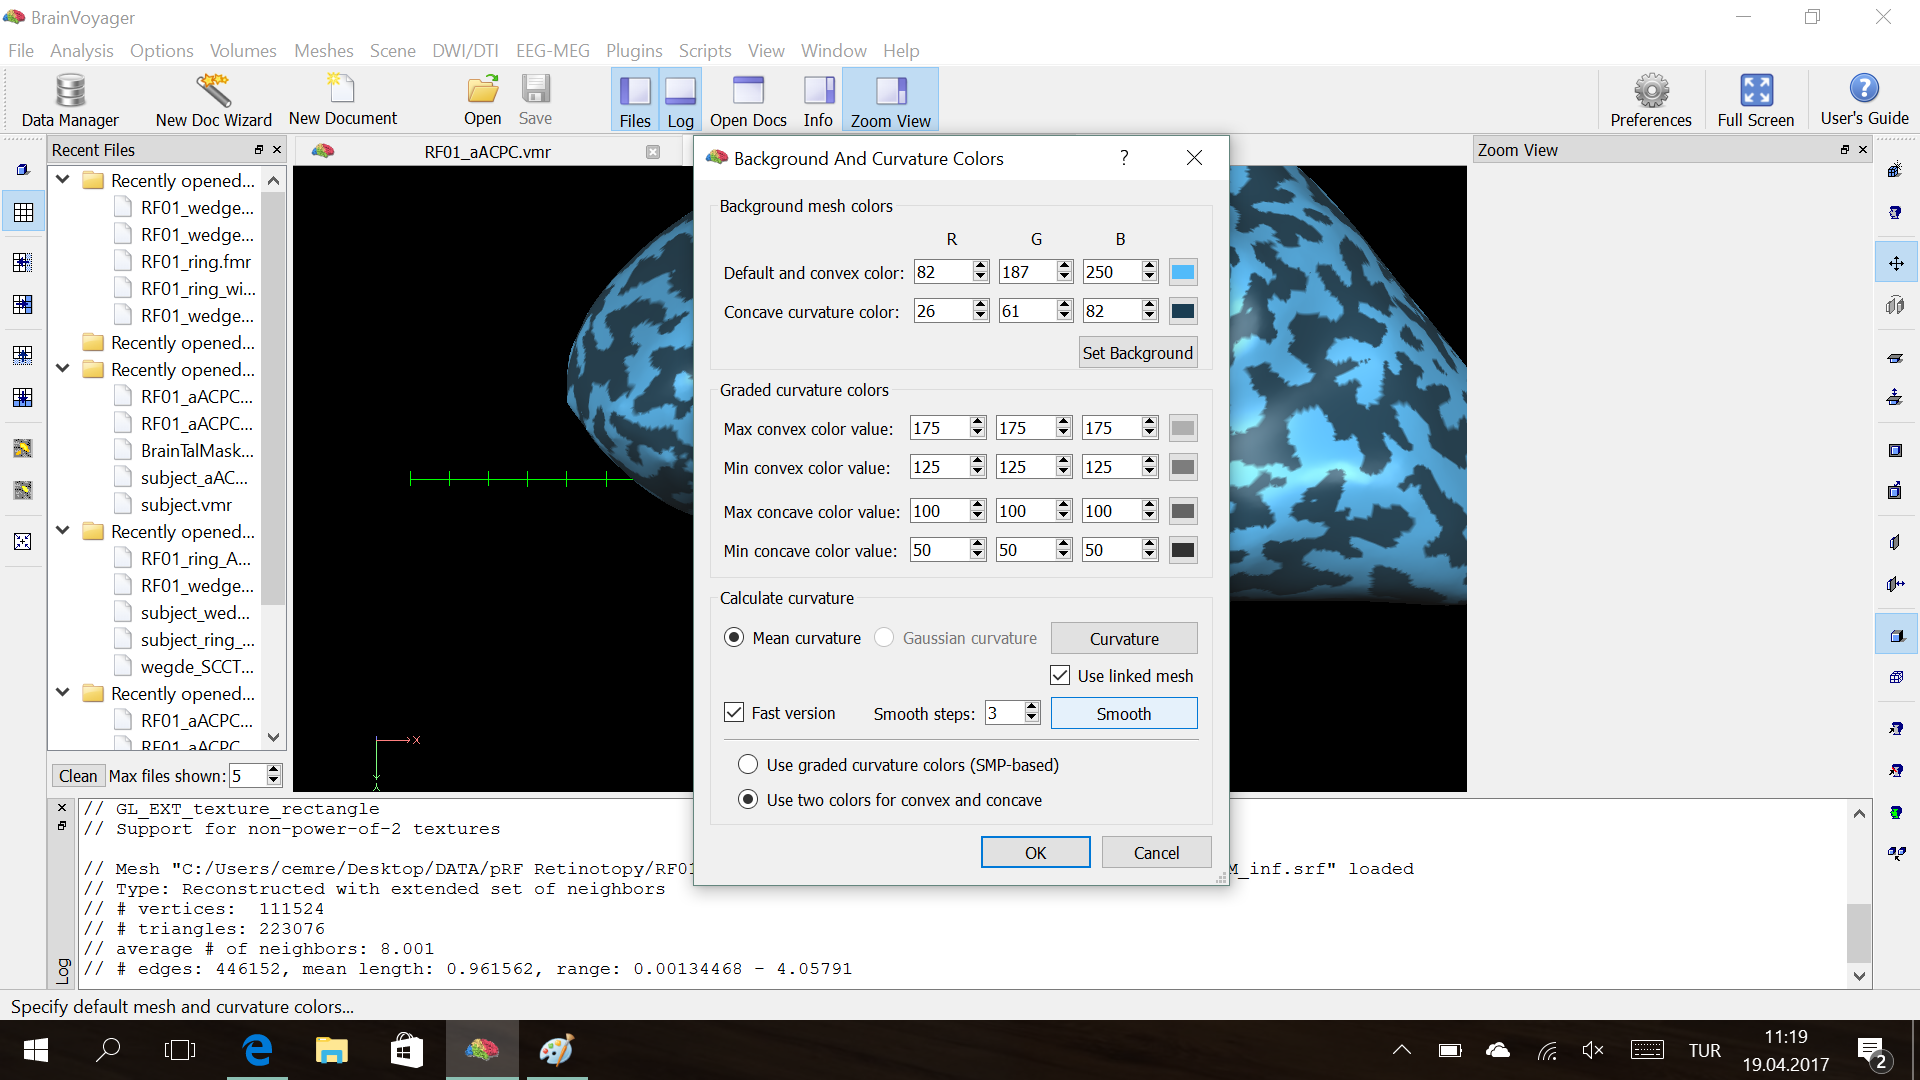
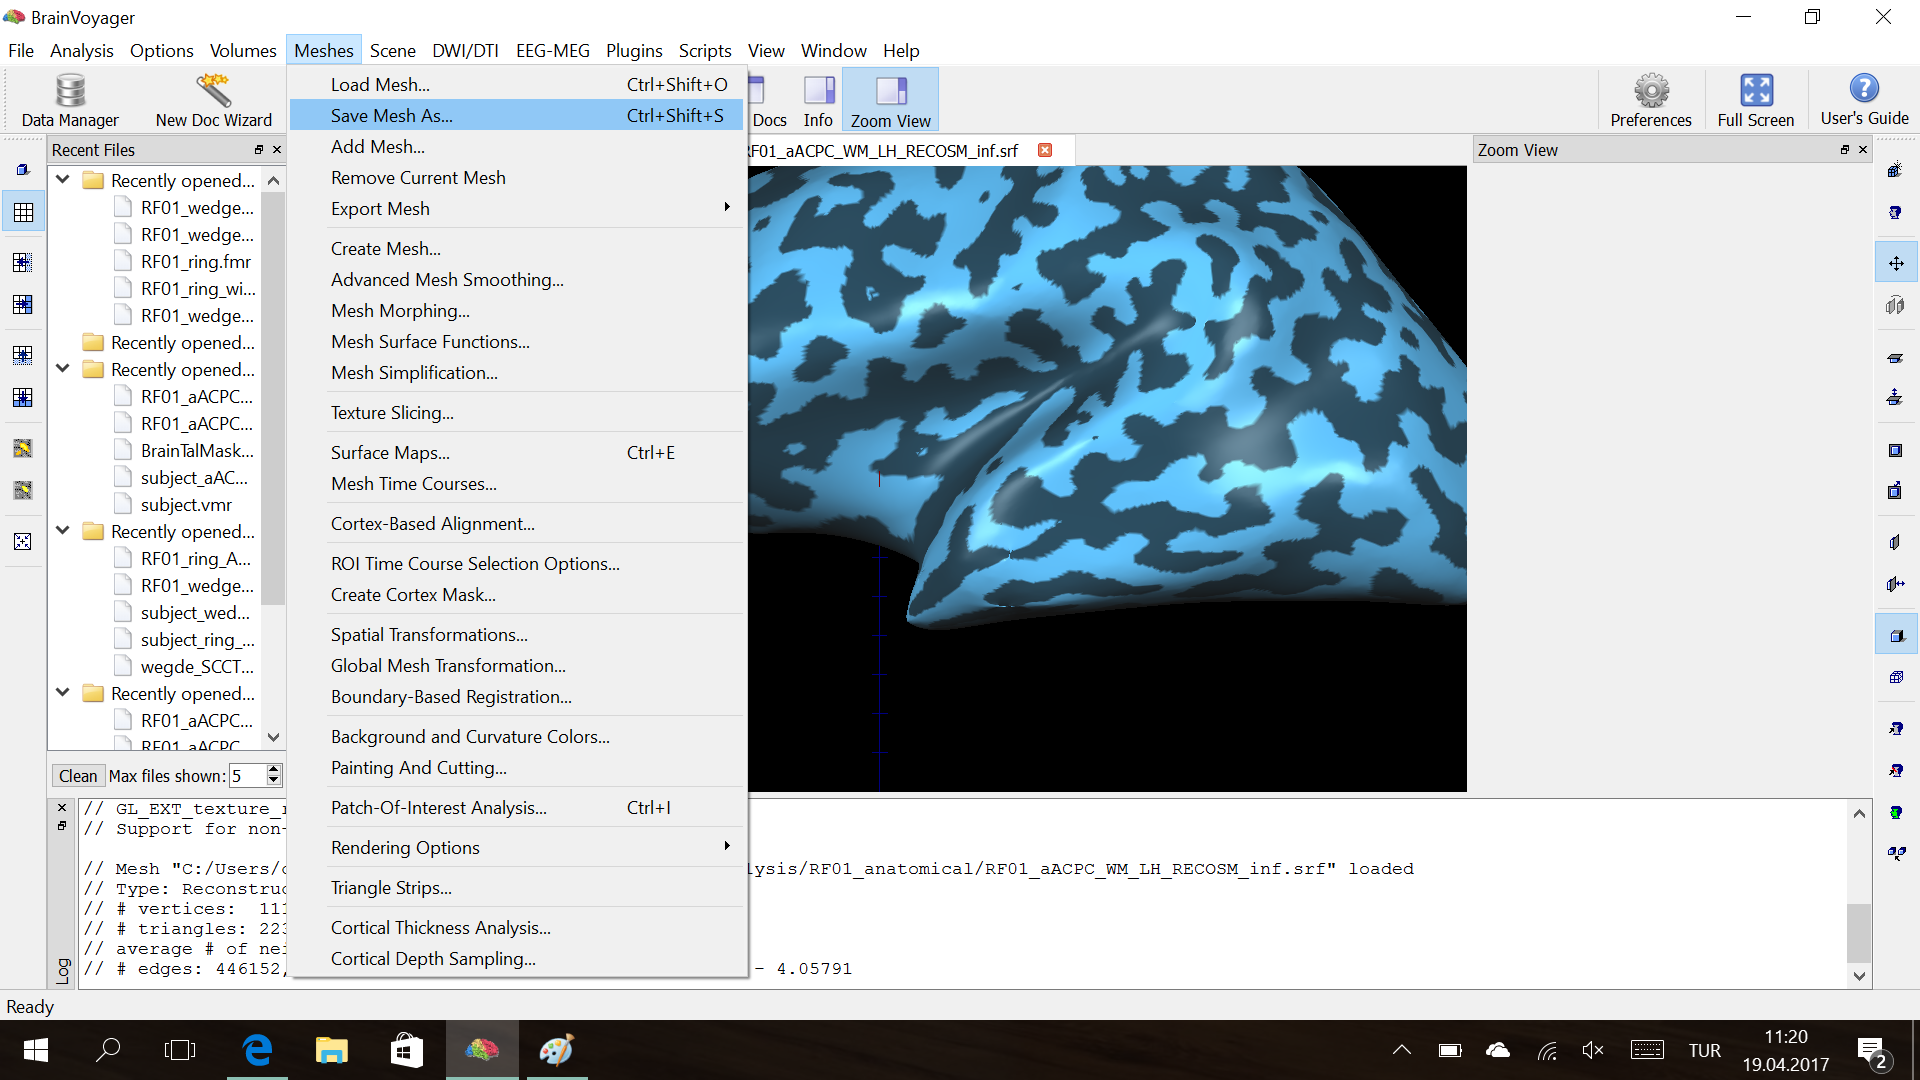
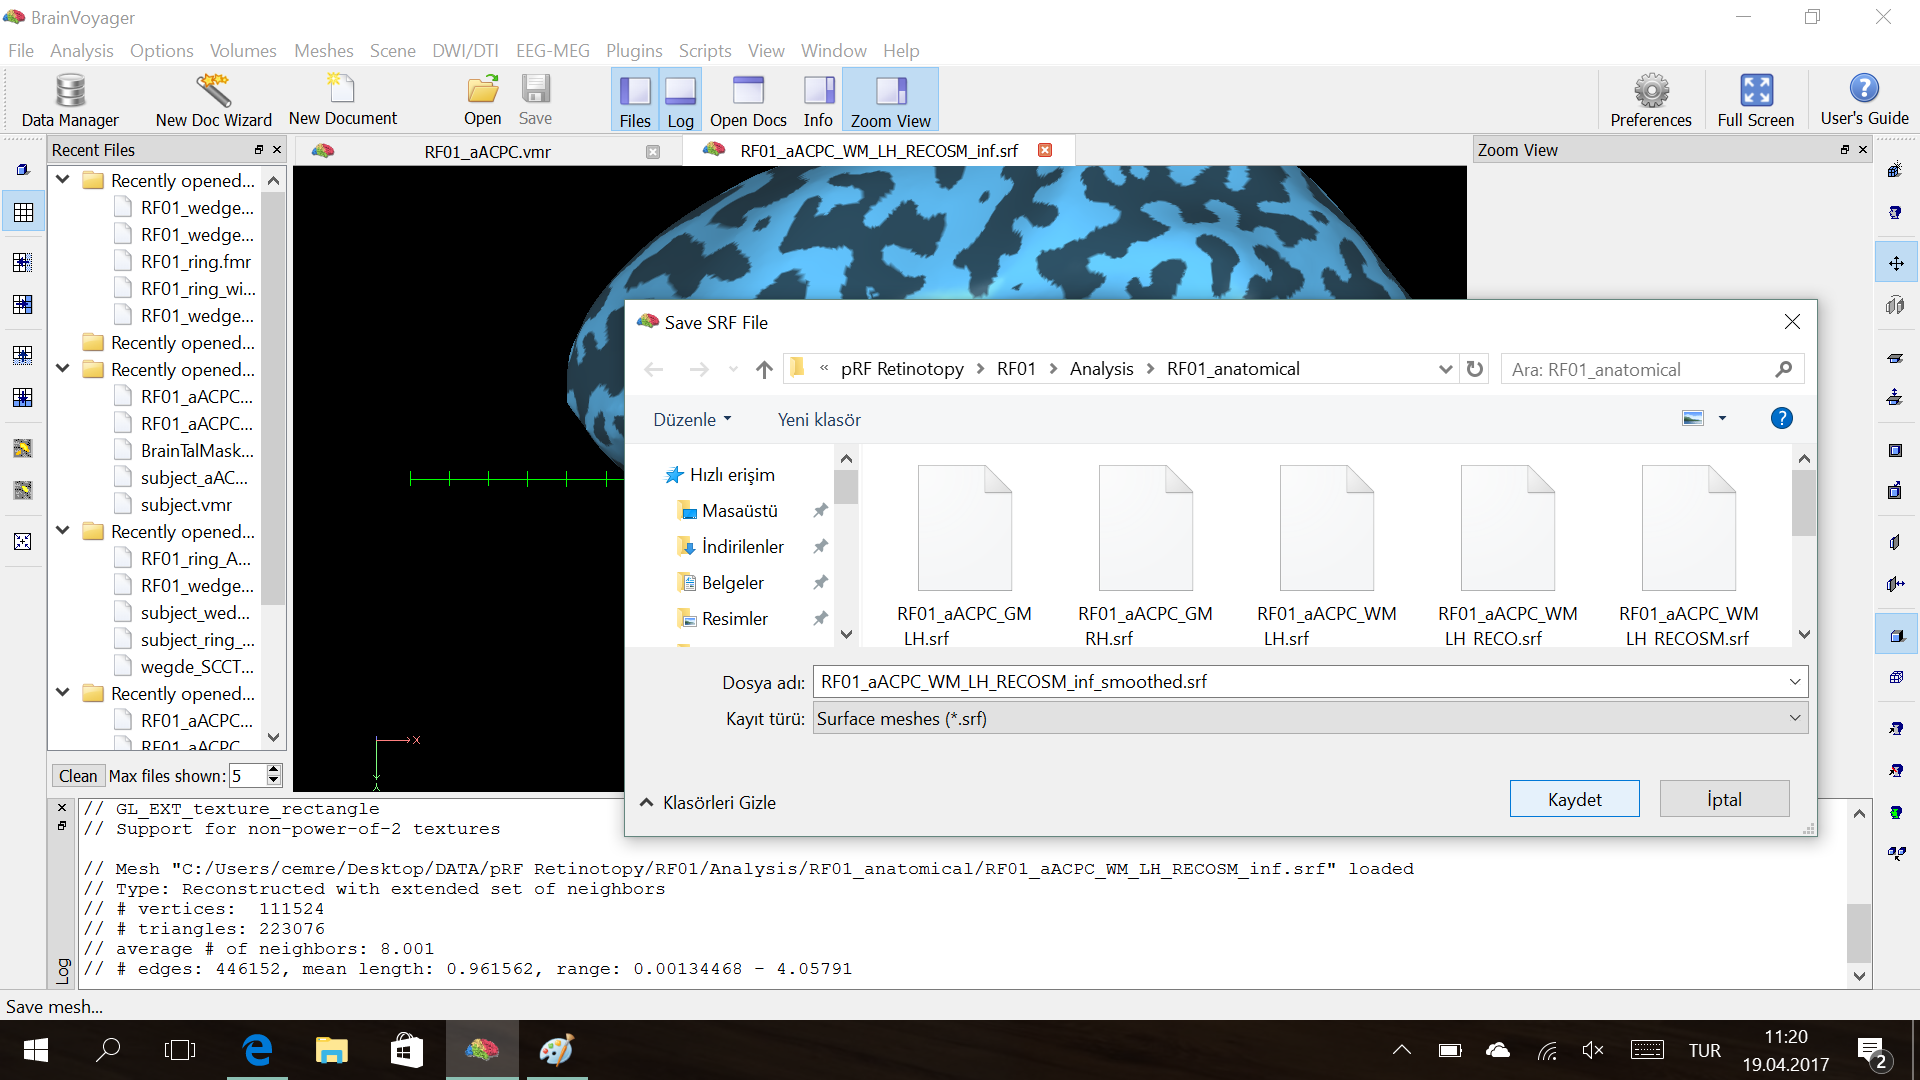
– You can perform smoothing if you need.
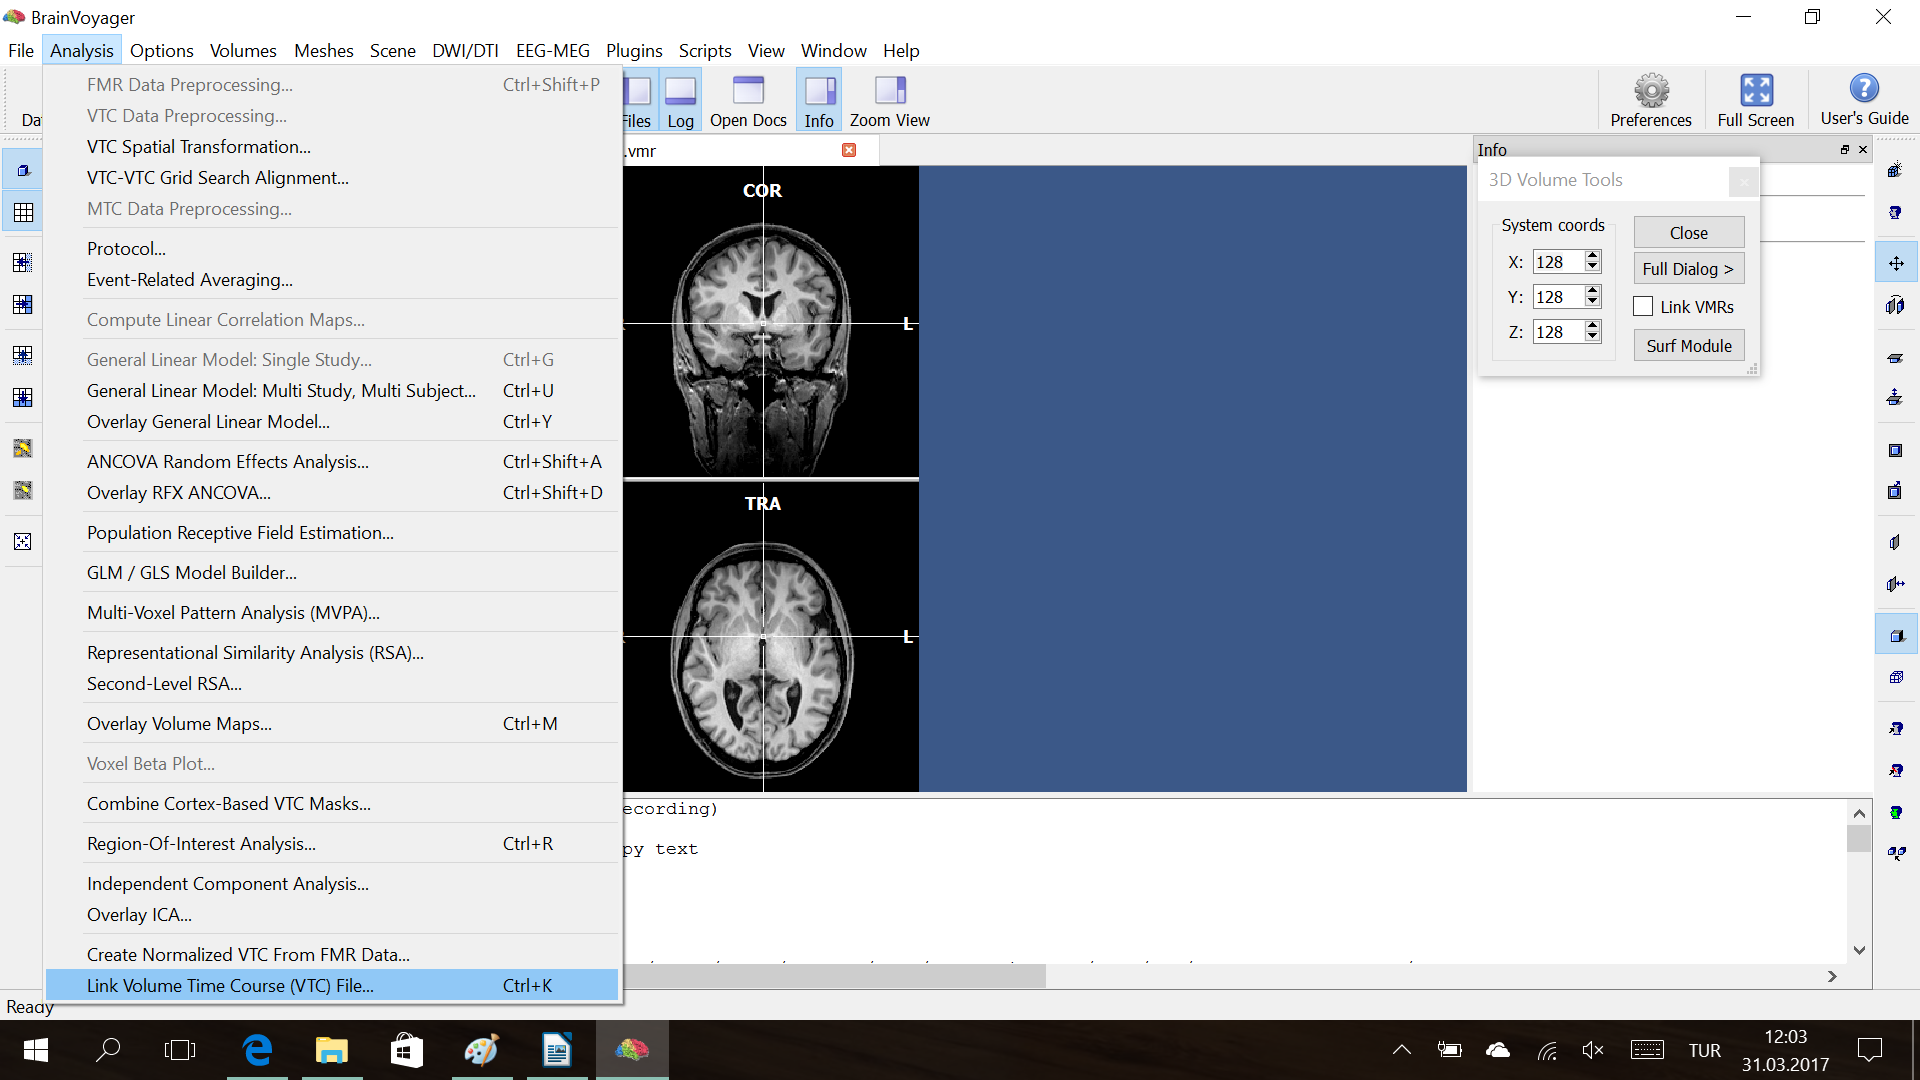
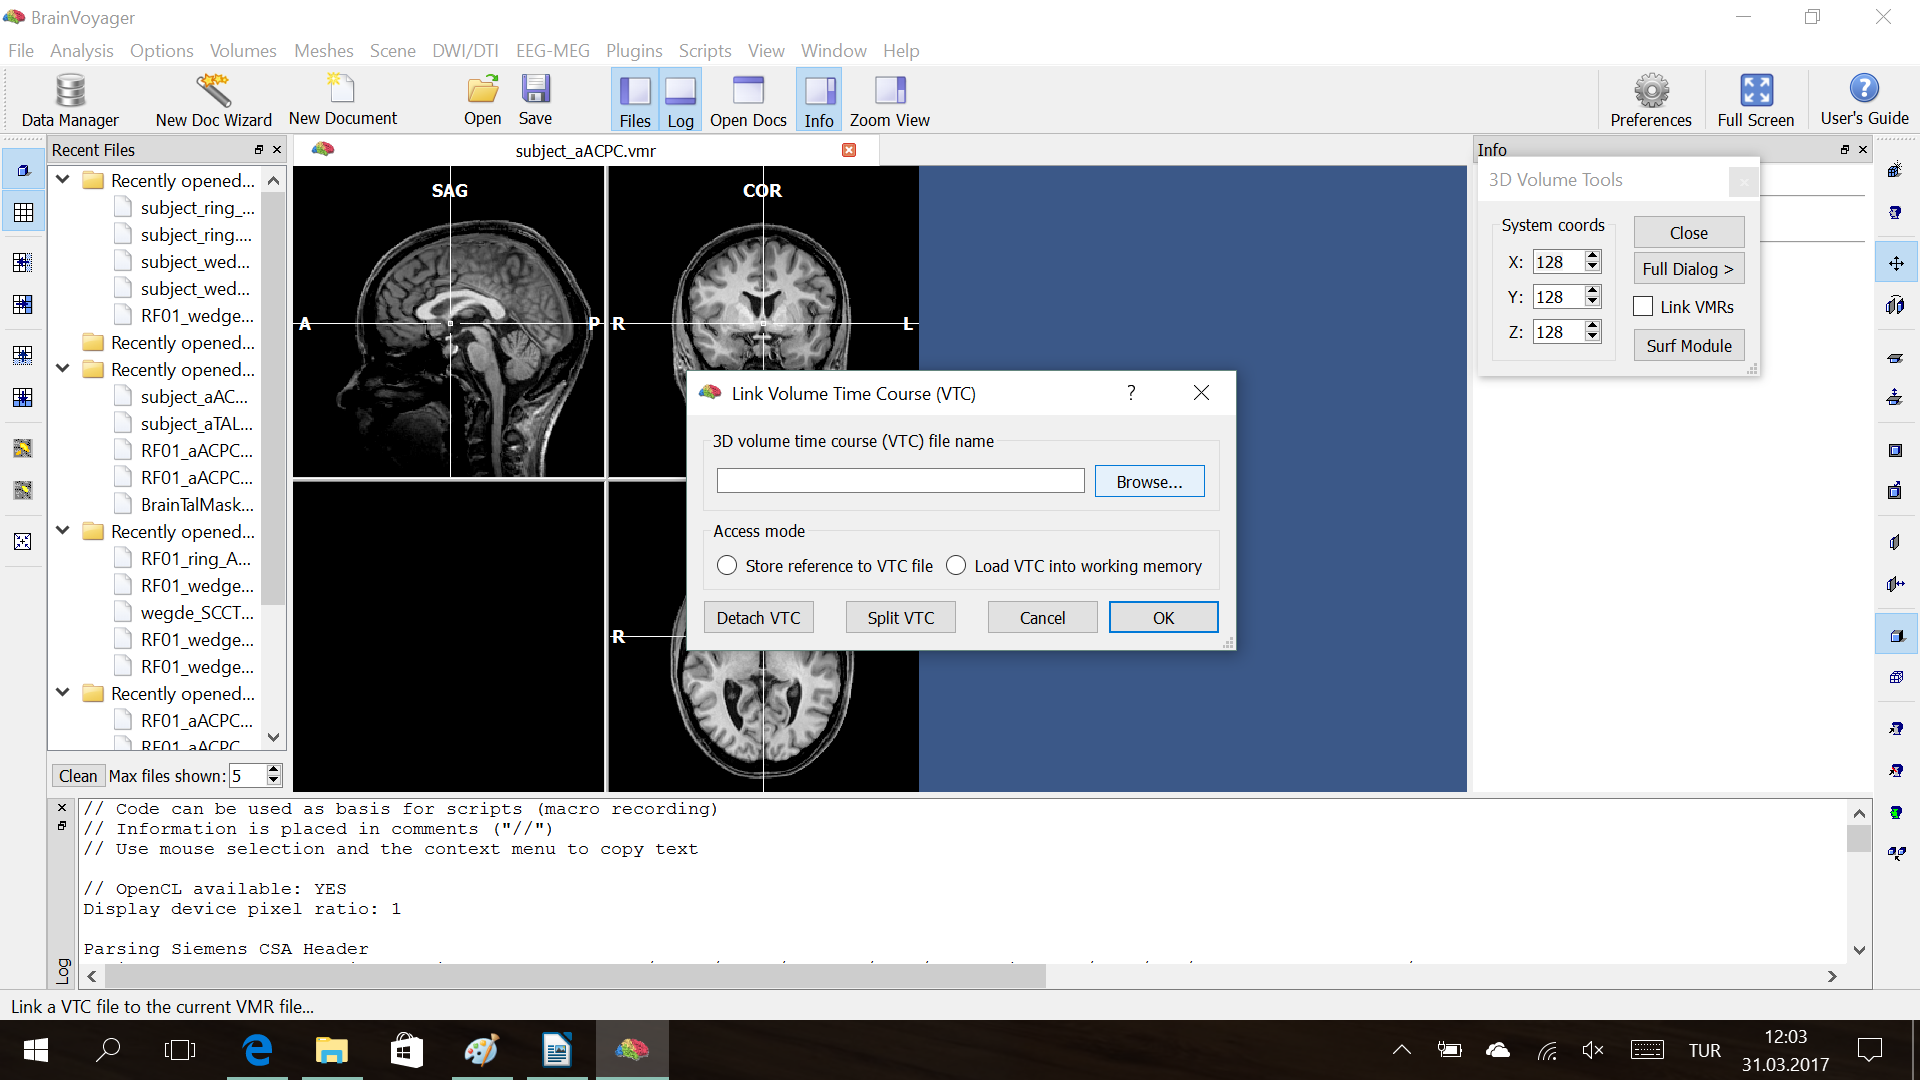
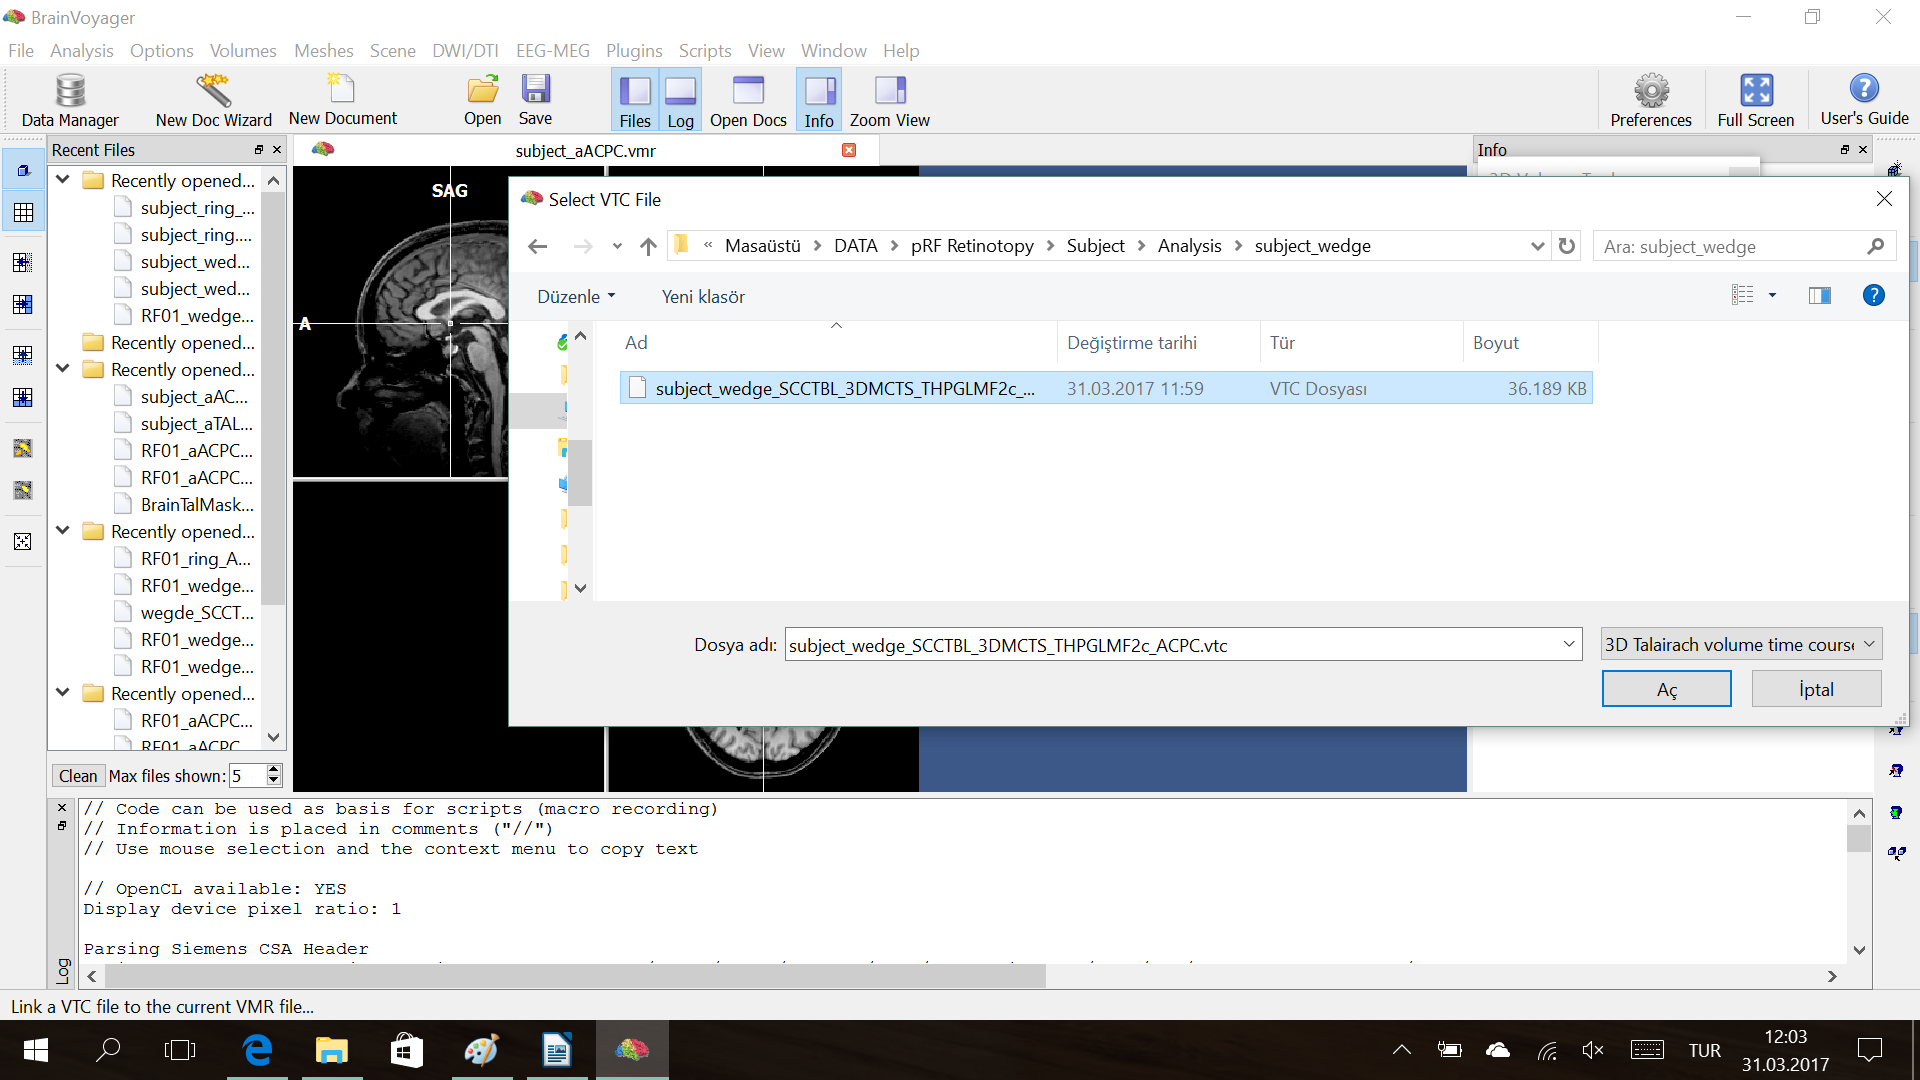
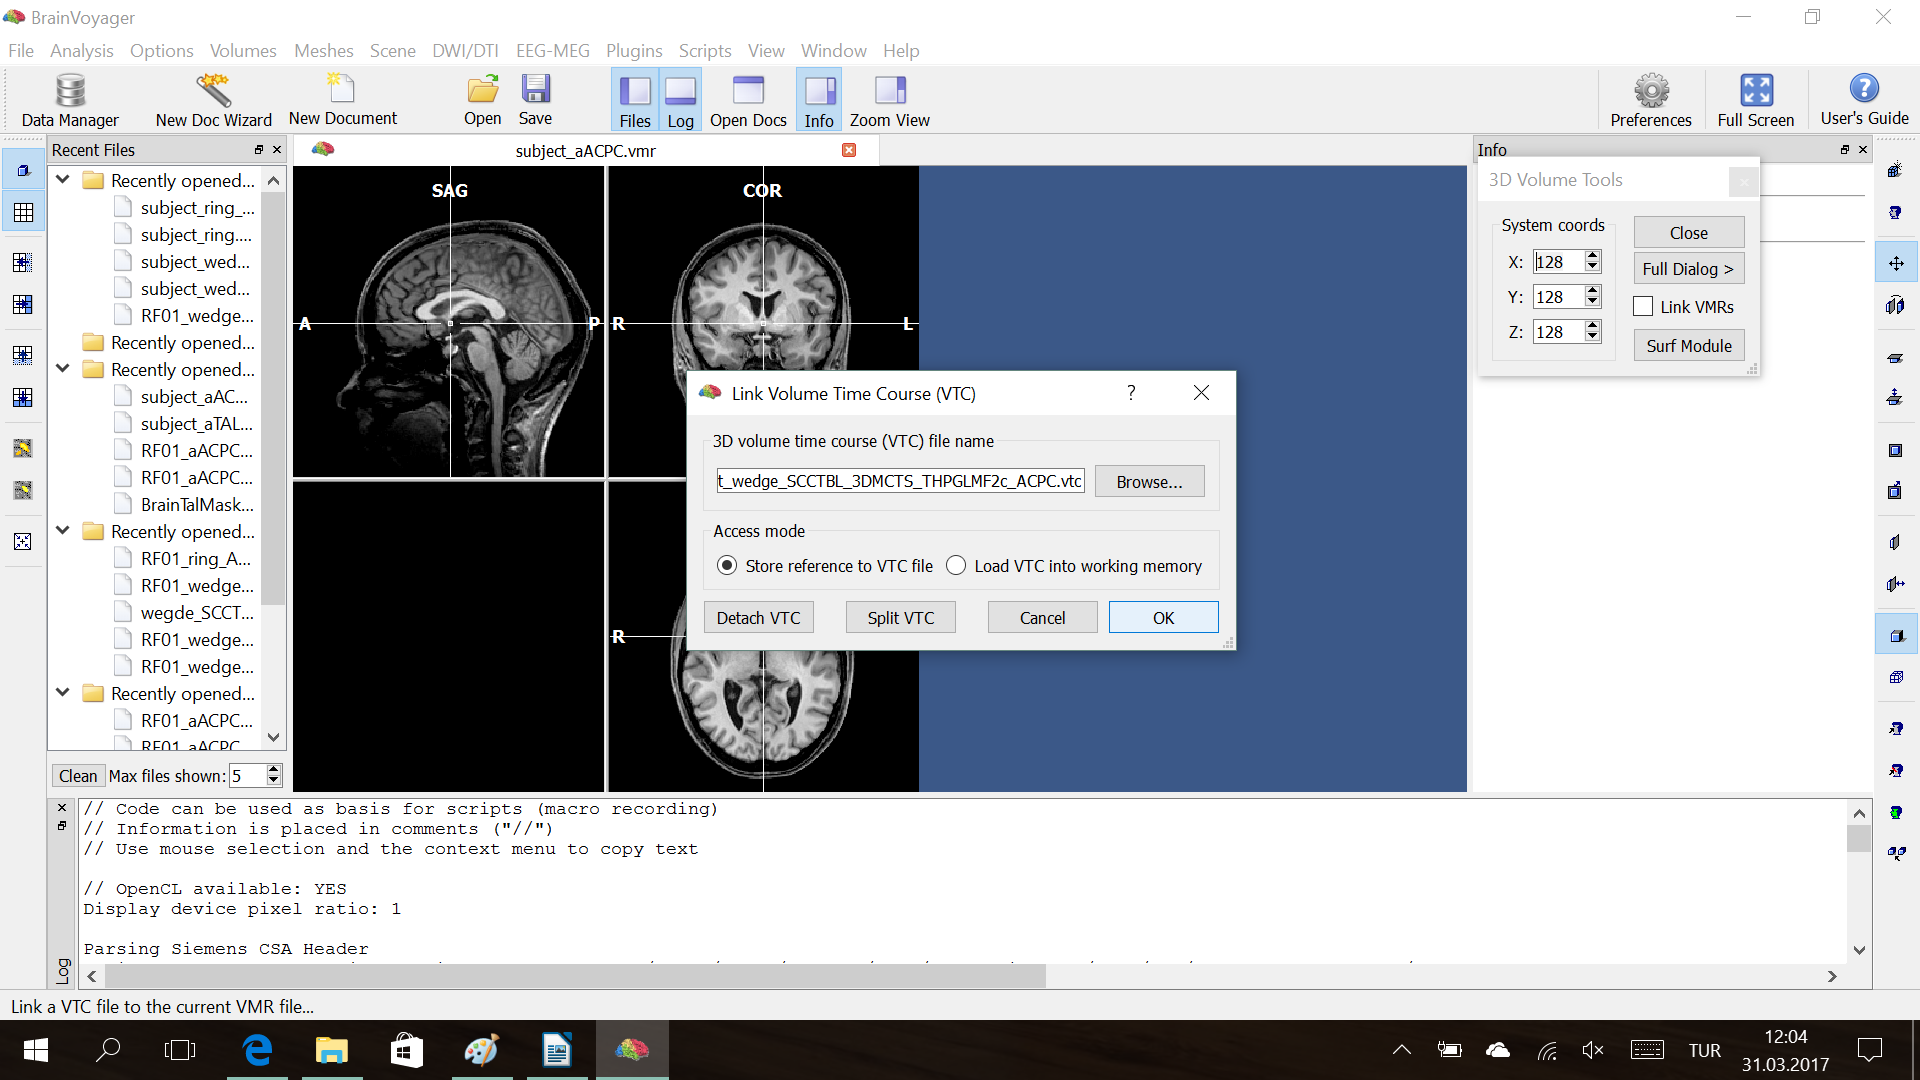
Step9. Attach .vtc file to subject_ACPC.vmr
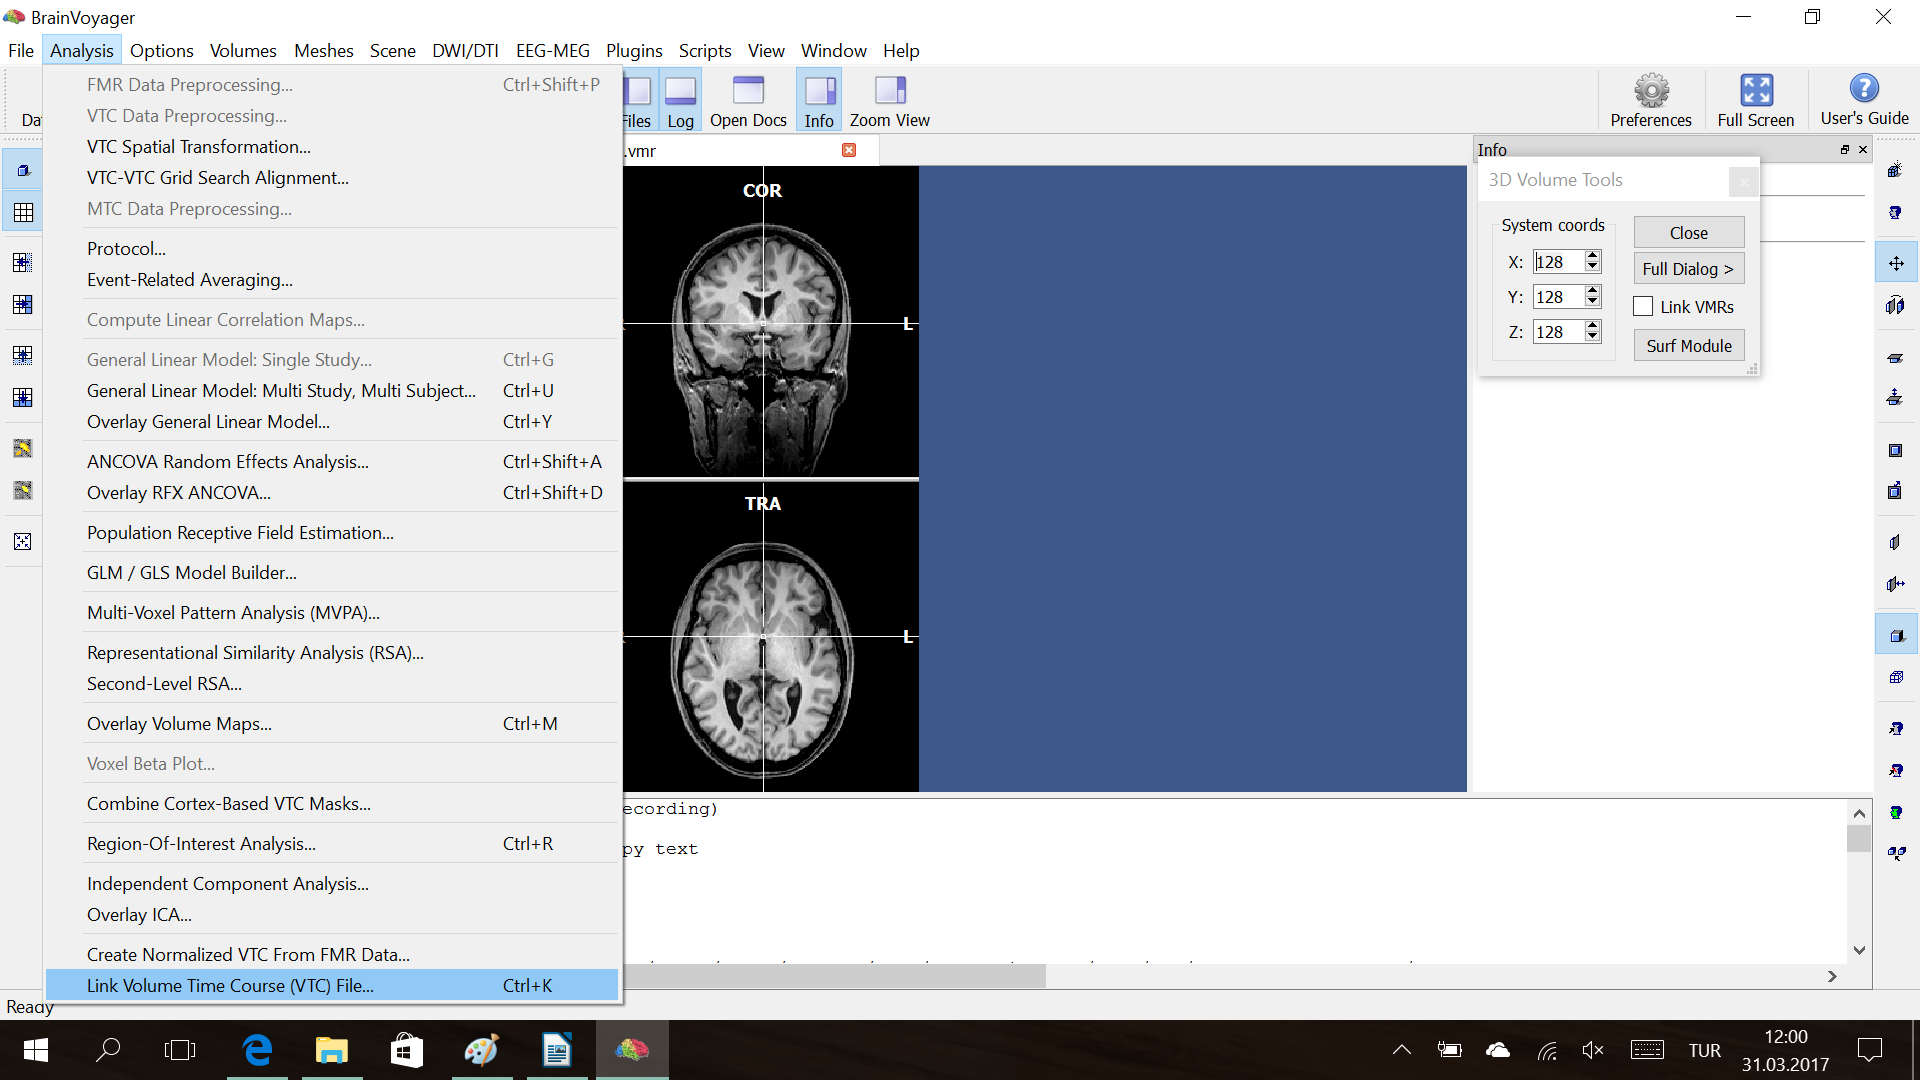
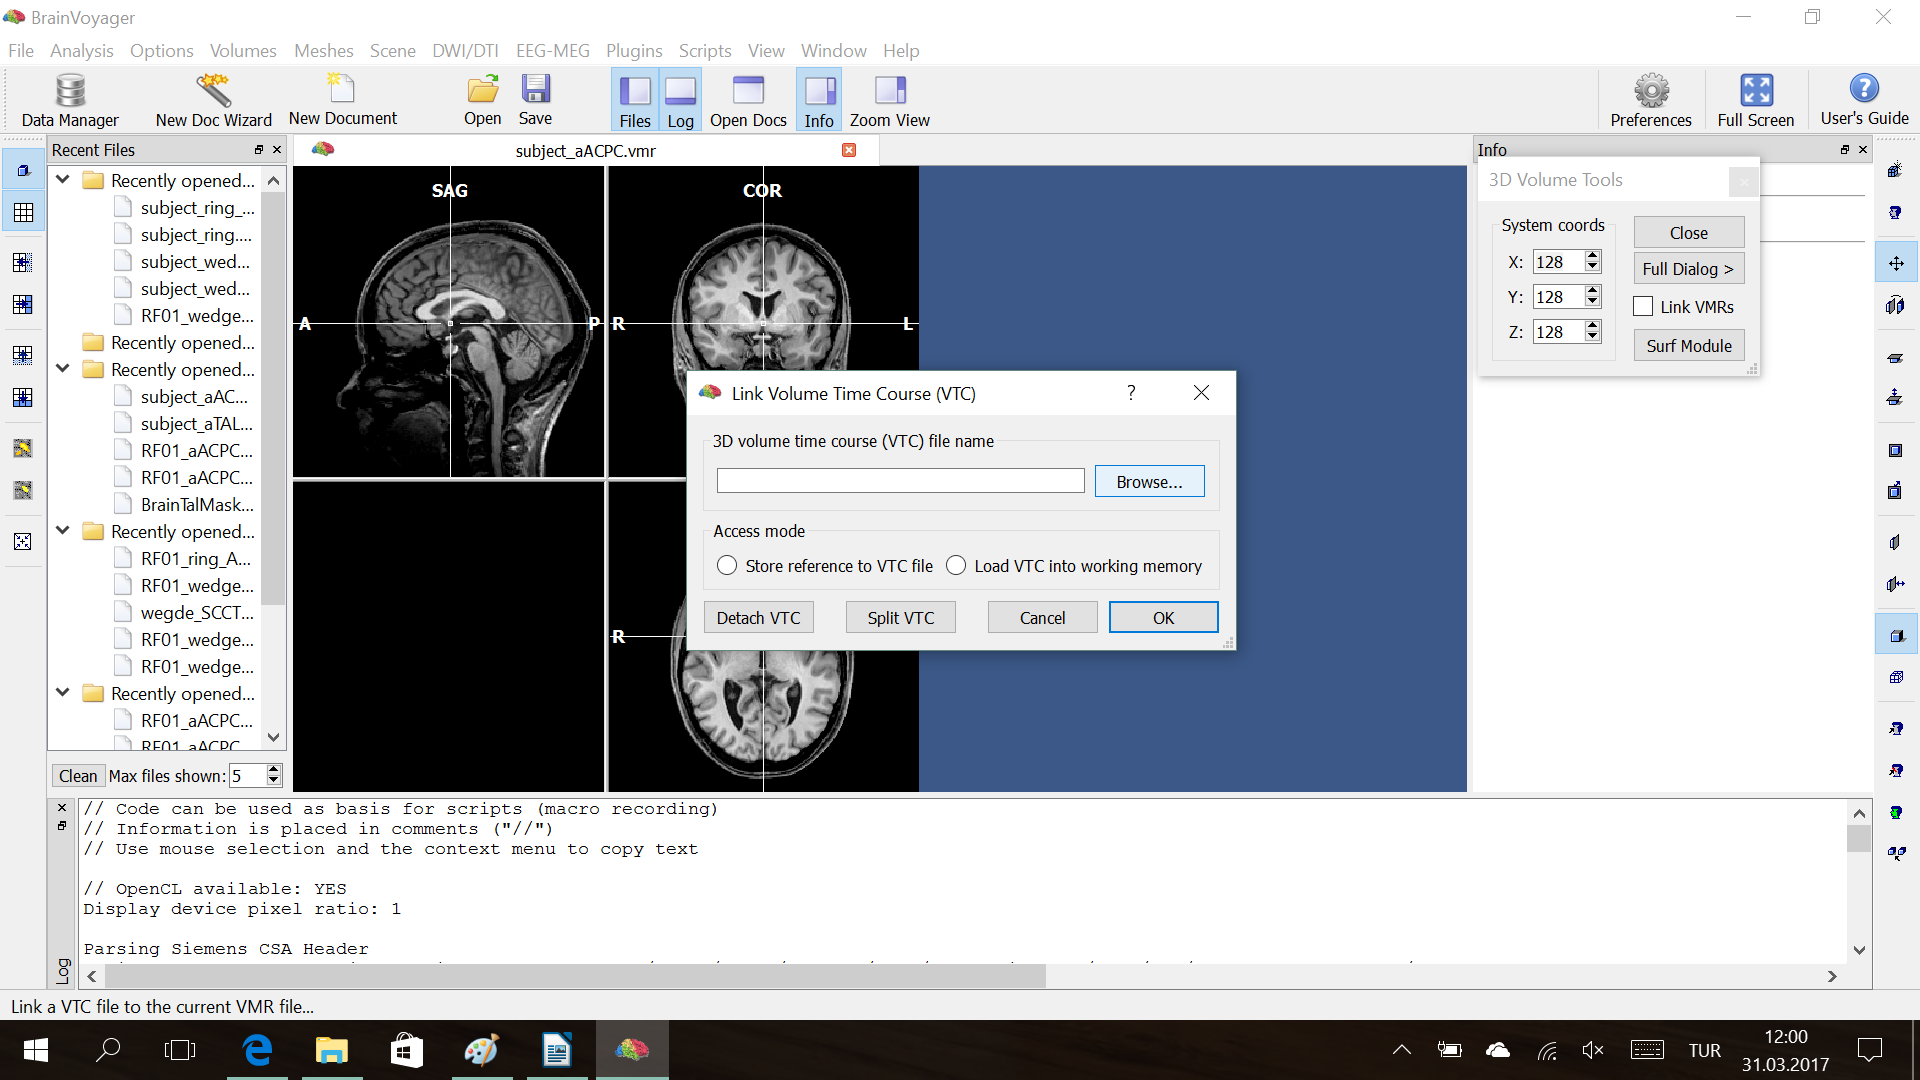
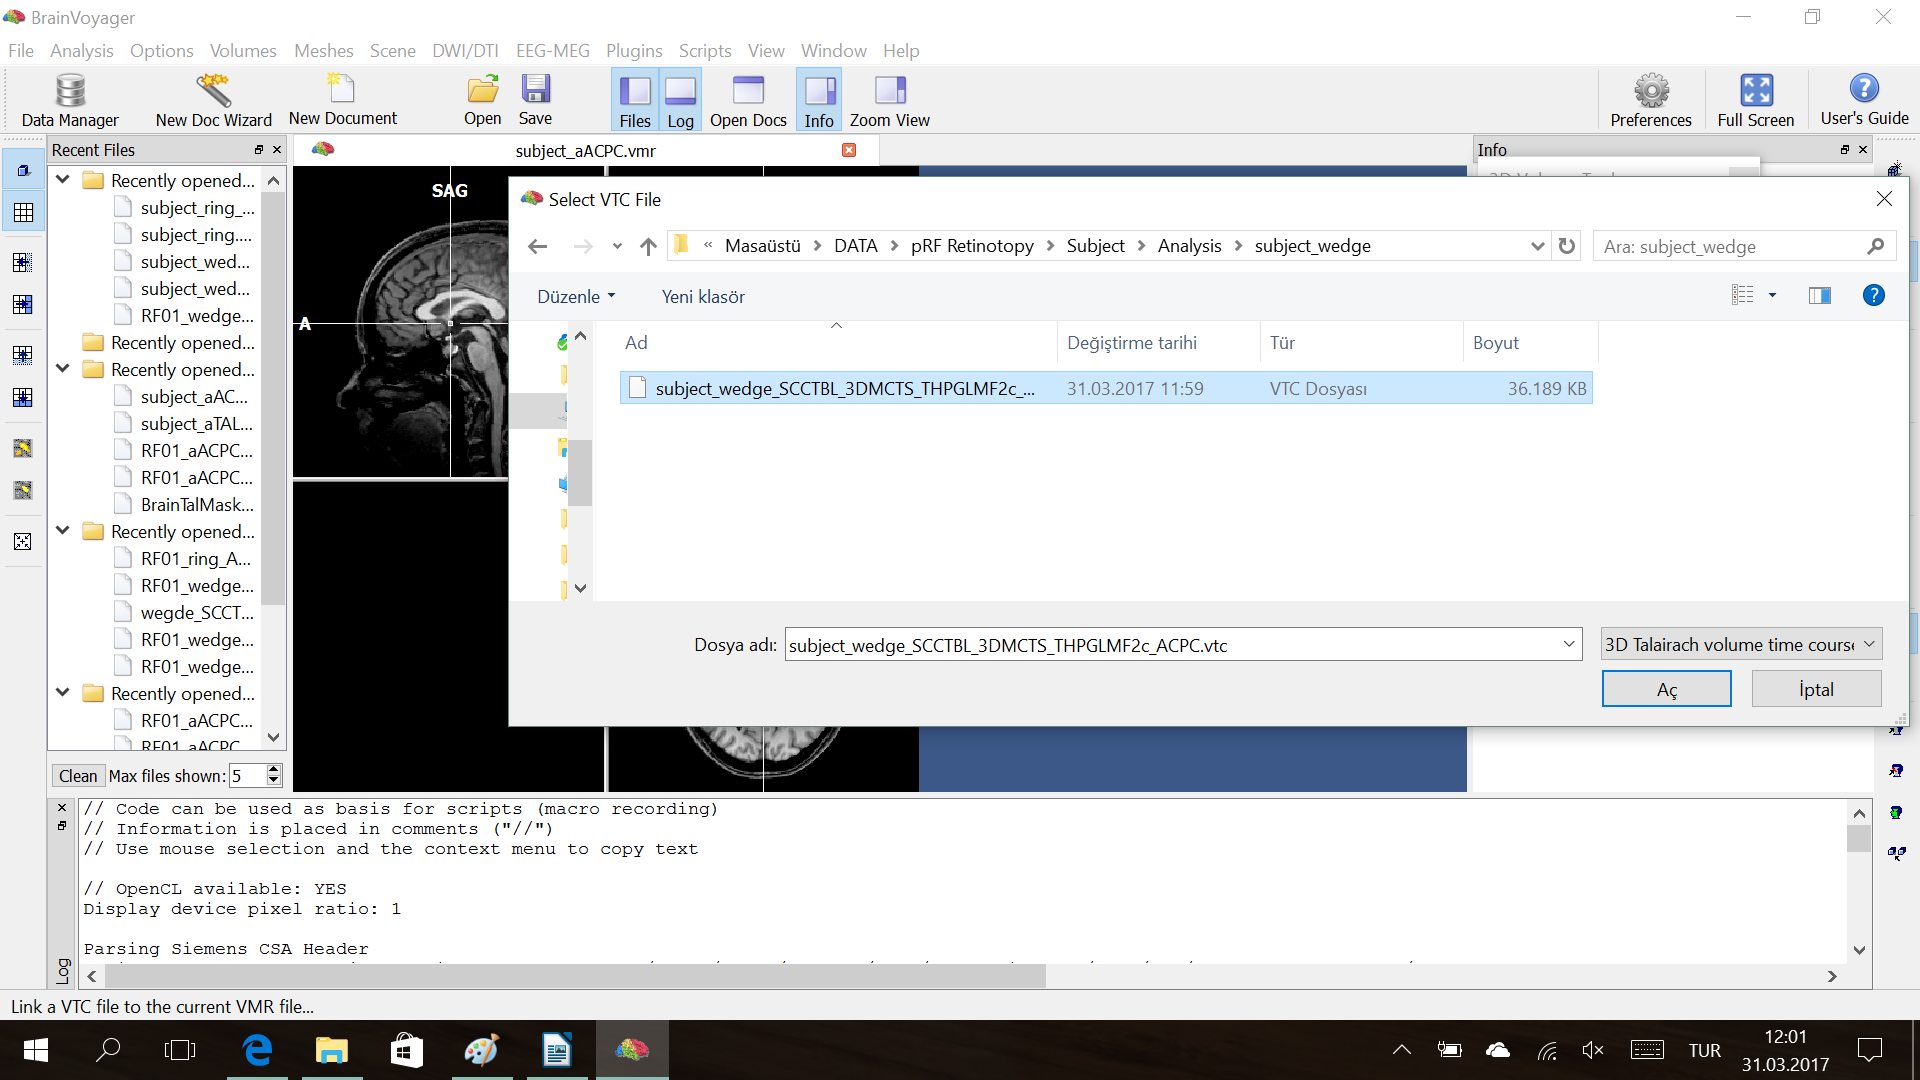
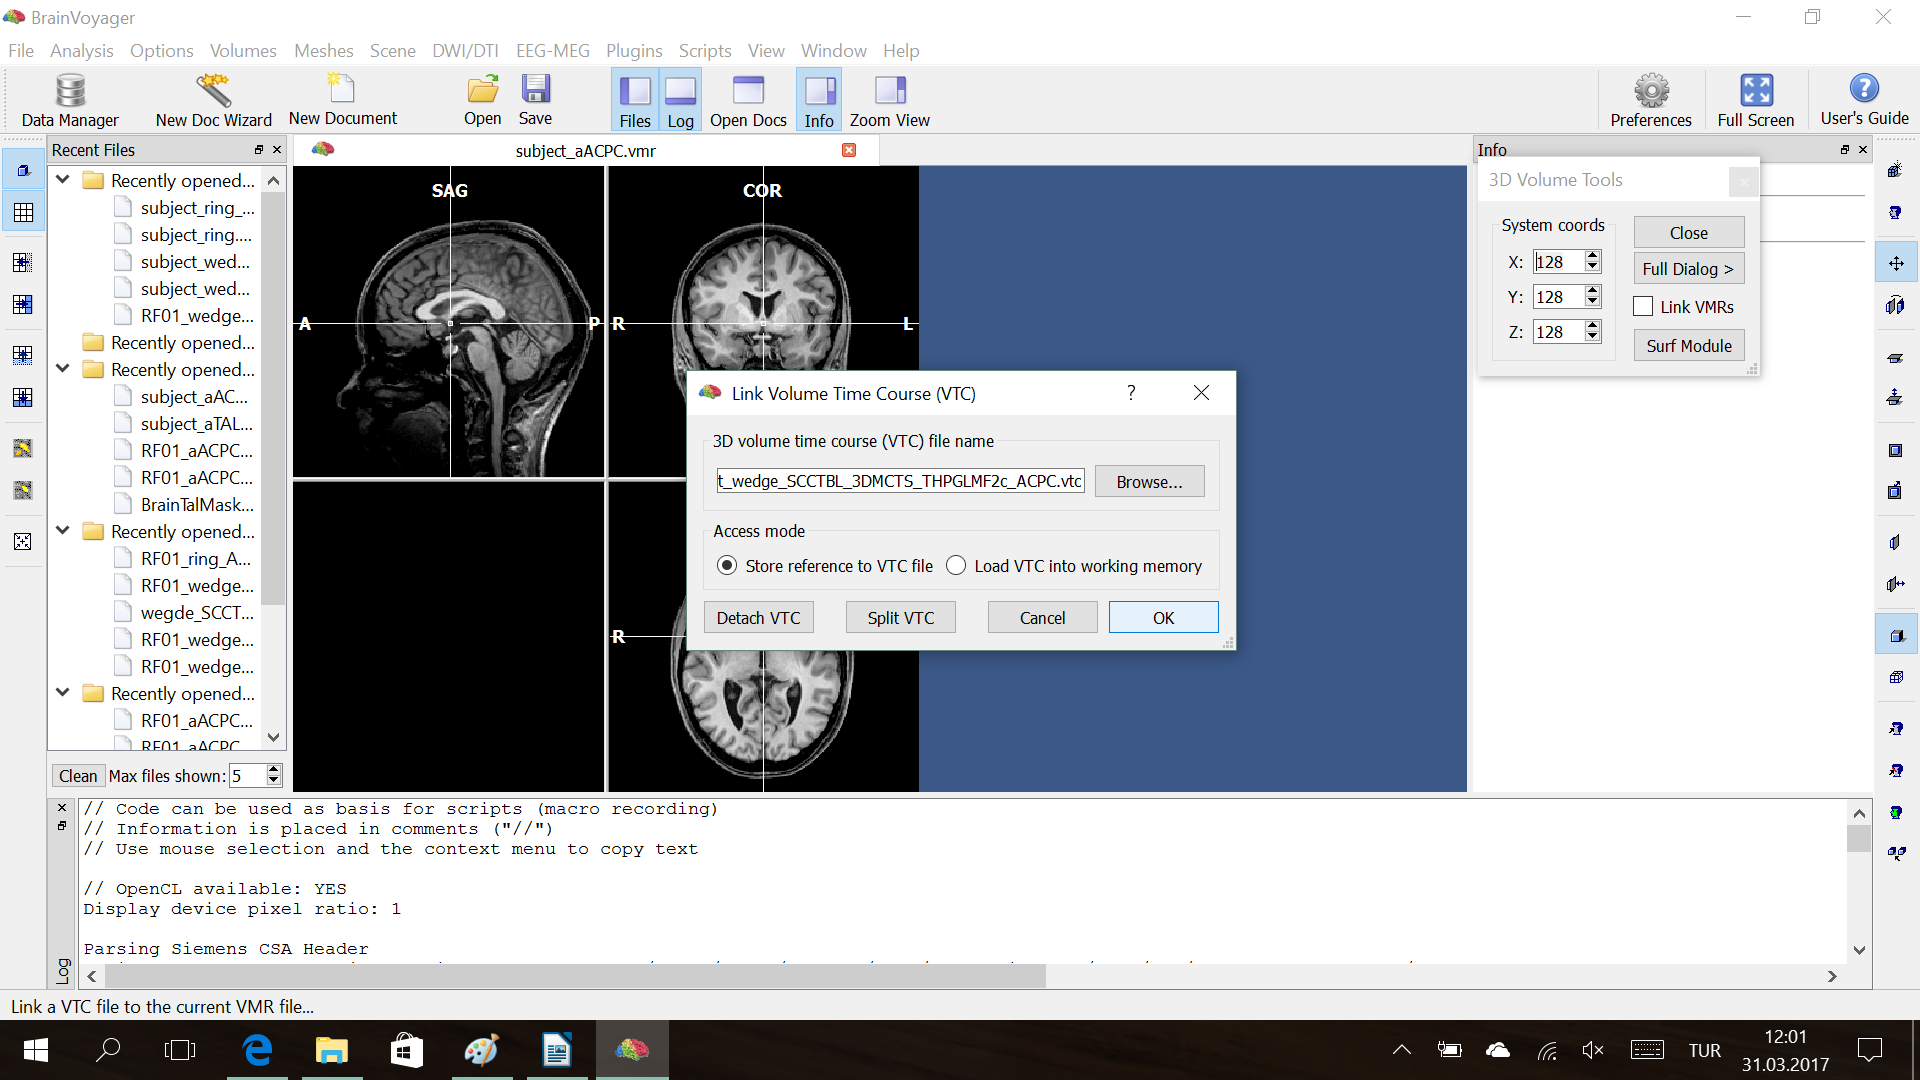
Analysis → Link Volume Time Course (VTC) file
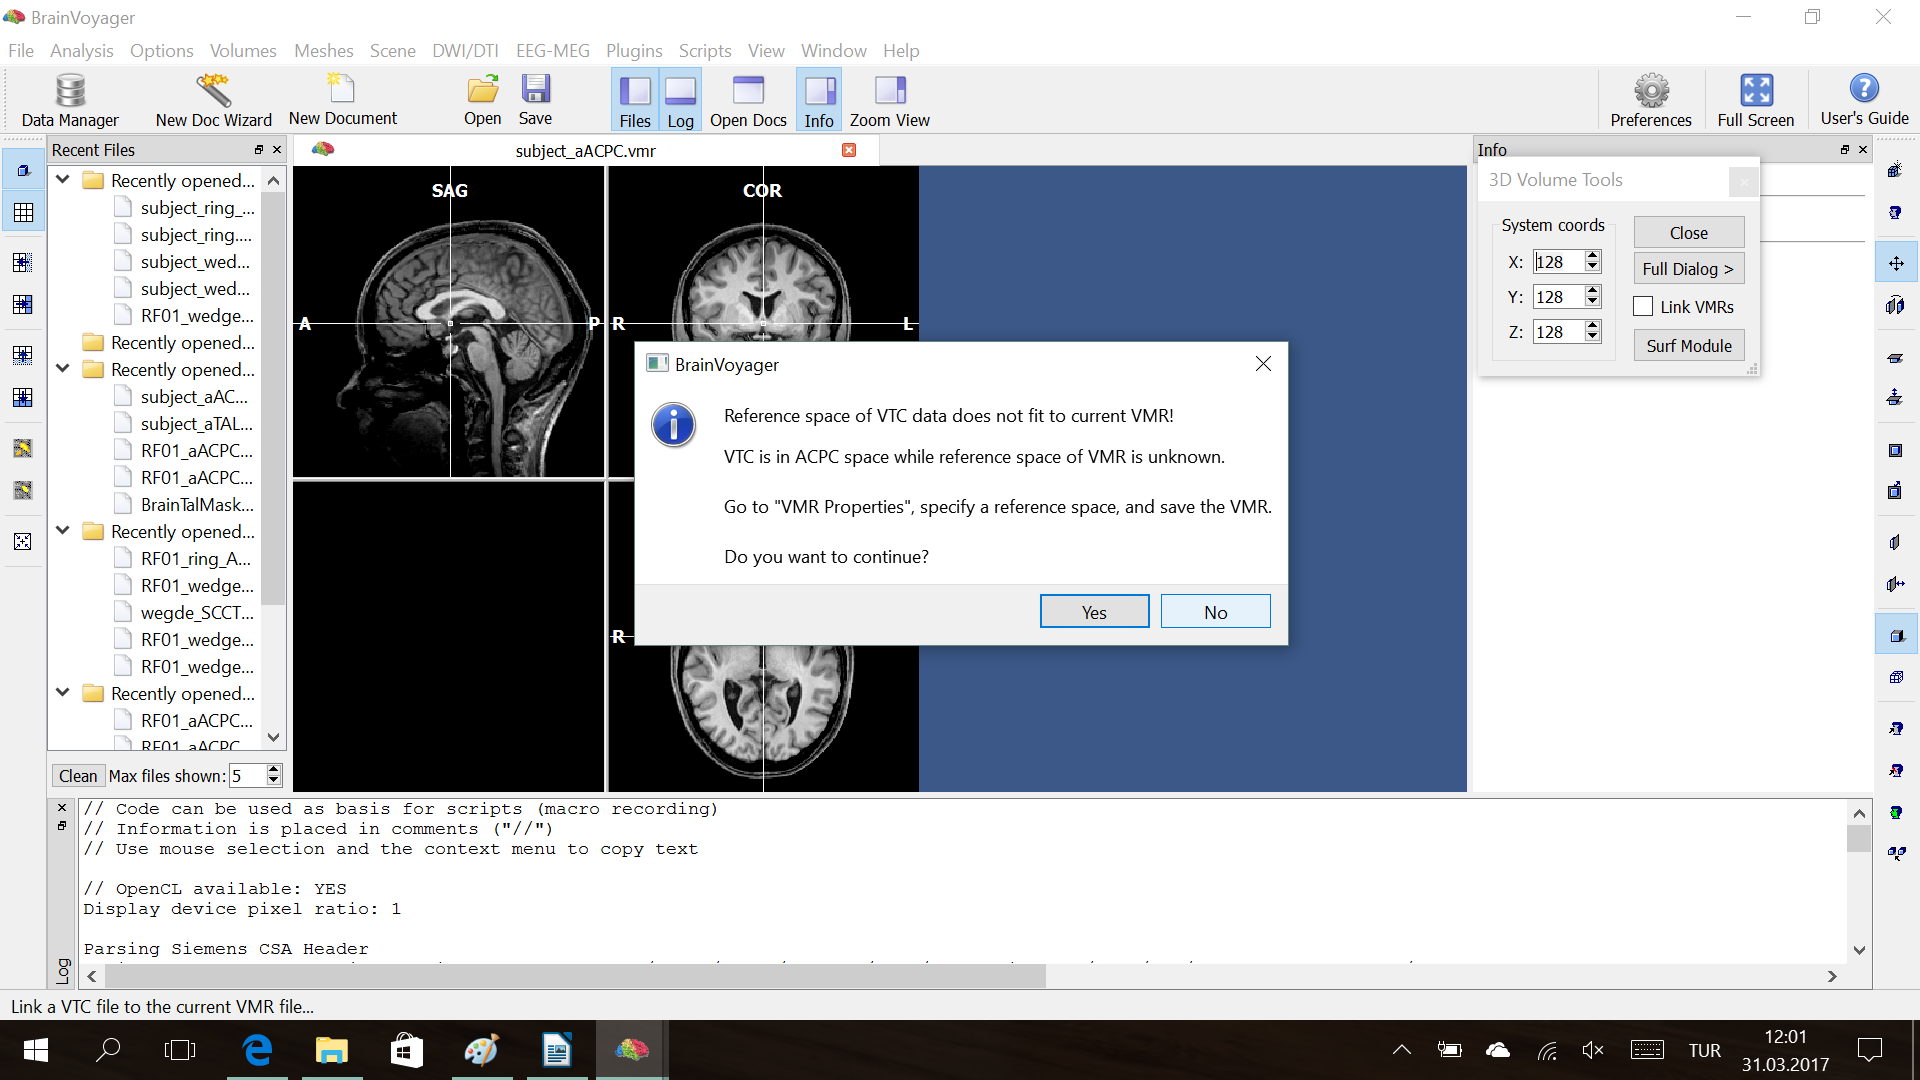
Possible error (shown in slide show): “VTC is in ACPC space while reference space of VMR is unknown”
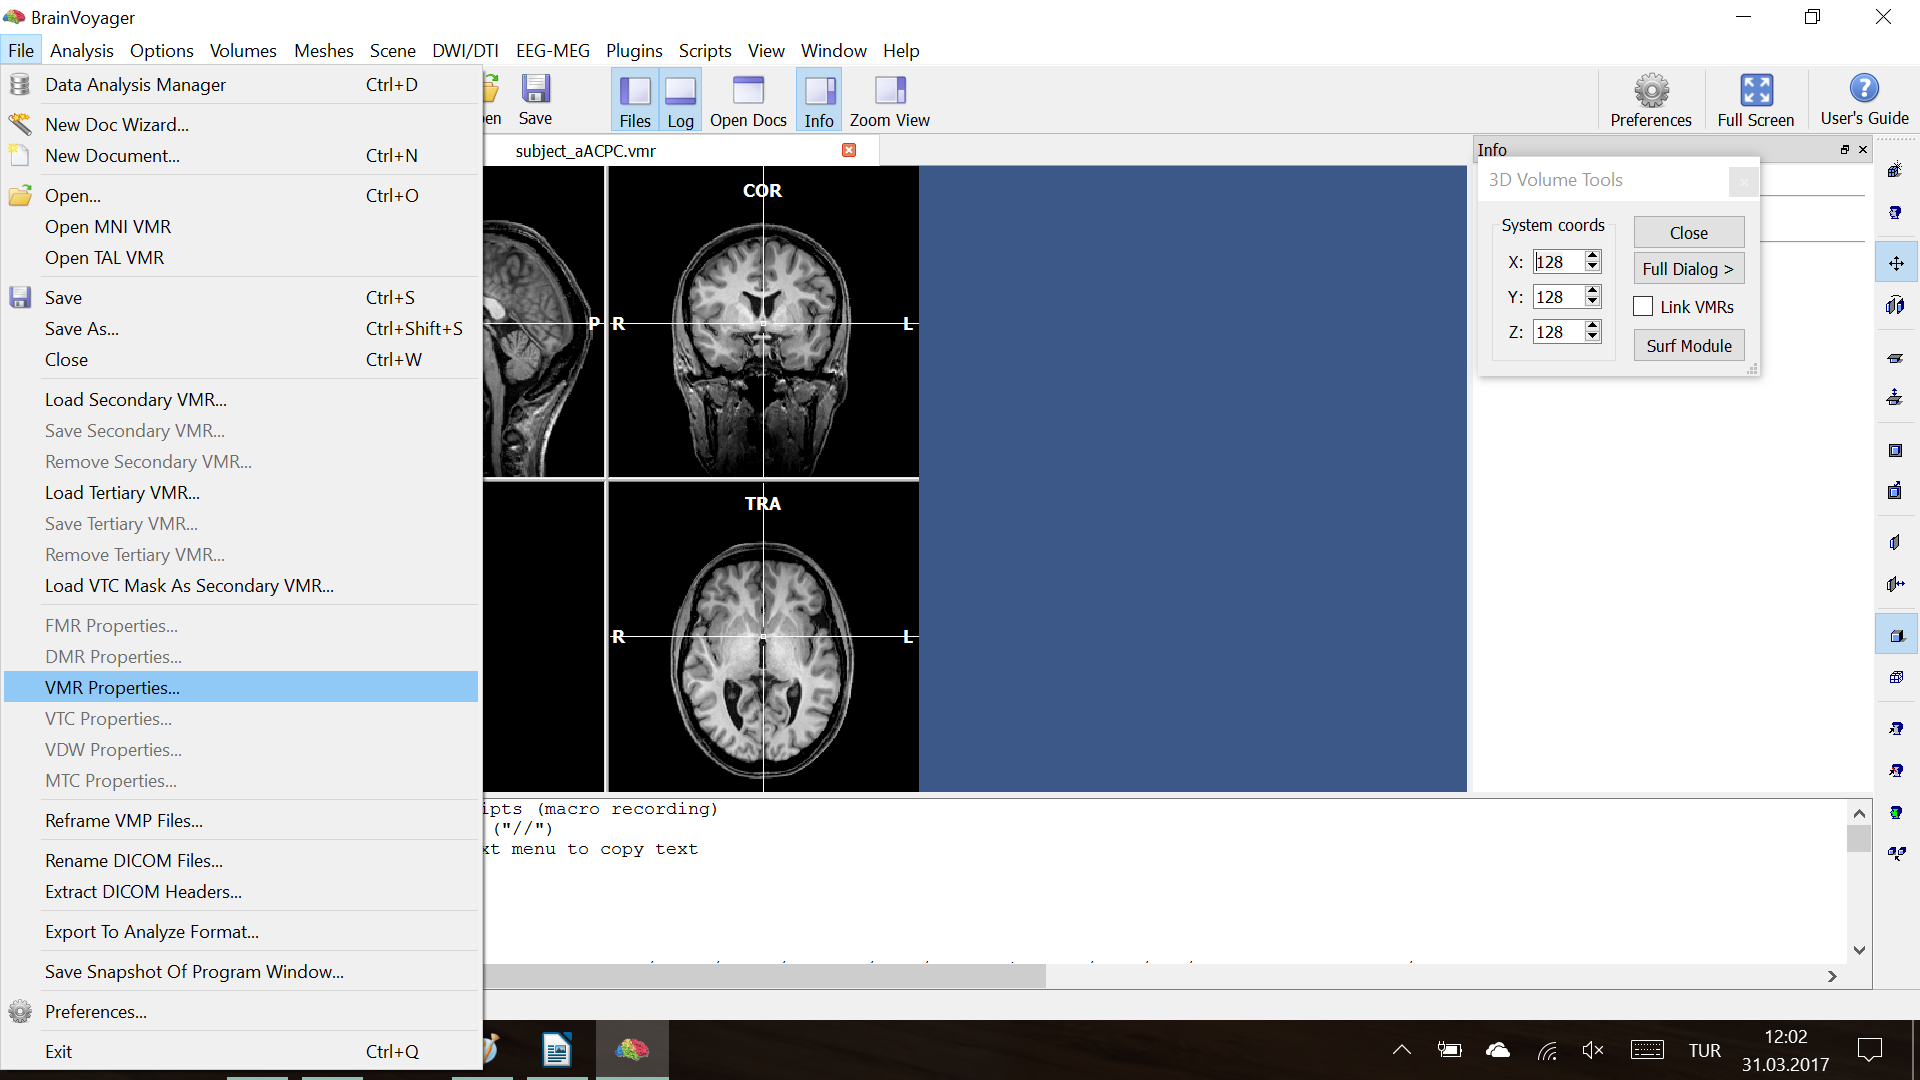
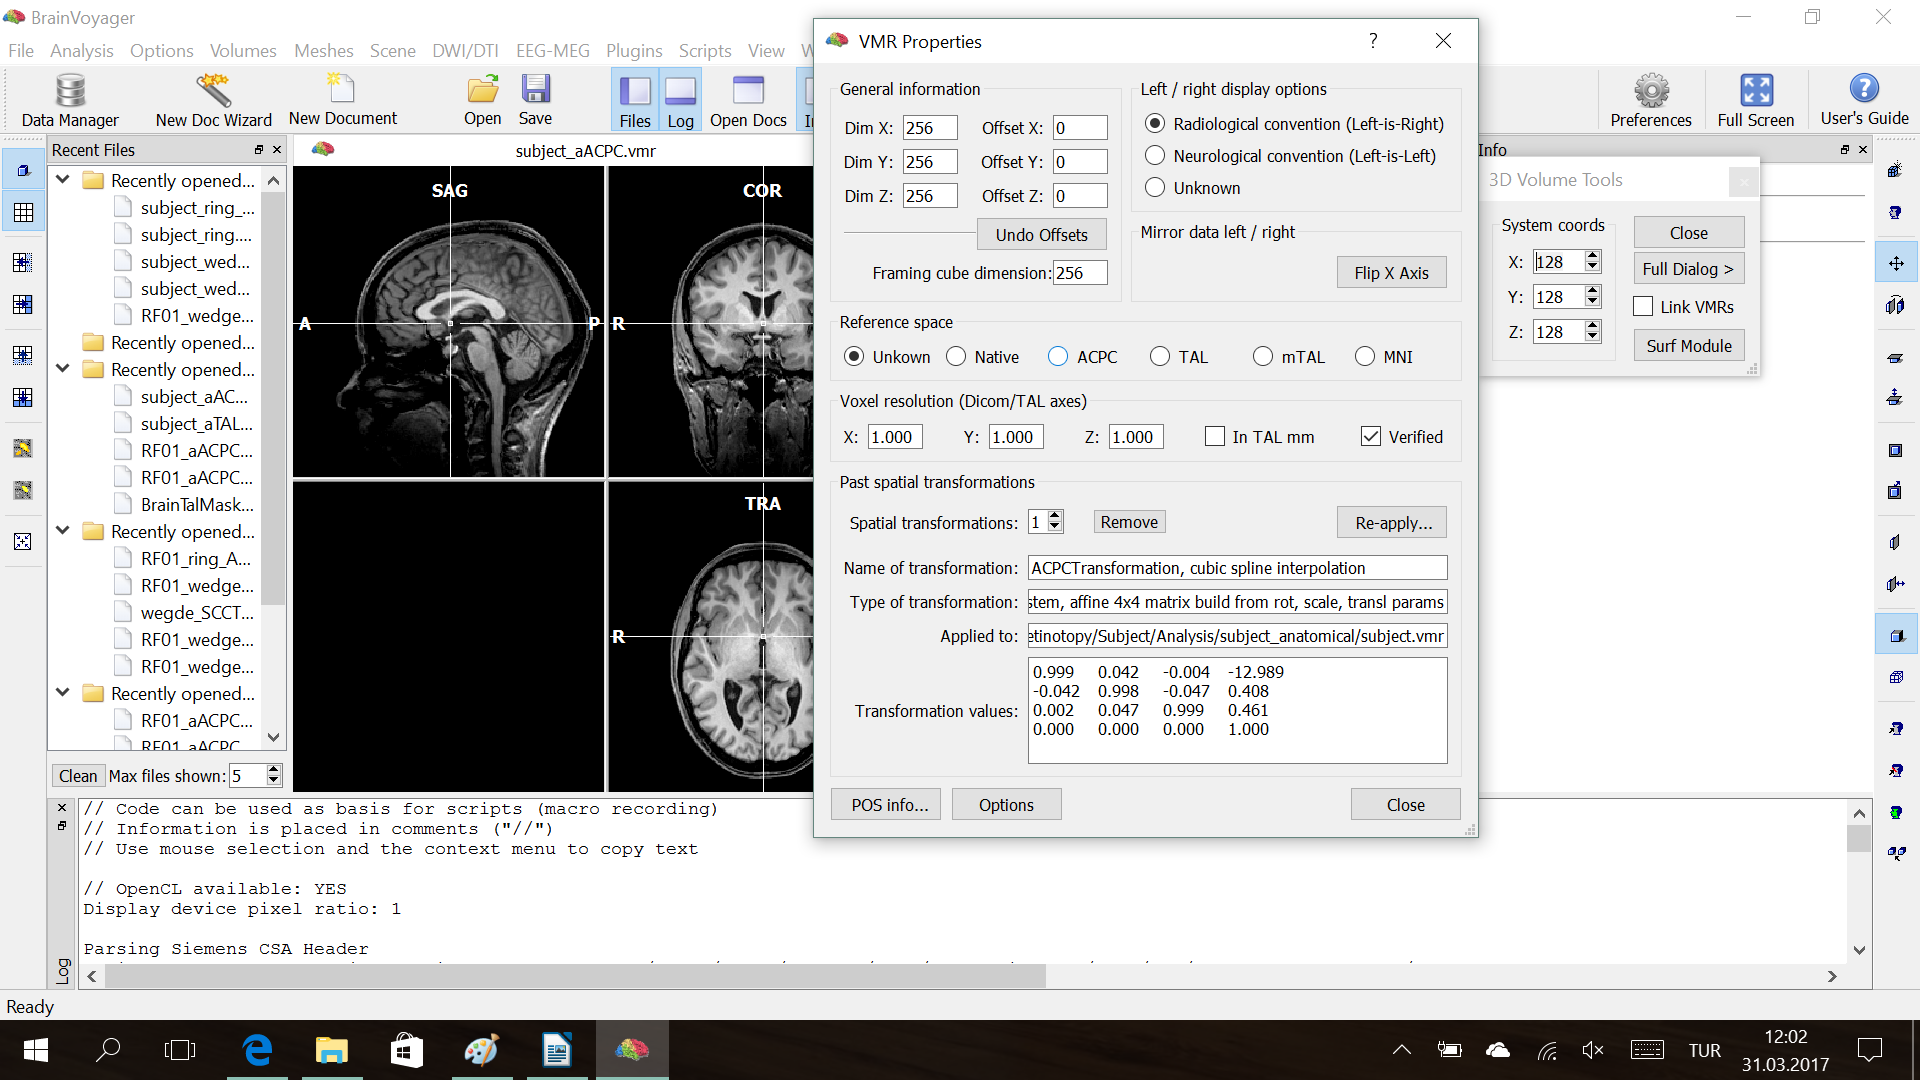
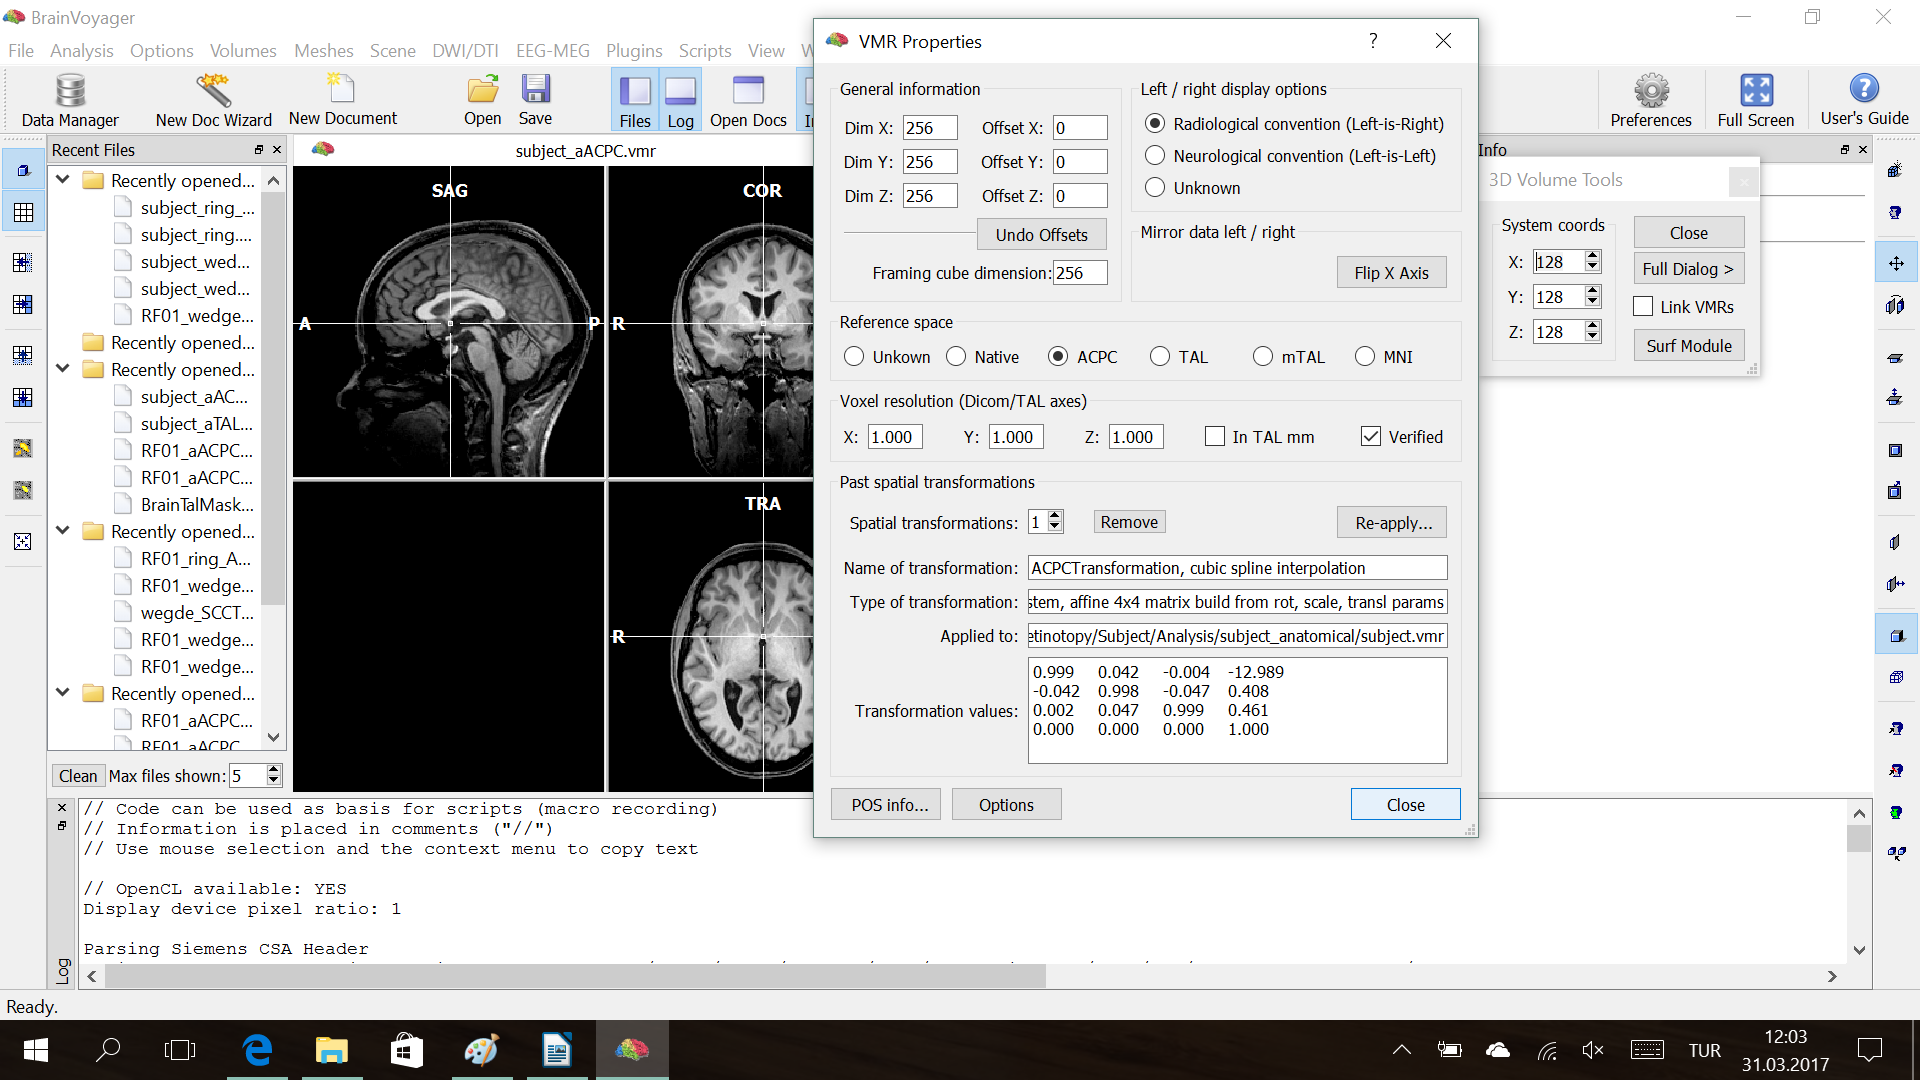
If you see such an error window, you need to change the type of VMR file from Unknown to ACPC
– File → VMR properties.
Step10. Create .mtc file
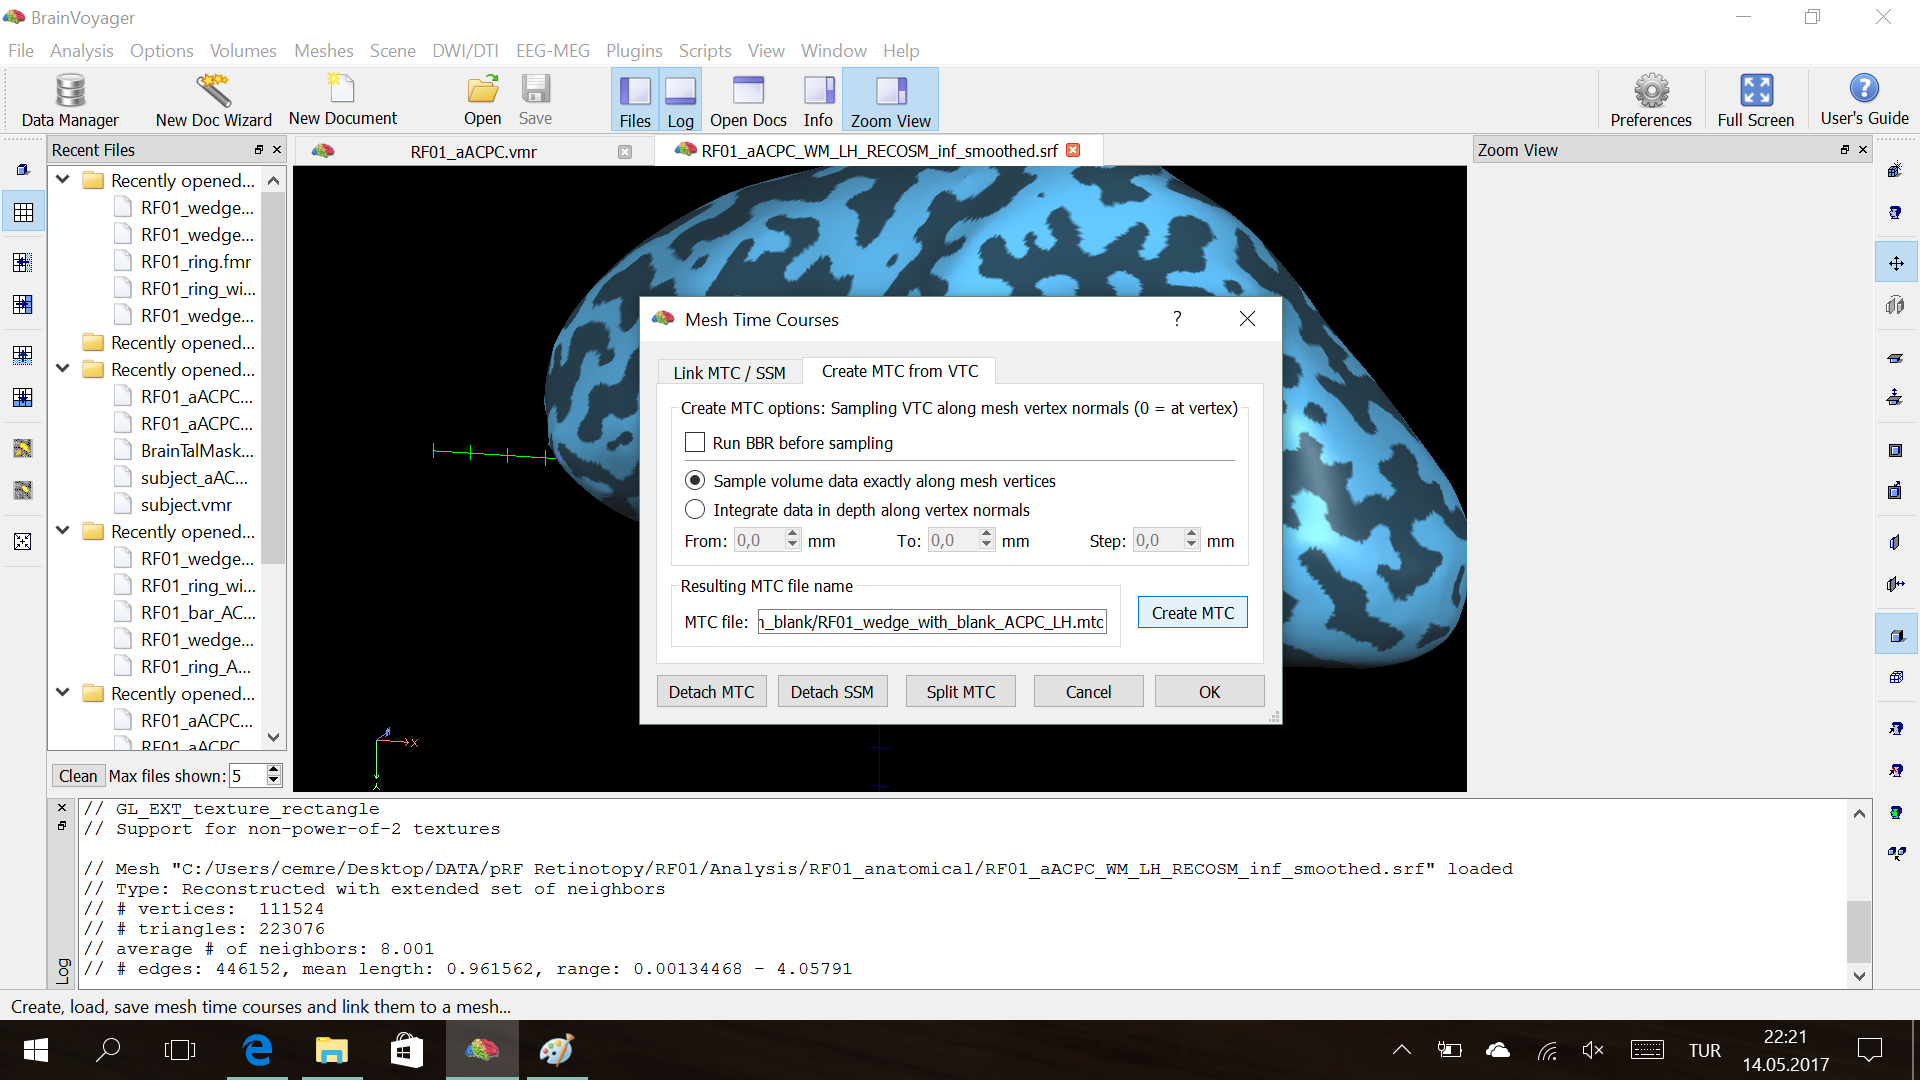
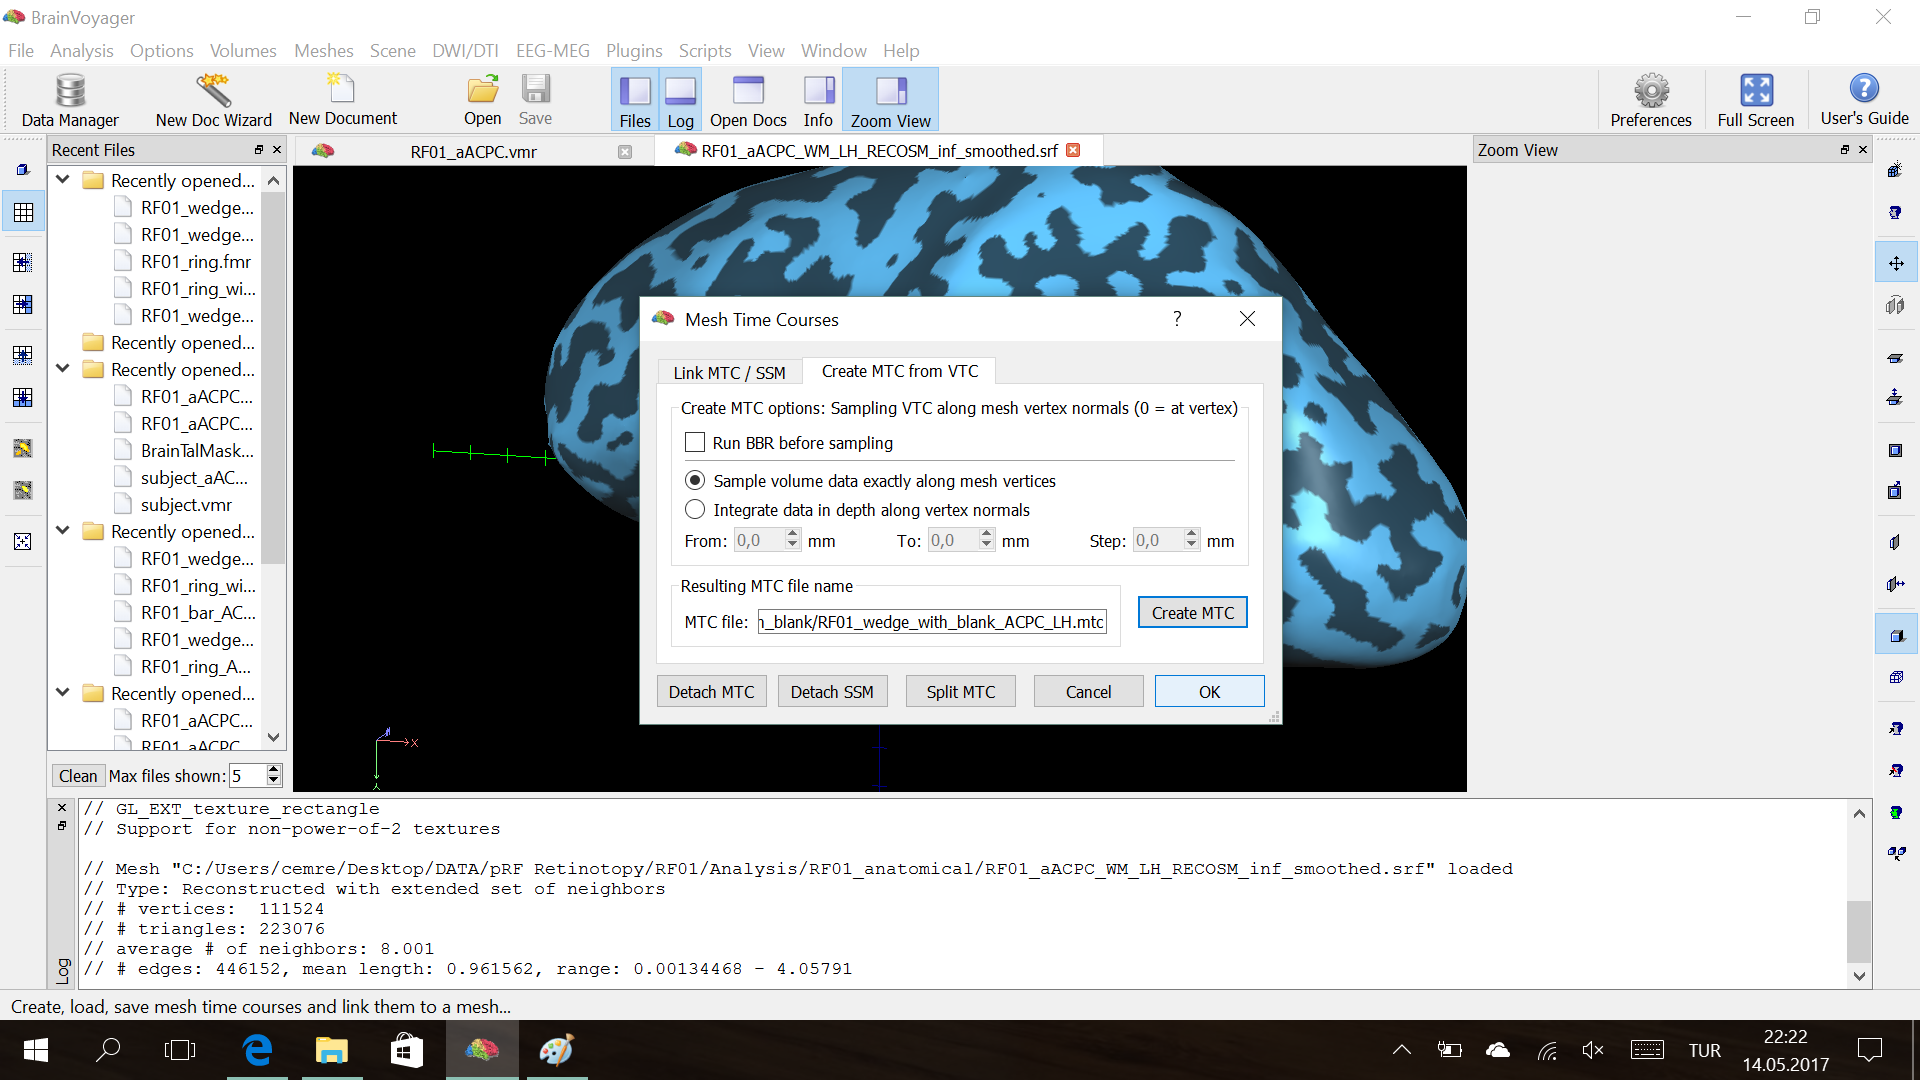
Create MTC file by using VTC
This process uses the VTC file that is already attached to VMR at that time. To create MTC for different condition, change the attached VTC file.
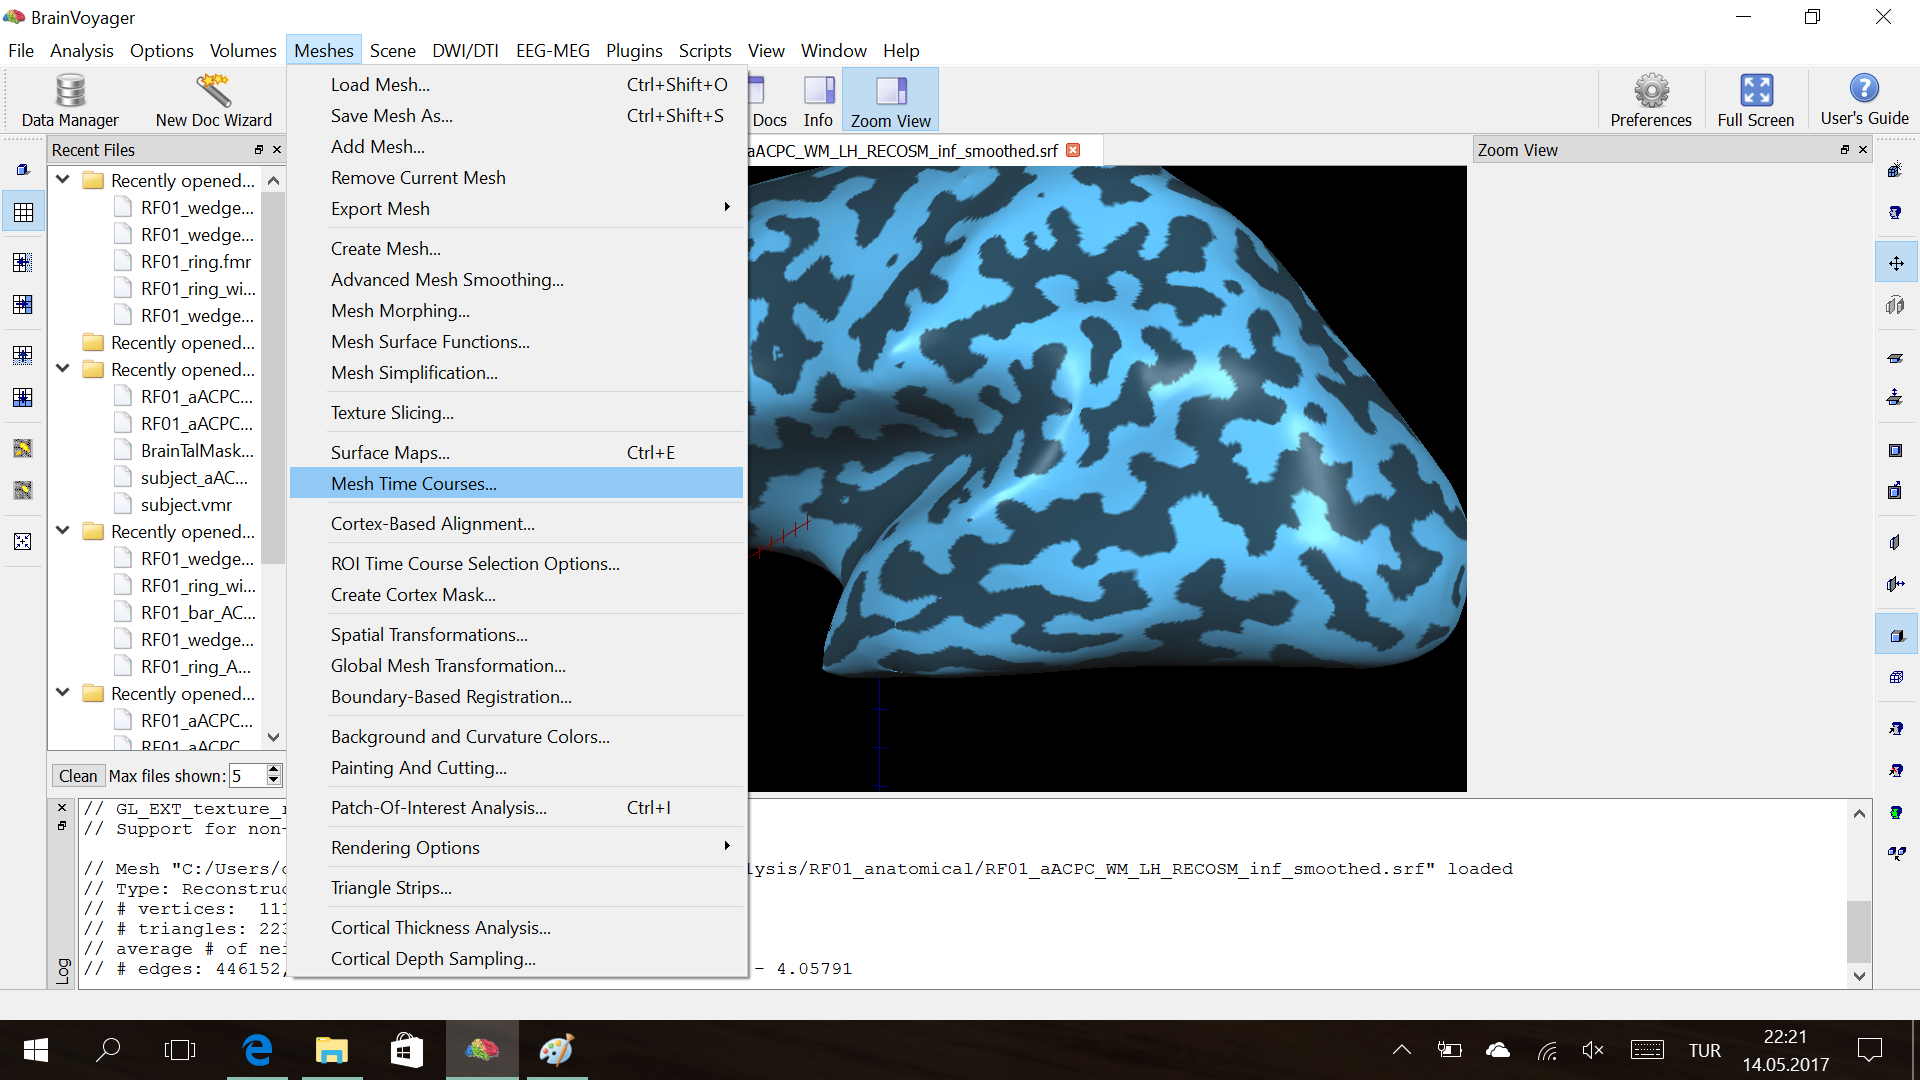
– Meshes→ Mesh Time Courses
Step11. Save the frames of stimuli
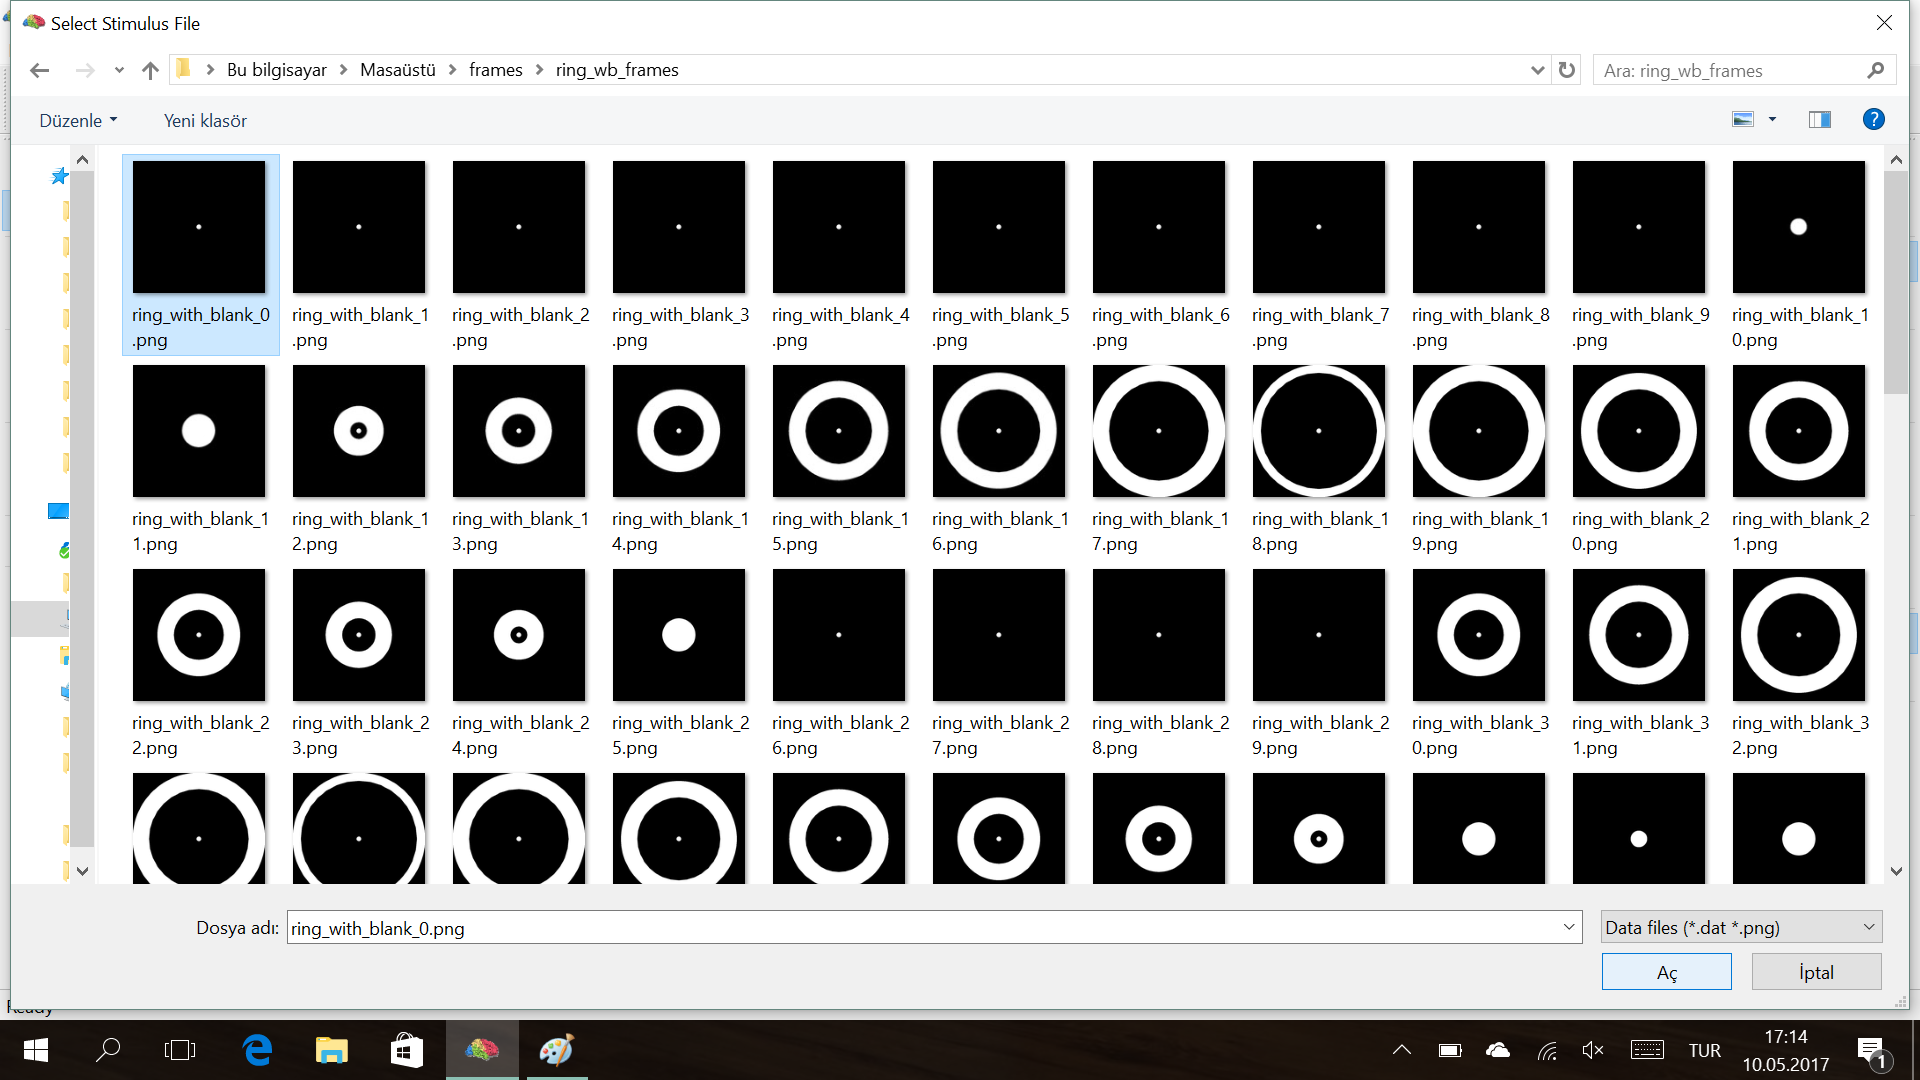
Save each frame presented at each TR of a scan. You can use any program used for stimulus presentation.
You need to save the frames as:
- .png file
- 150*150px in size
- binary image

Step12. Create .stm file
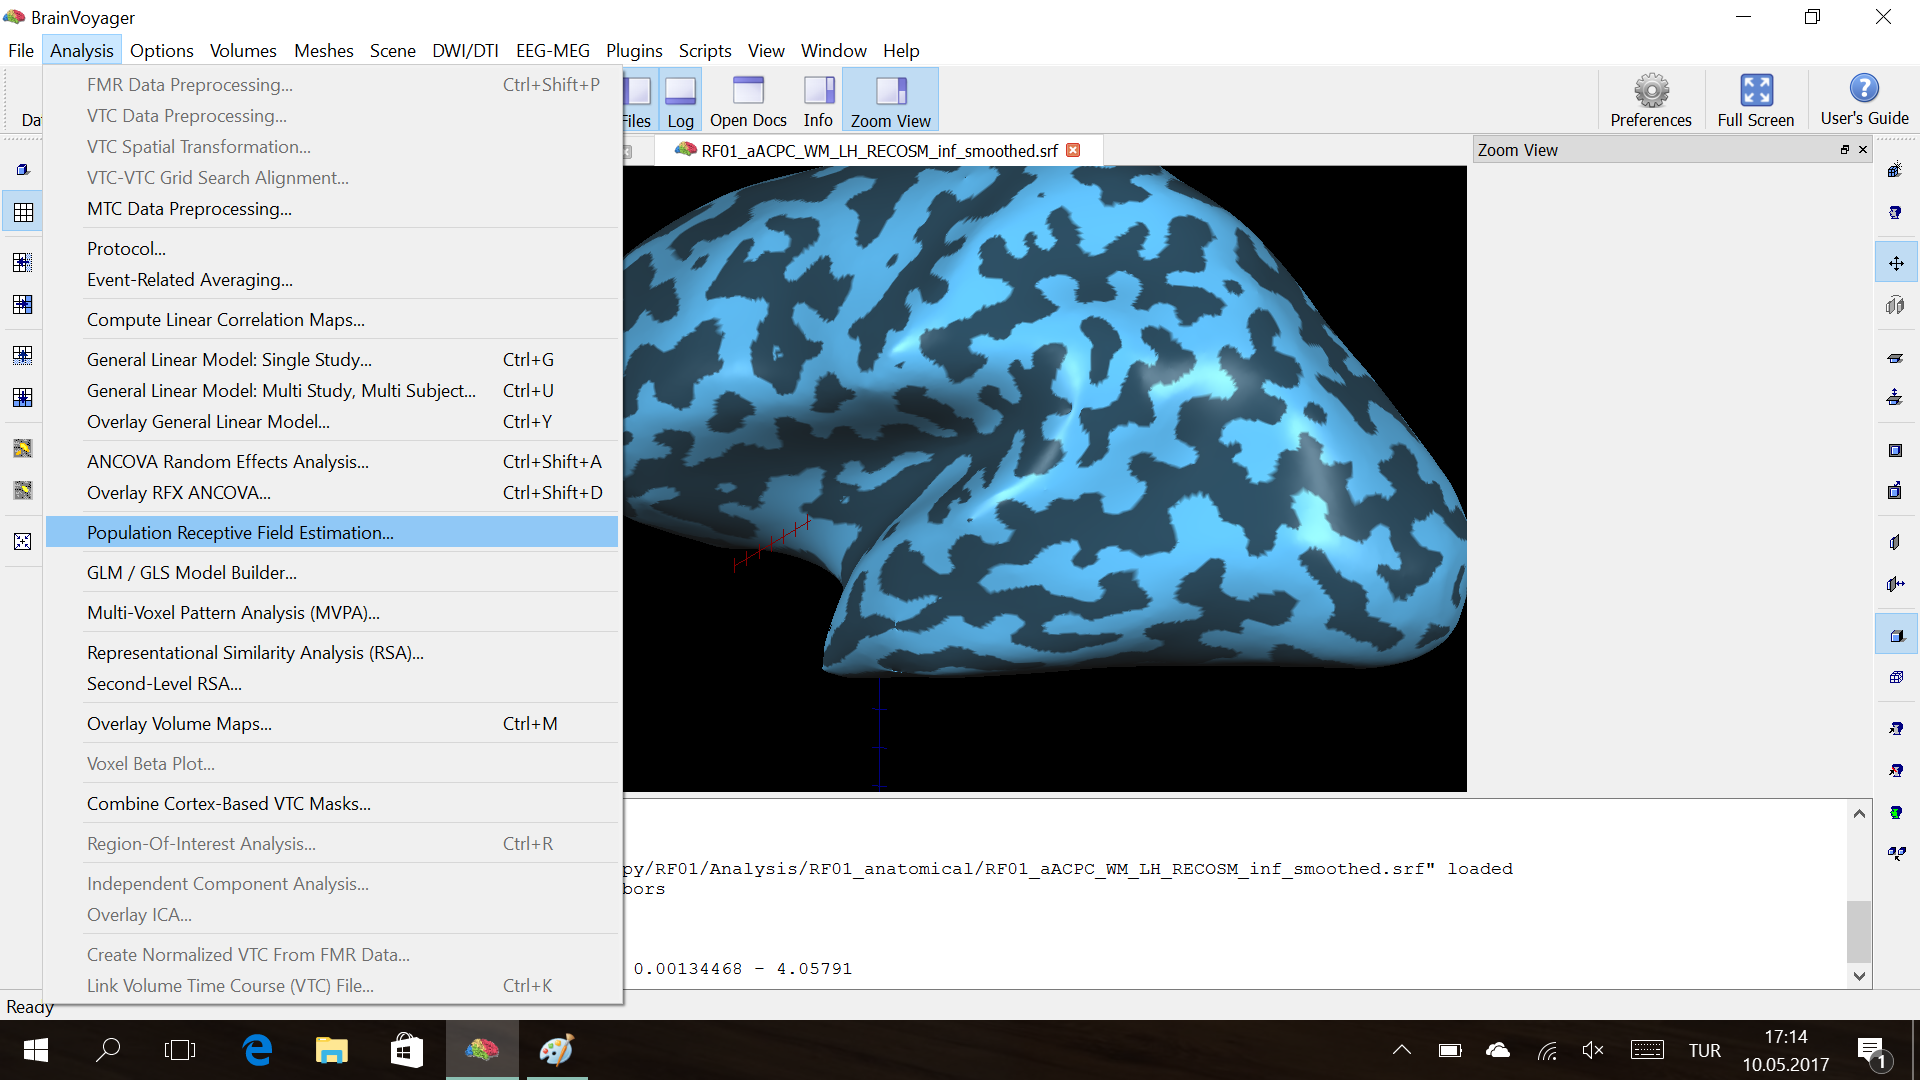
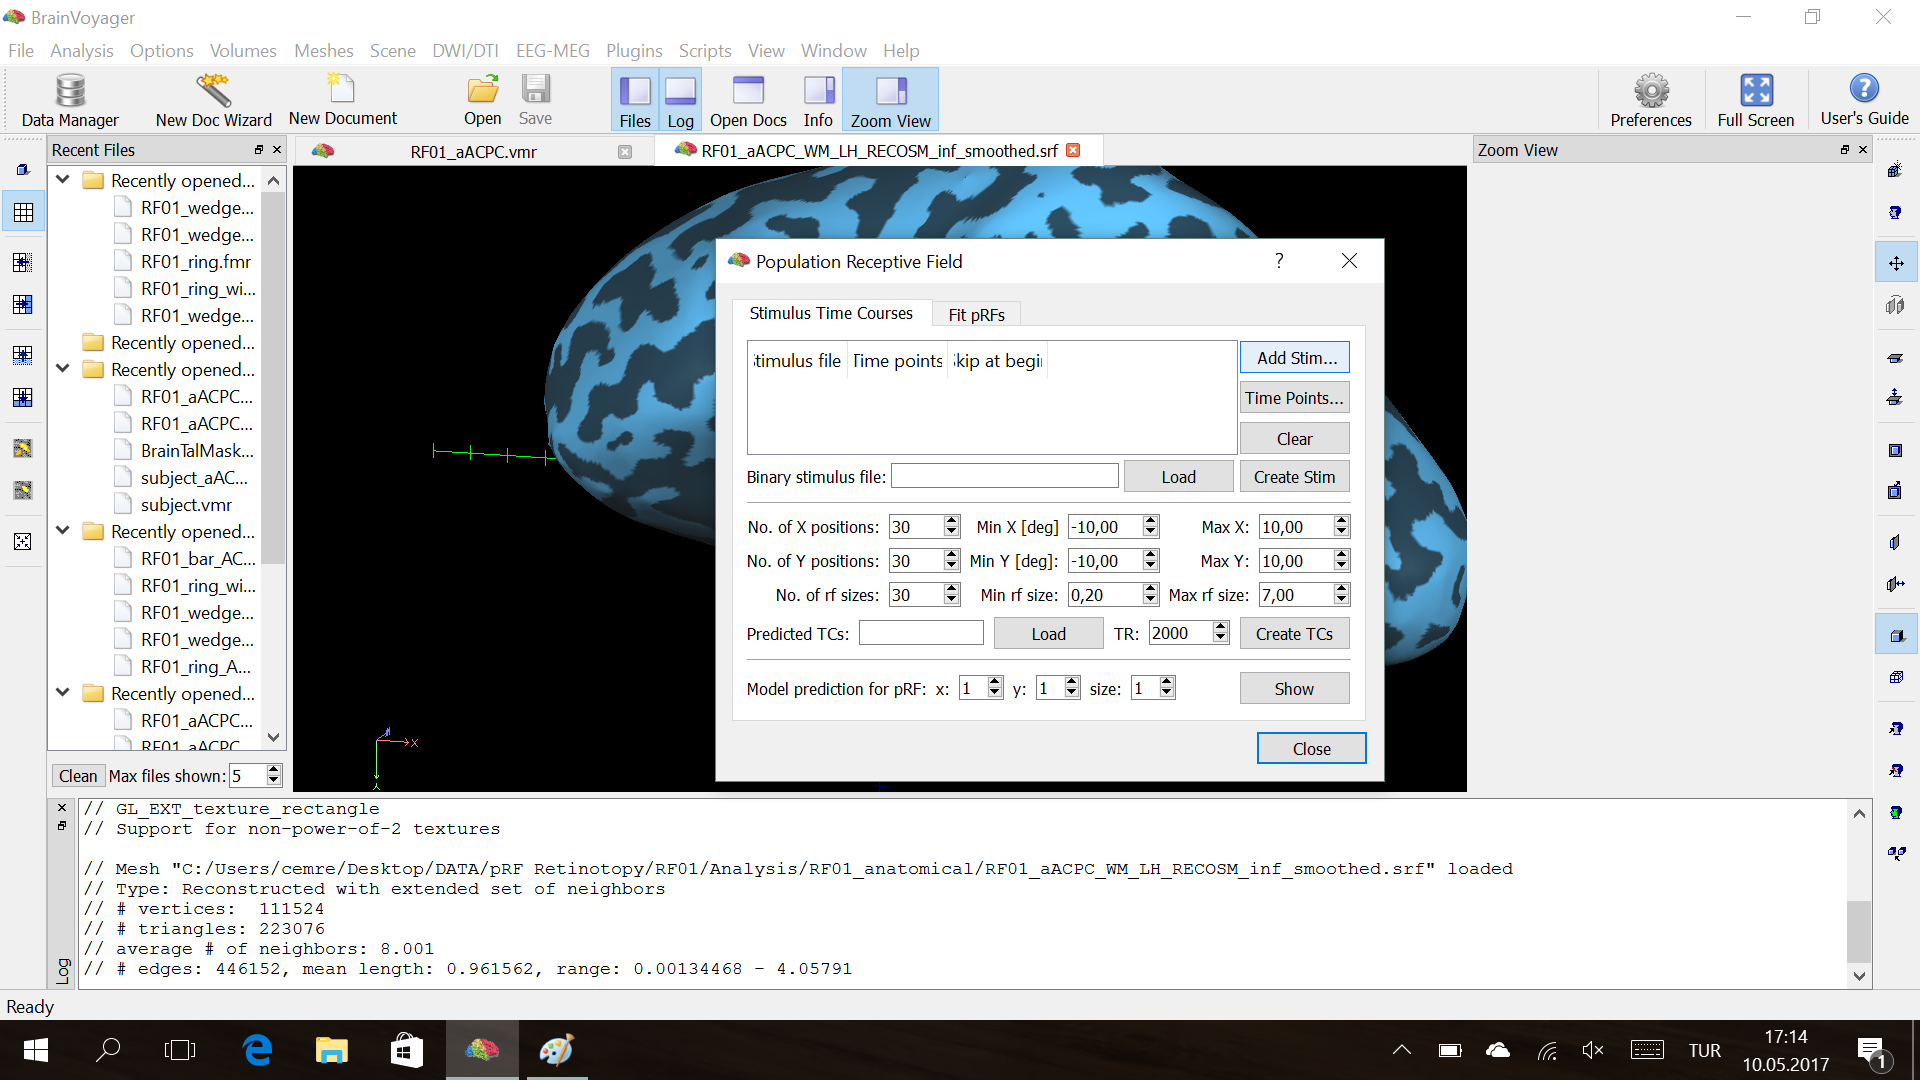
– Analysis→ Population Receptive Field Estimation
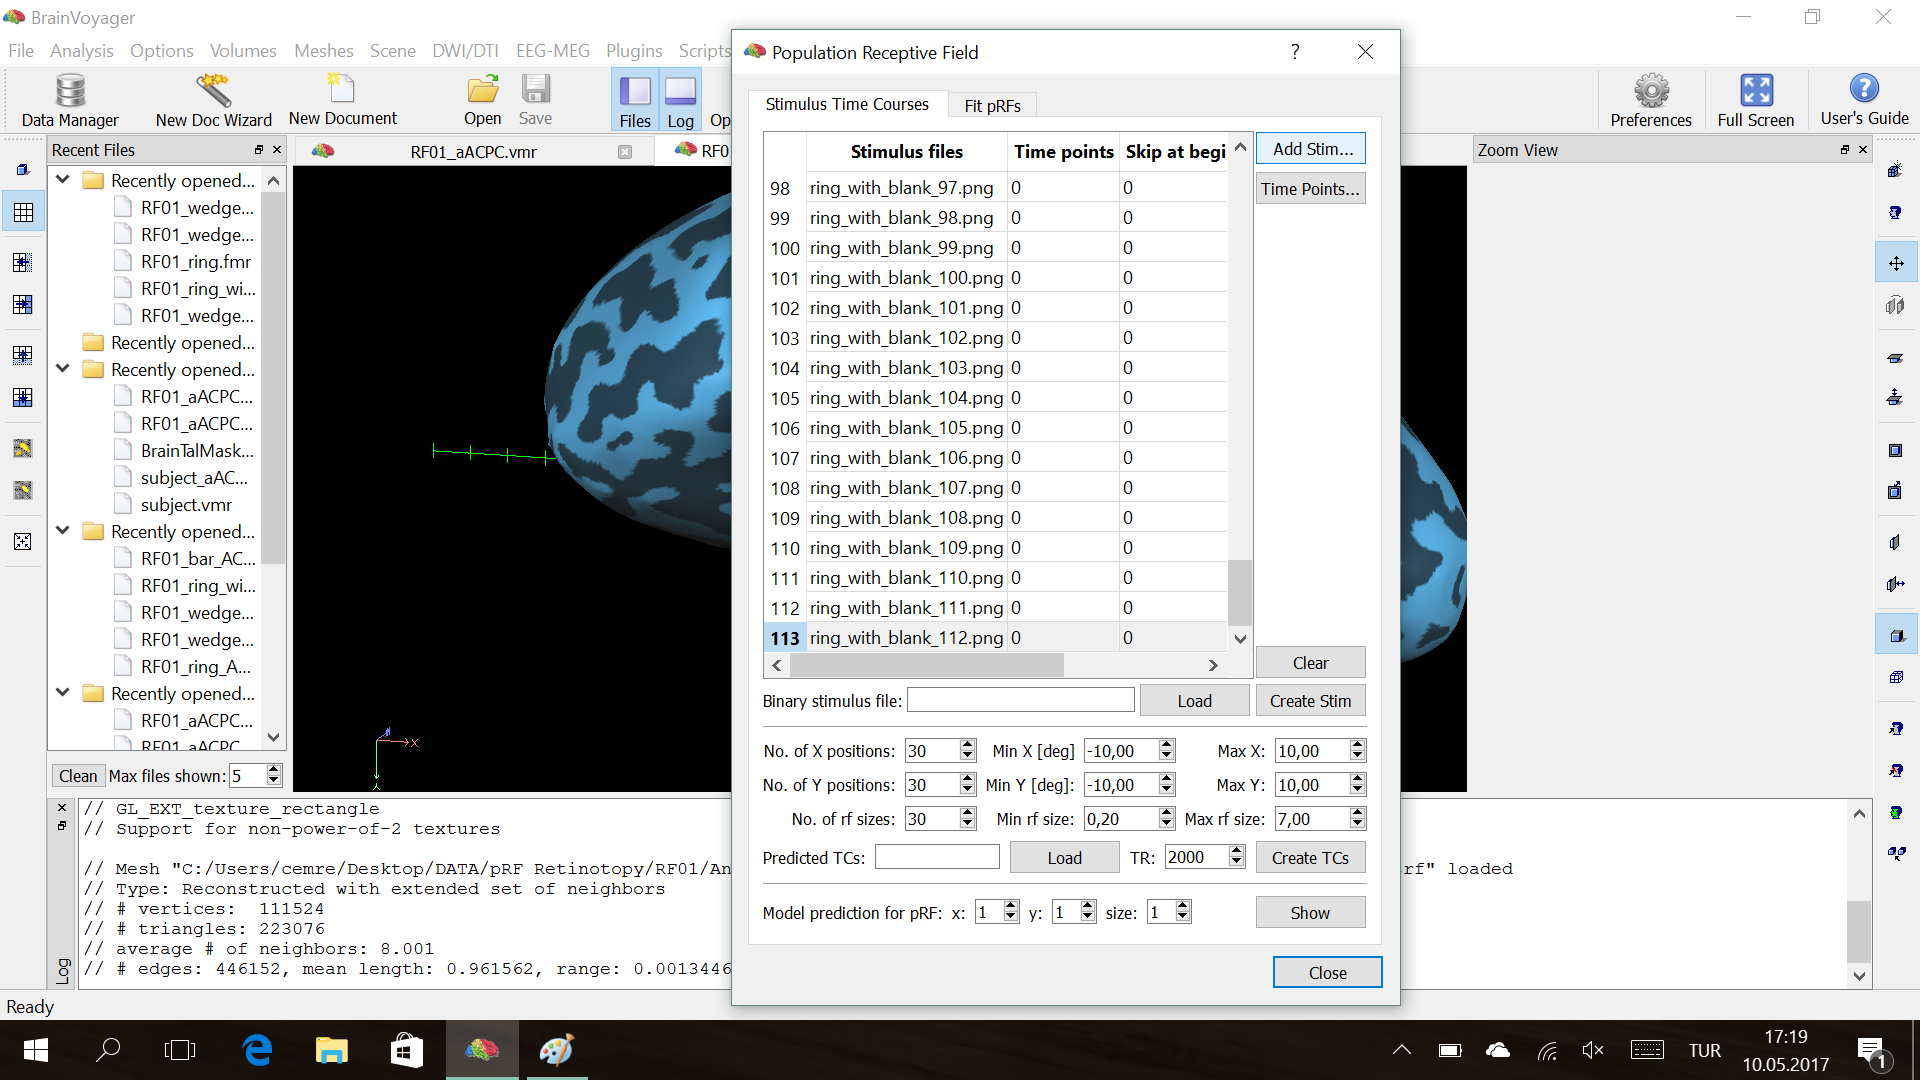
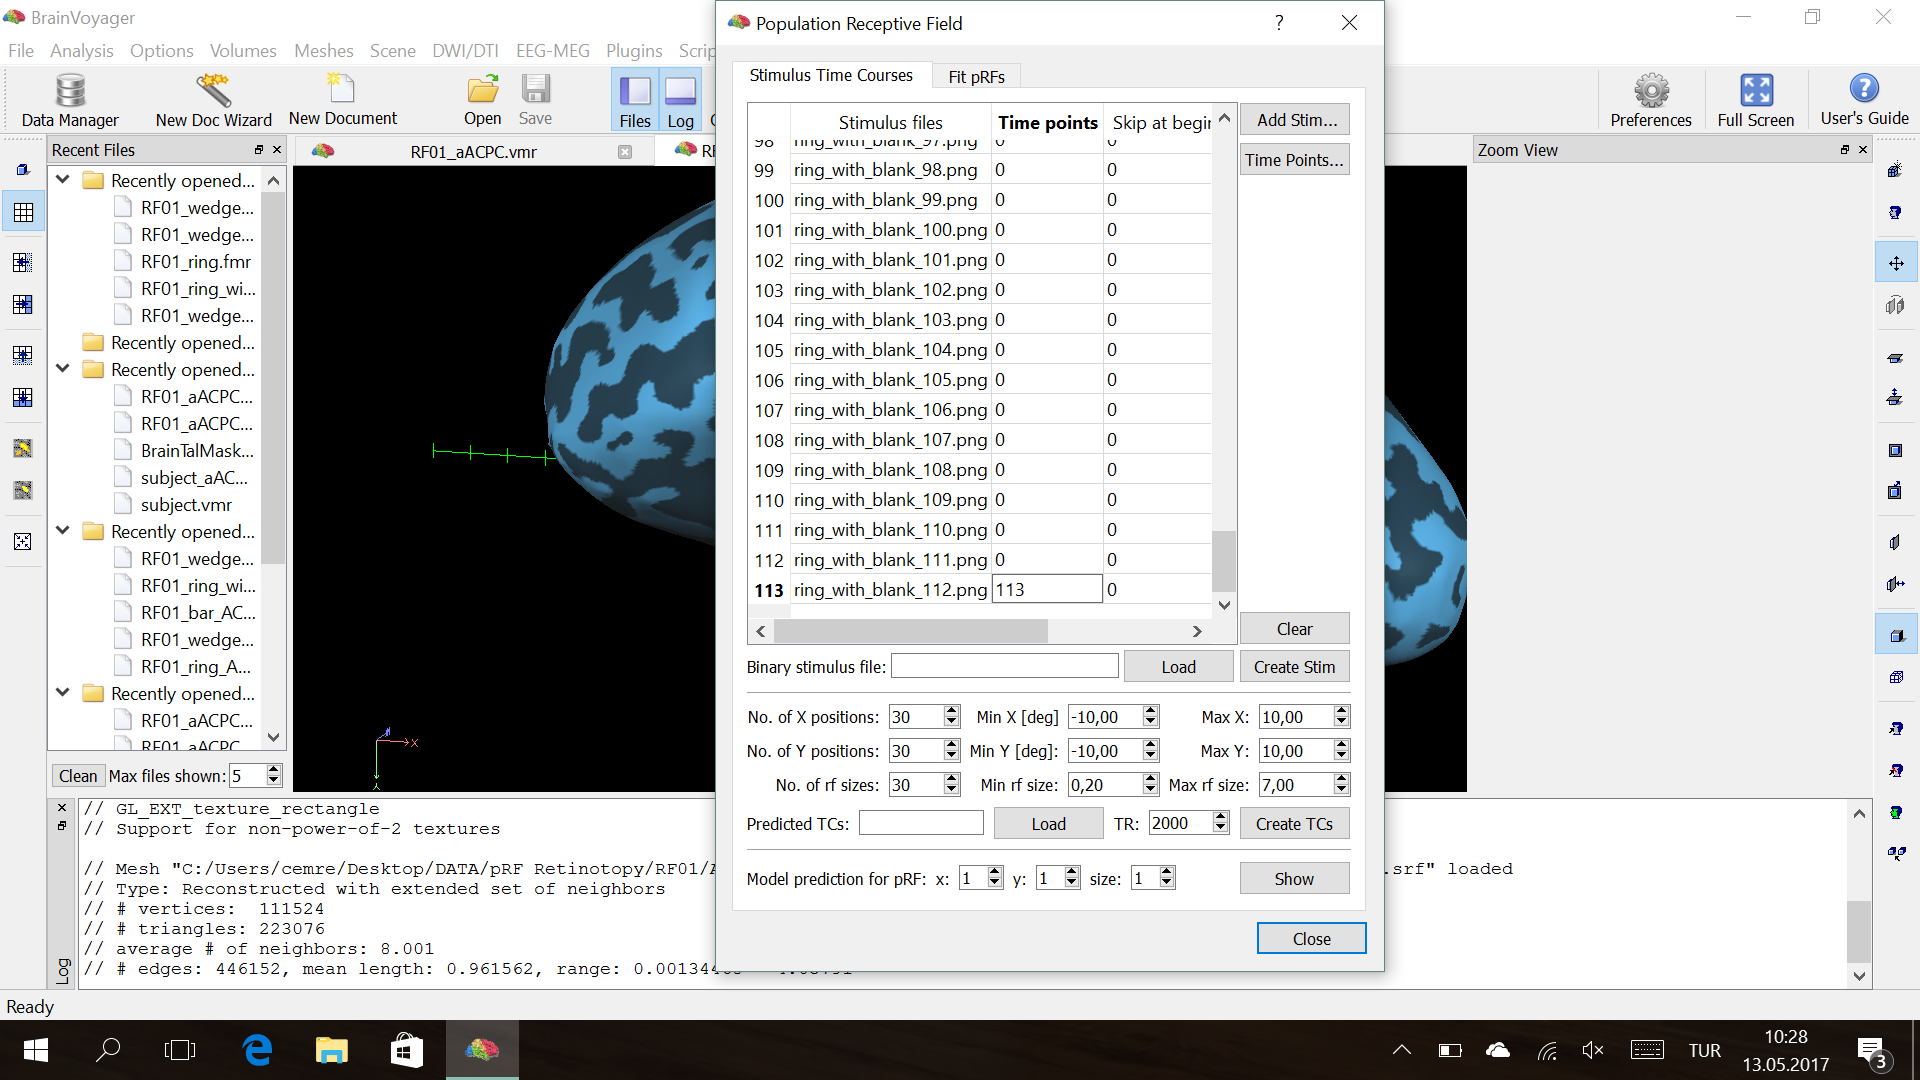
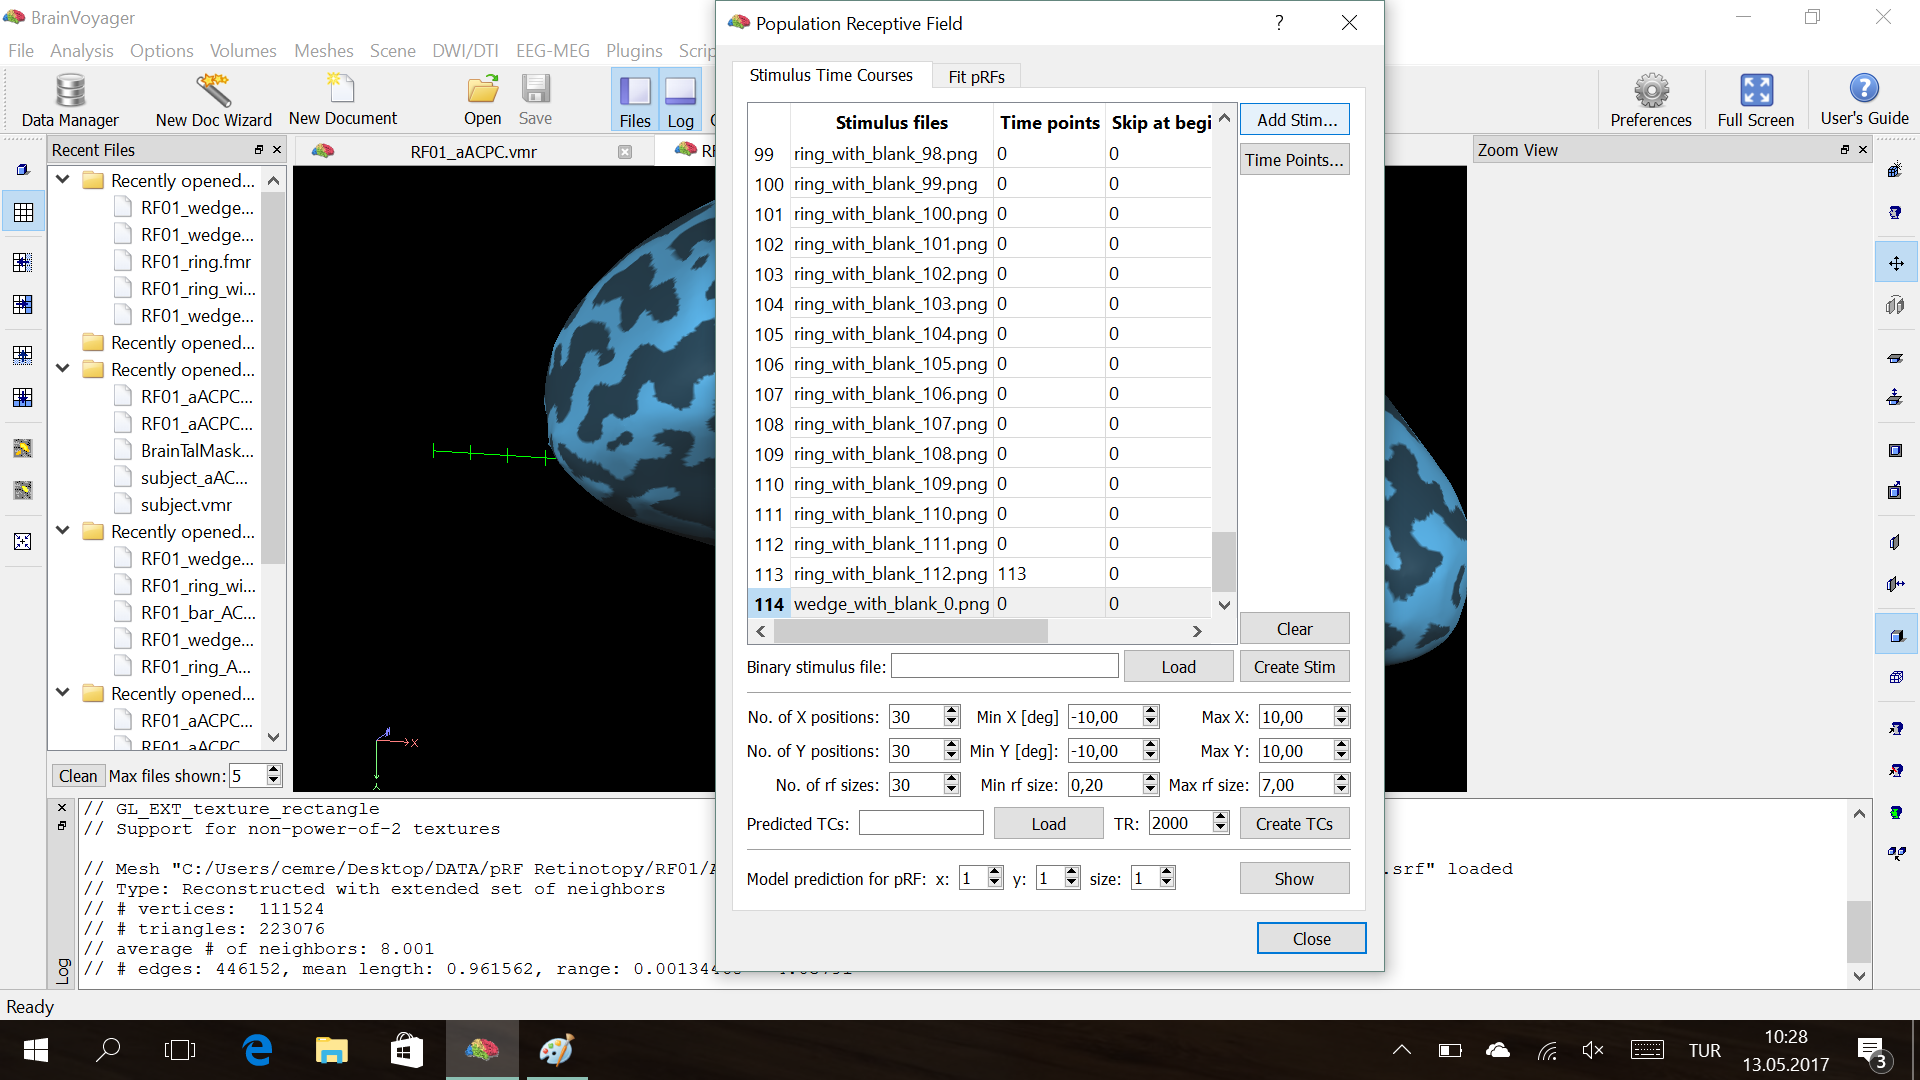
On the pRF estimation window, add each frame of conditions. You need to add frames in the order of stimuli presentation. For example, if you present the stimuli of ring, wedge and bar respectively on the scan, add the frames for ring, for wedge and for bar respectively.
For the last frame of each run, enter the number of TRs for the Time Point column.
Step13. Create .ptc file
– Analysis→ Population Receptive Field Estimation
Enter the values for the dialog under the Create STM line for your stimulus presentation. Then, Create TCs.
– This may take several hours.
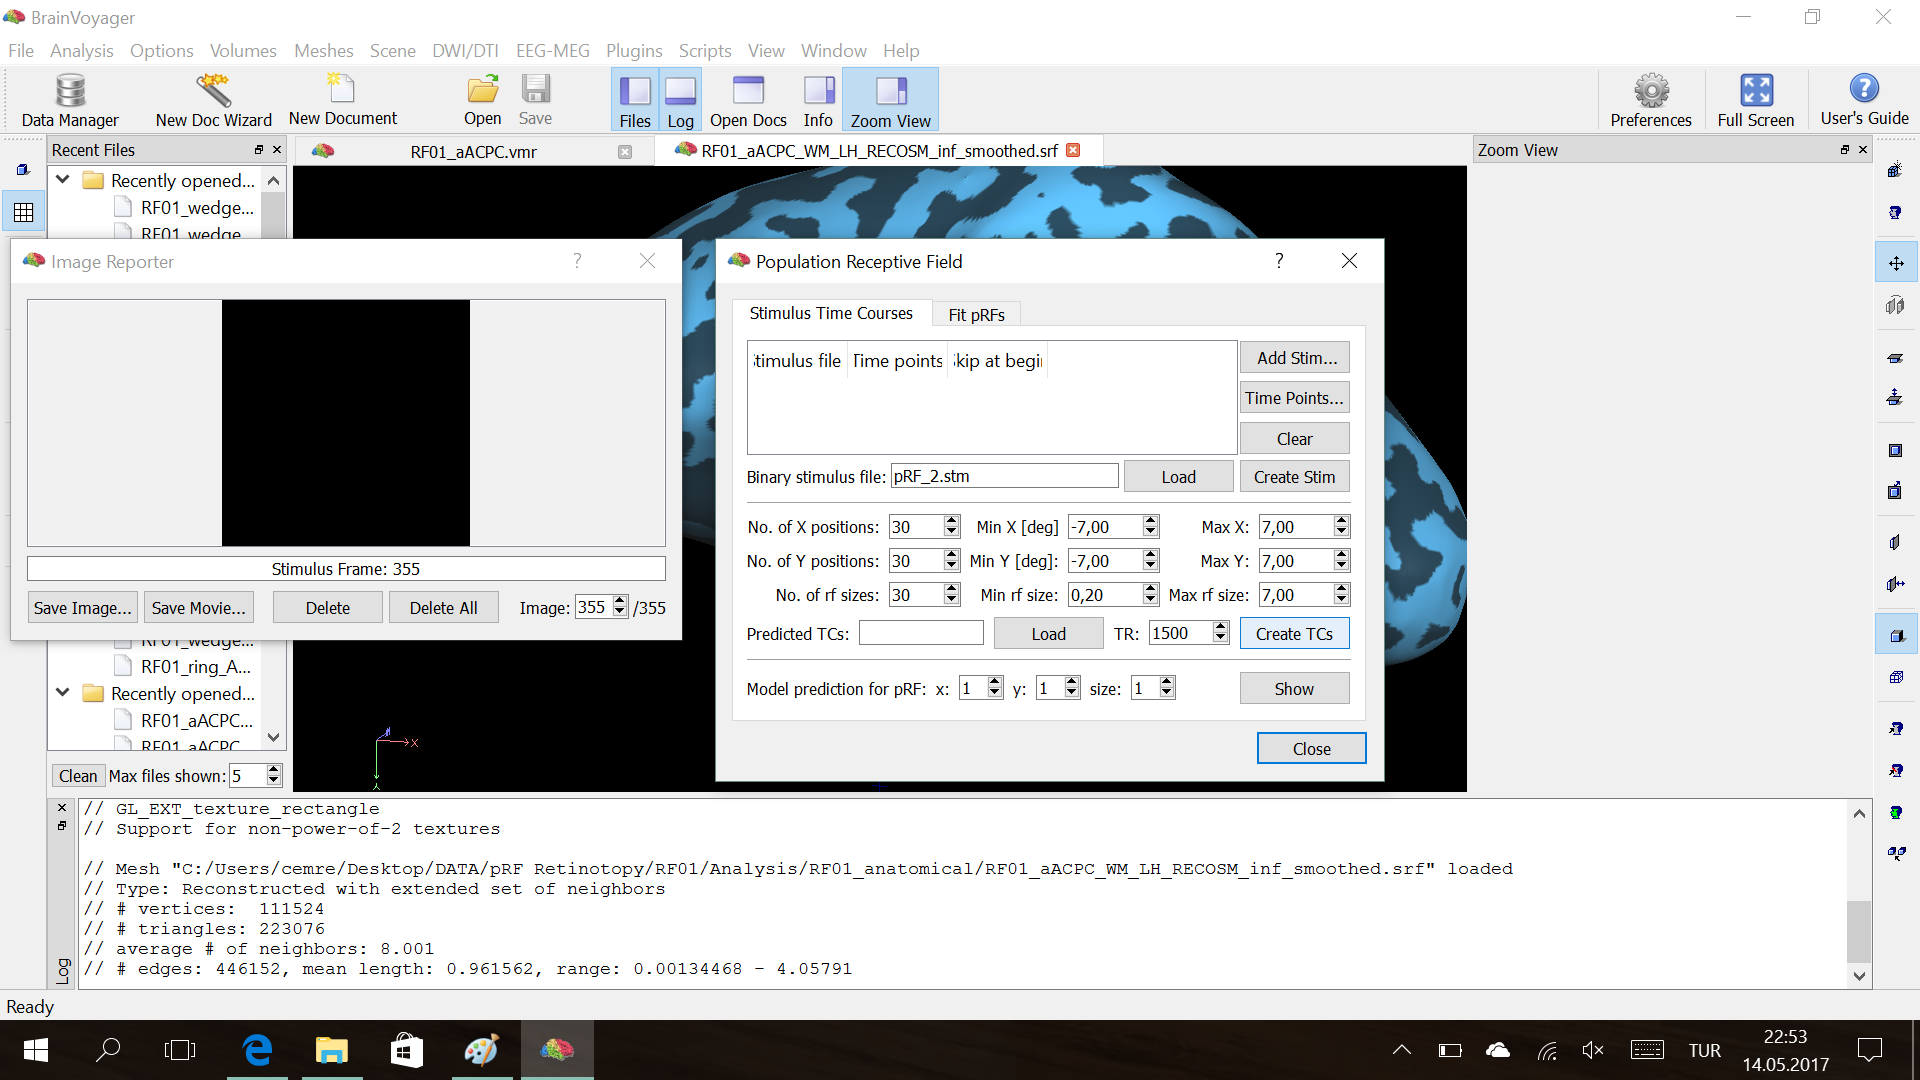
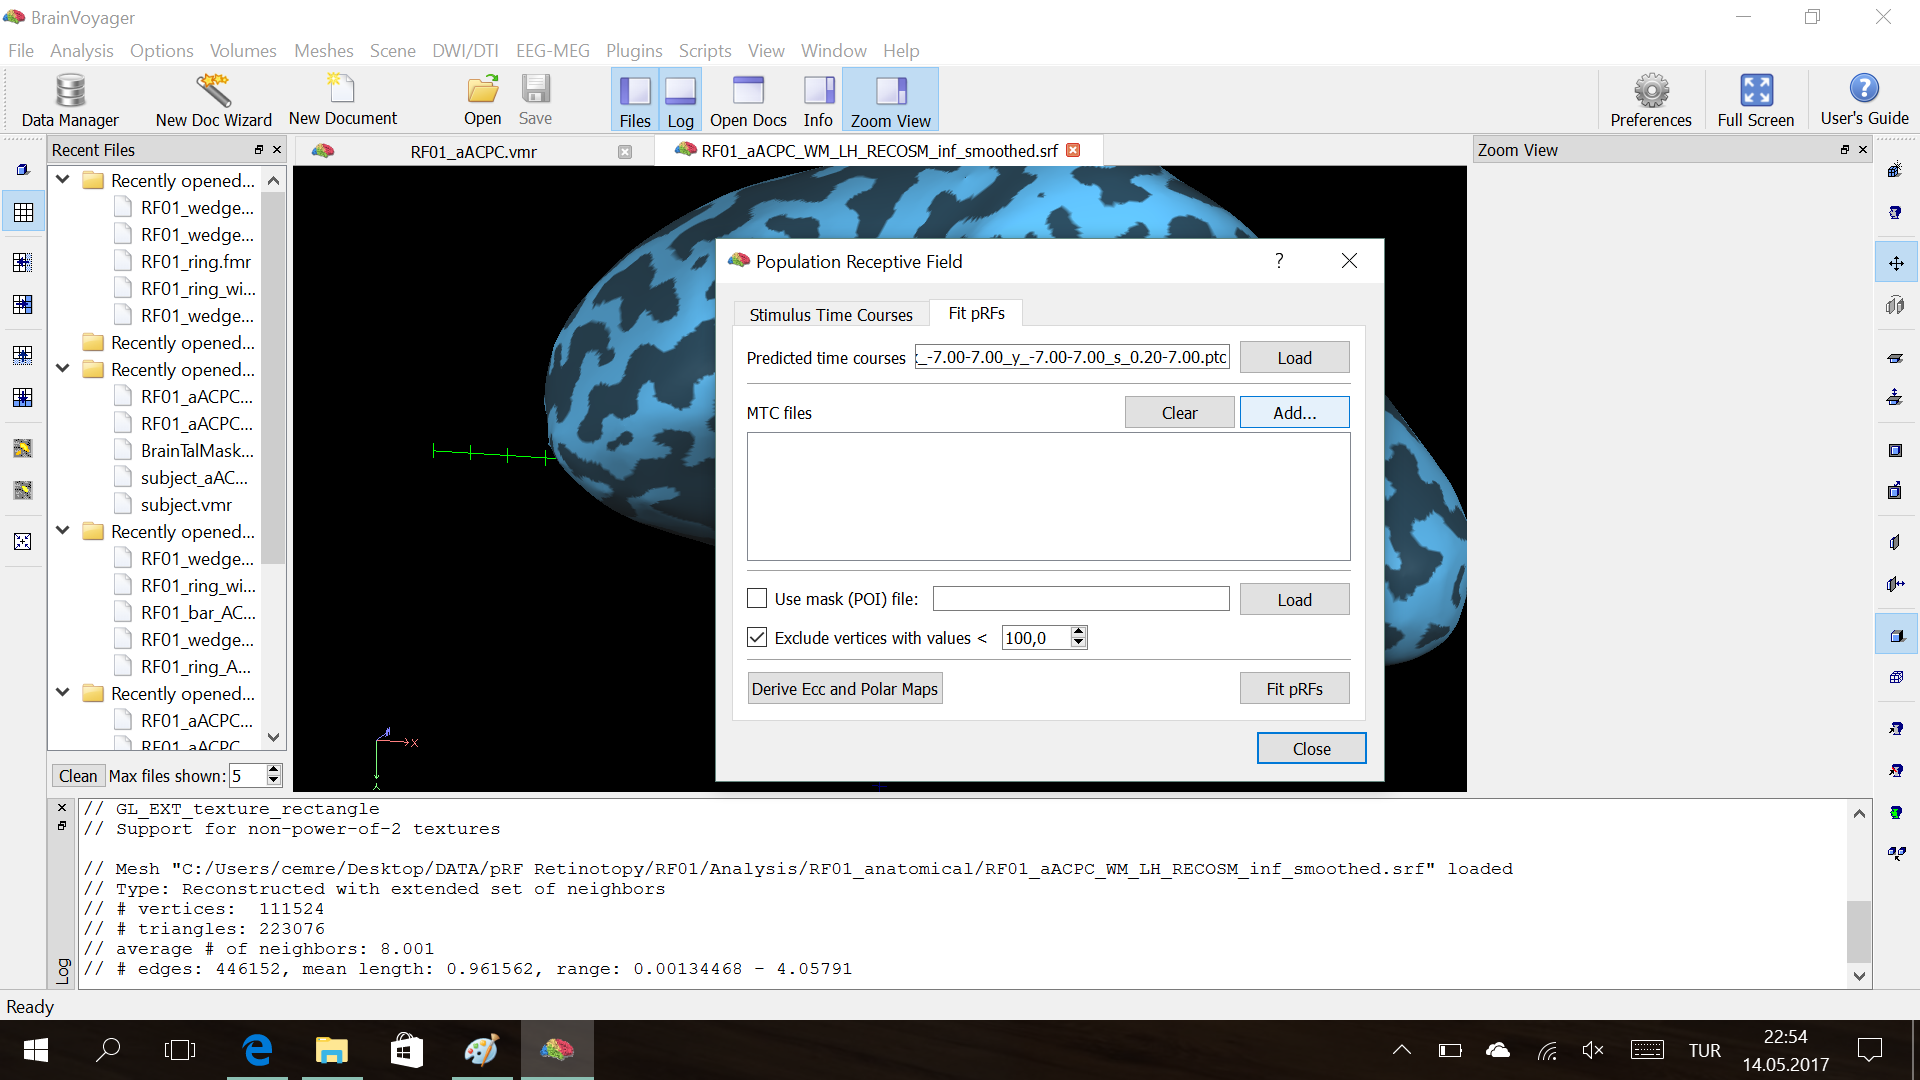
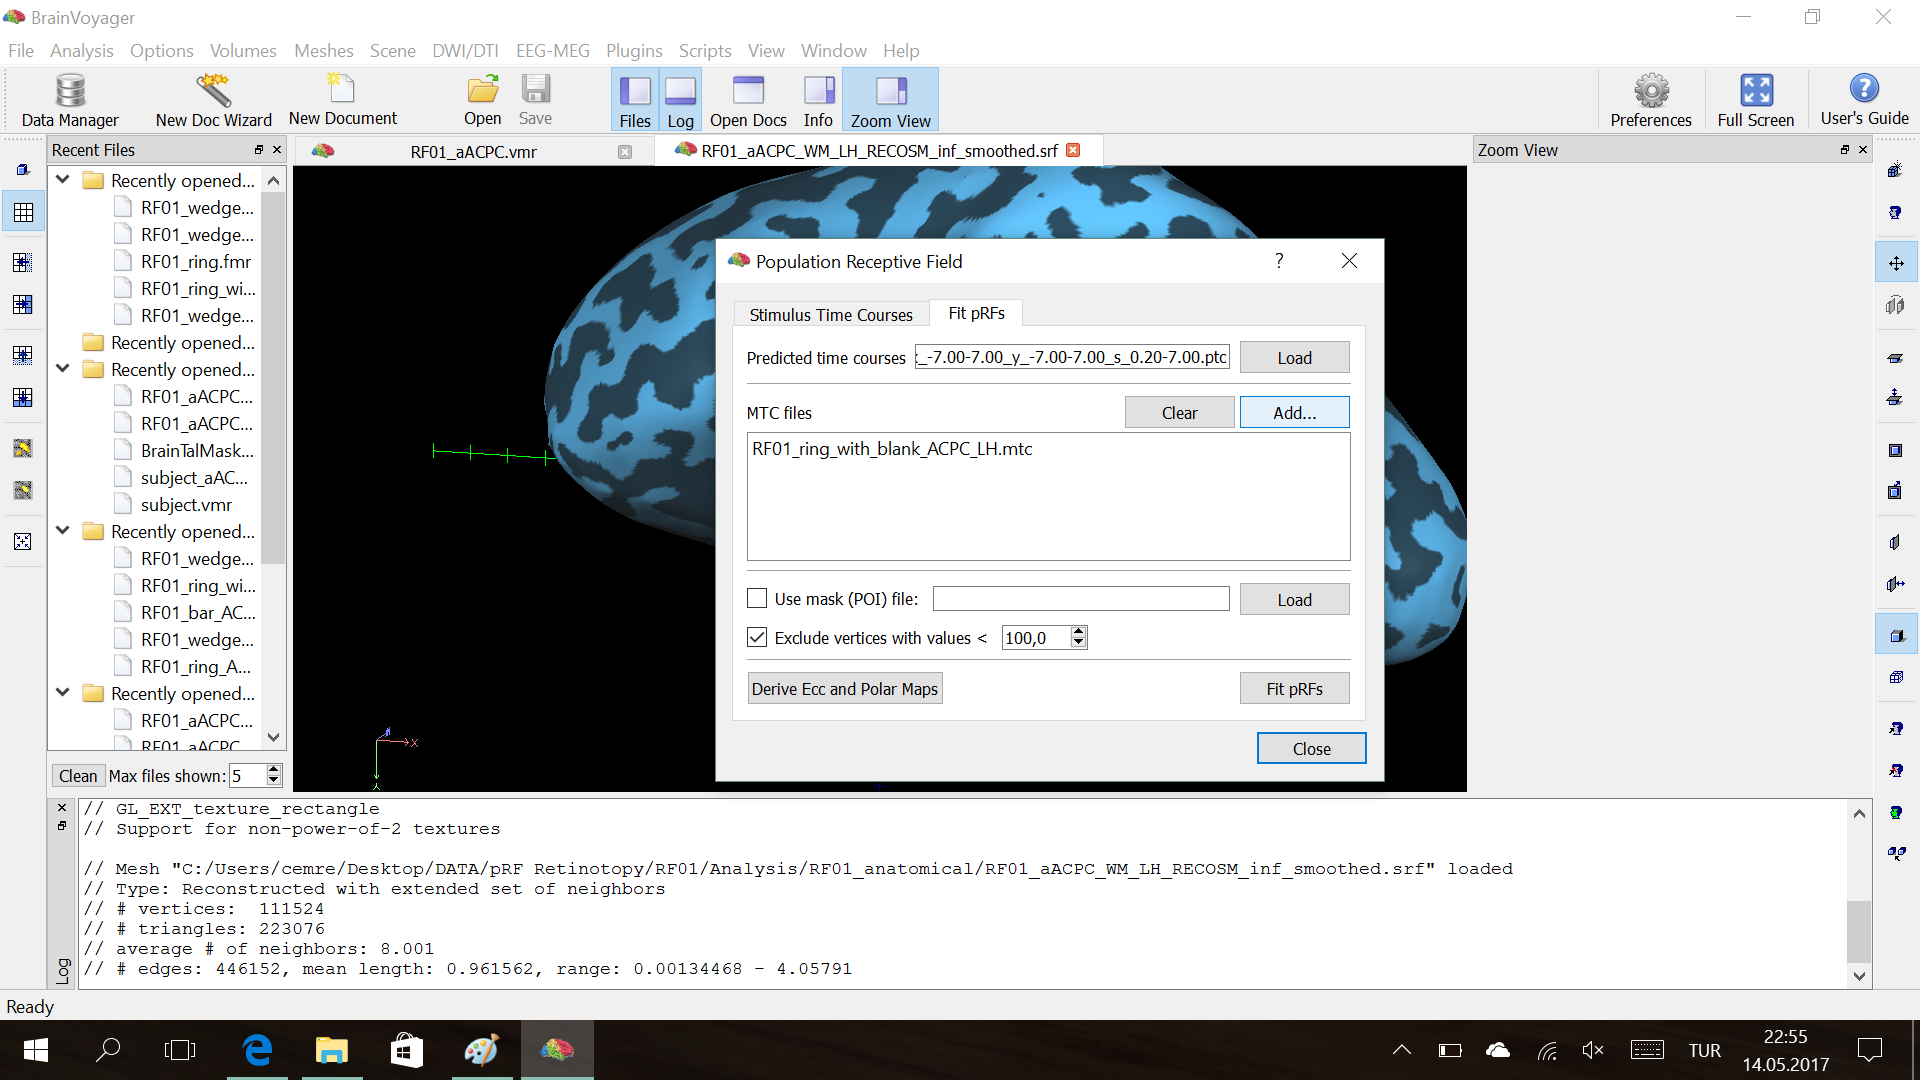
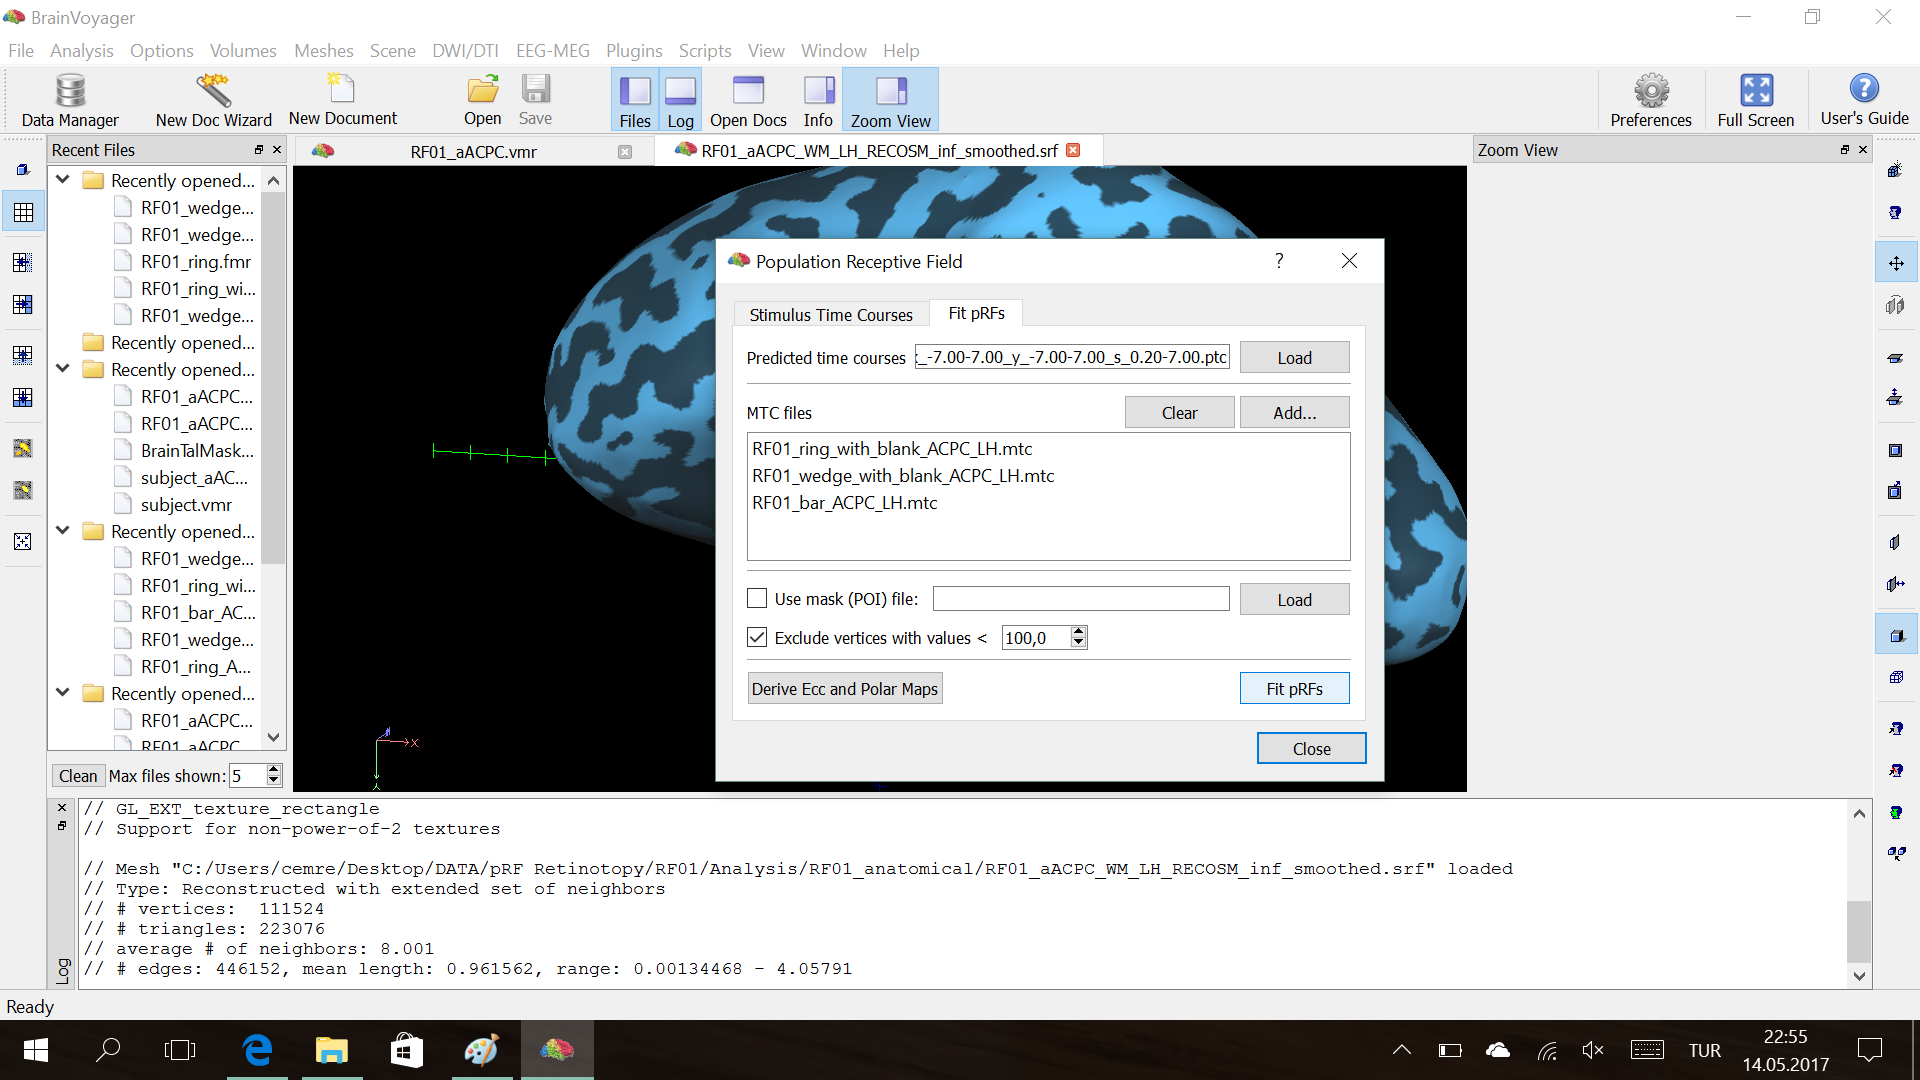
Step14. Fit pRF
– Analysis→ Population Receptive Field Estimation
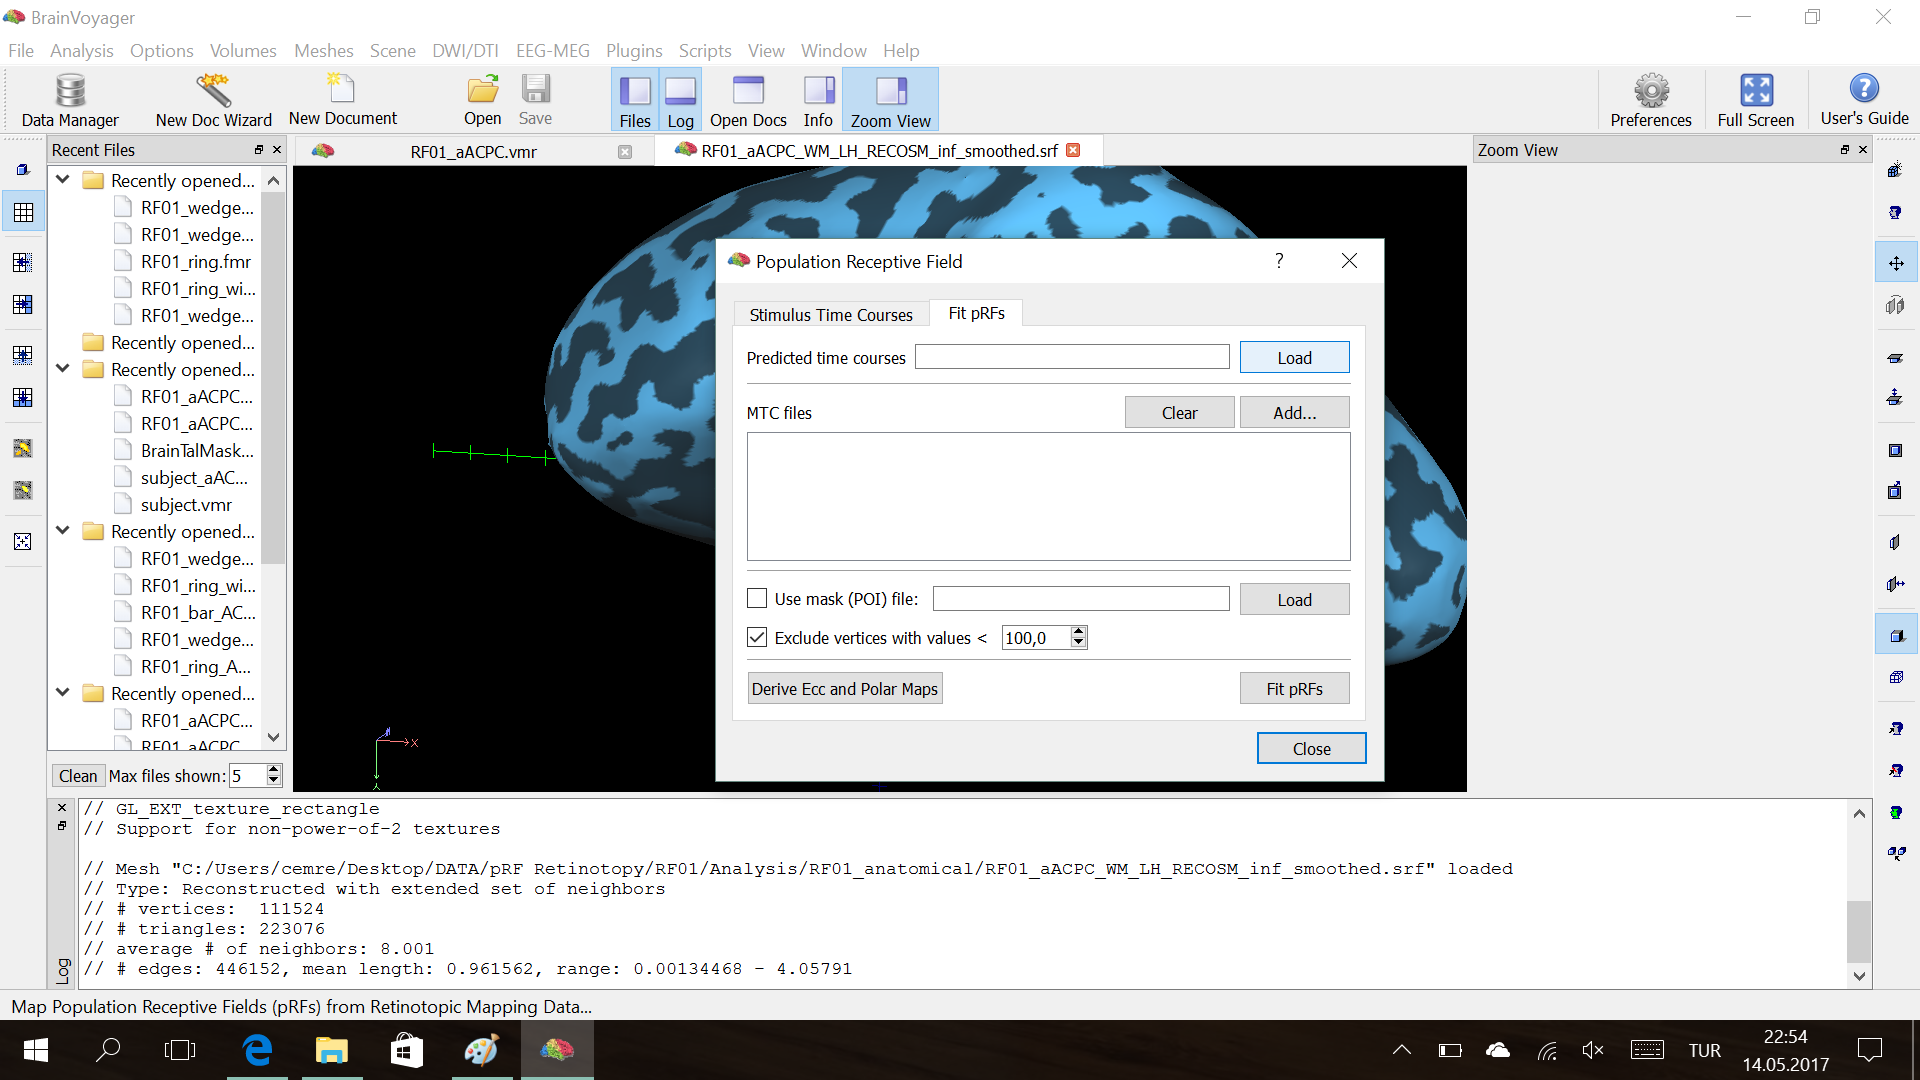
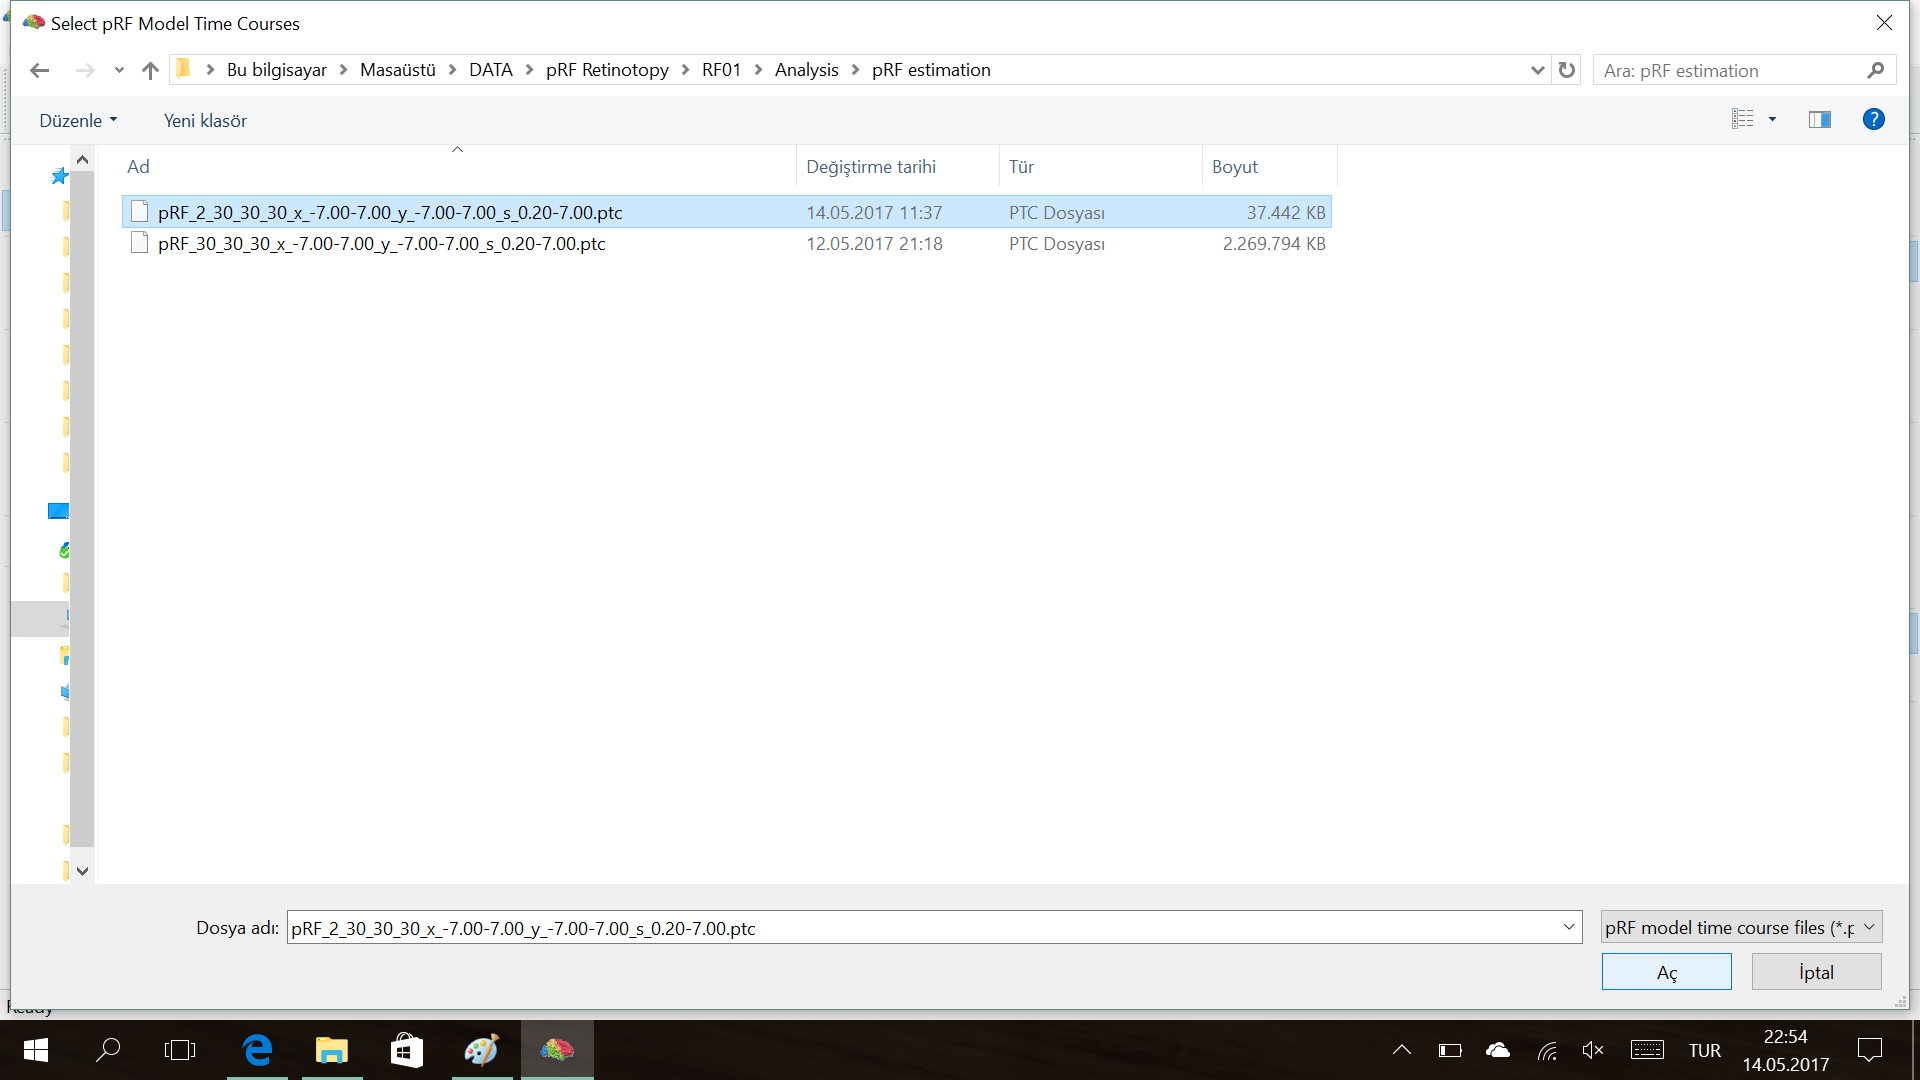
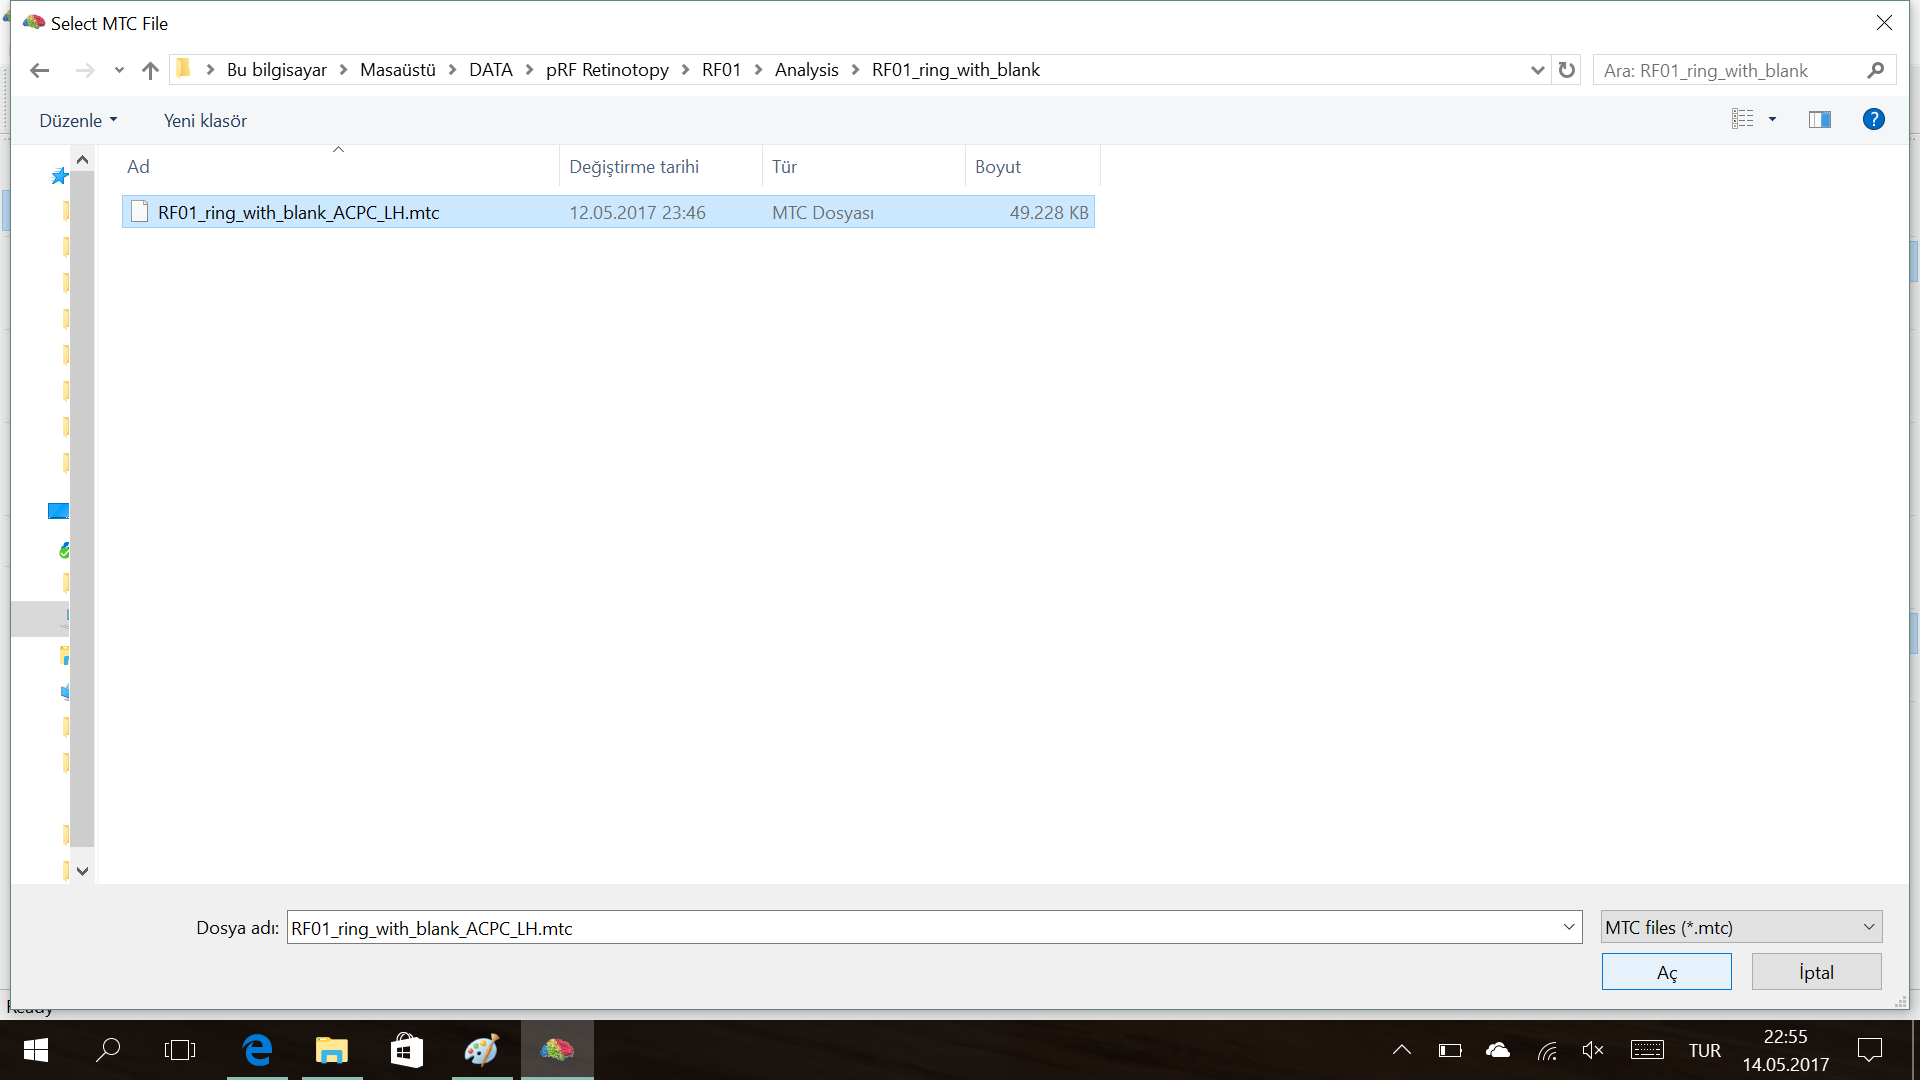
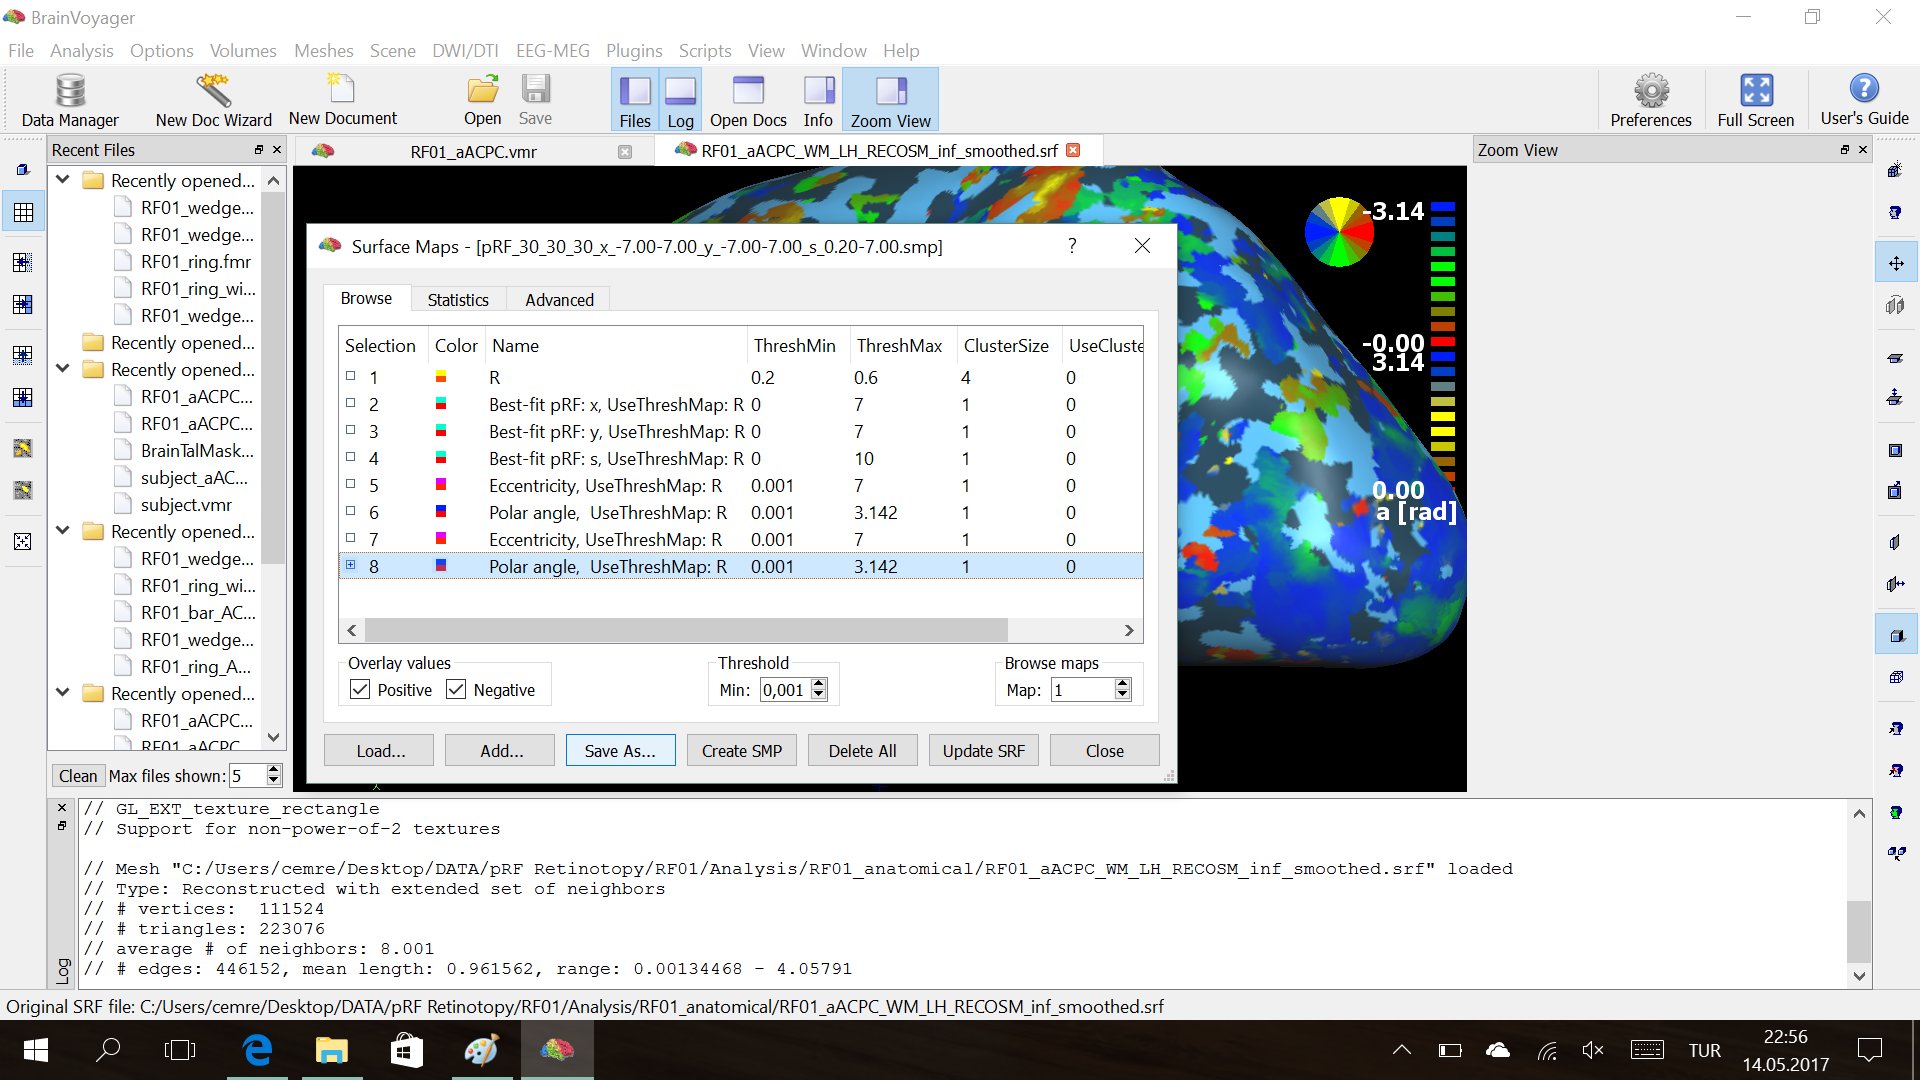
Underthe Fit pRF, load .ptc file and .mtc files for each condition in the same order with stimulus presentation. Then Fit pRF.
You may use POI mask to specify the region-of-interest.


No responses yet